Learning the Camera That Changes Everything
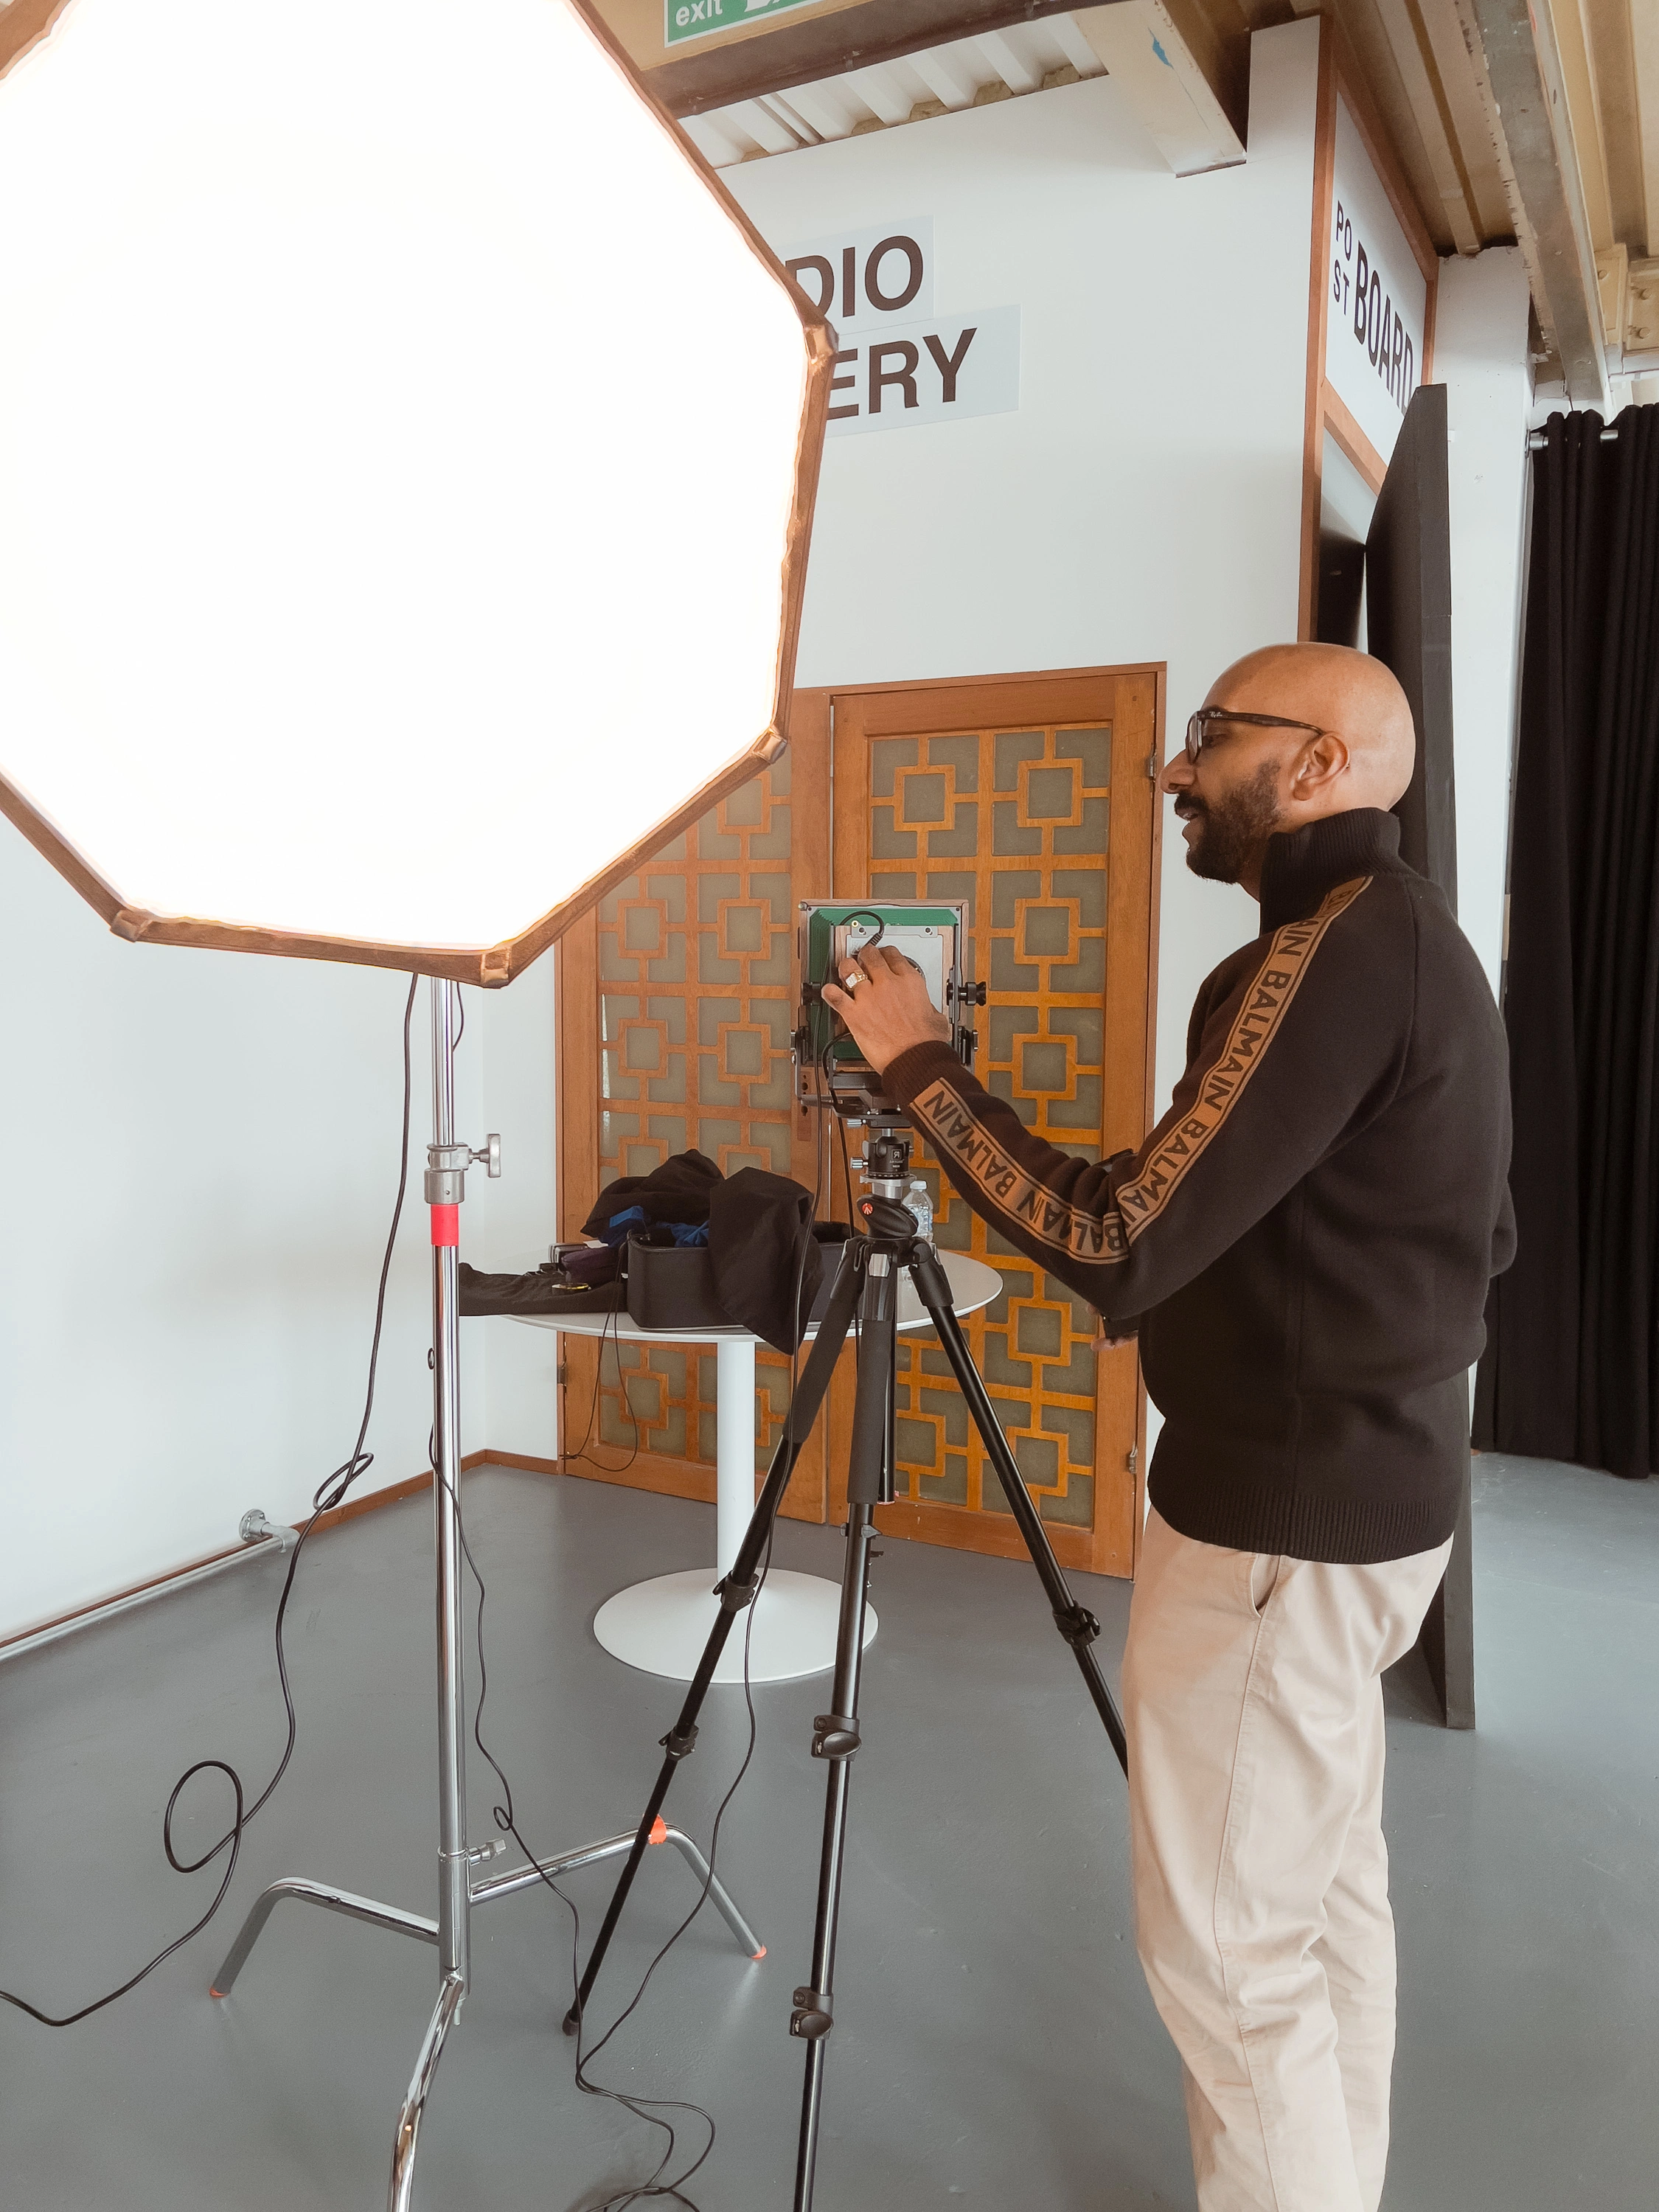
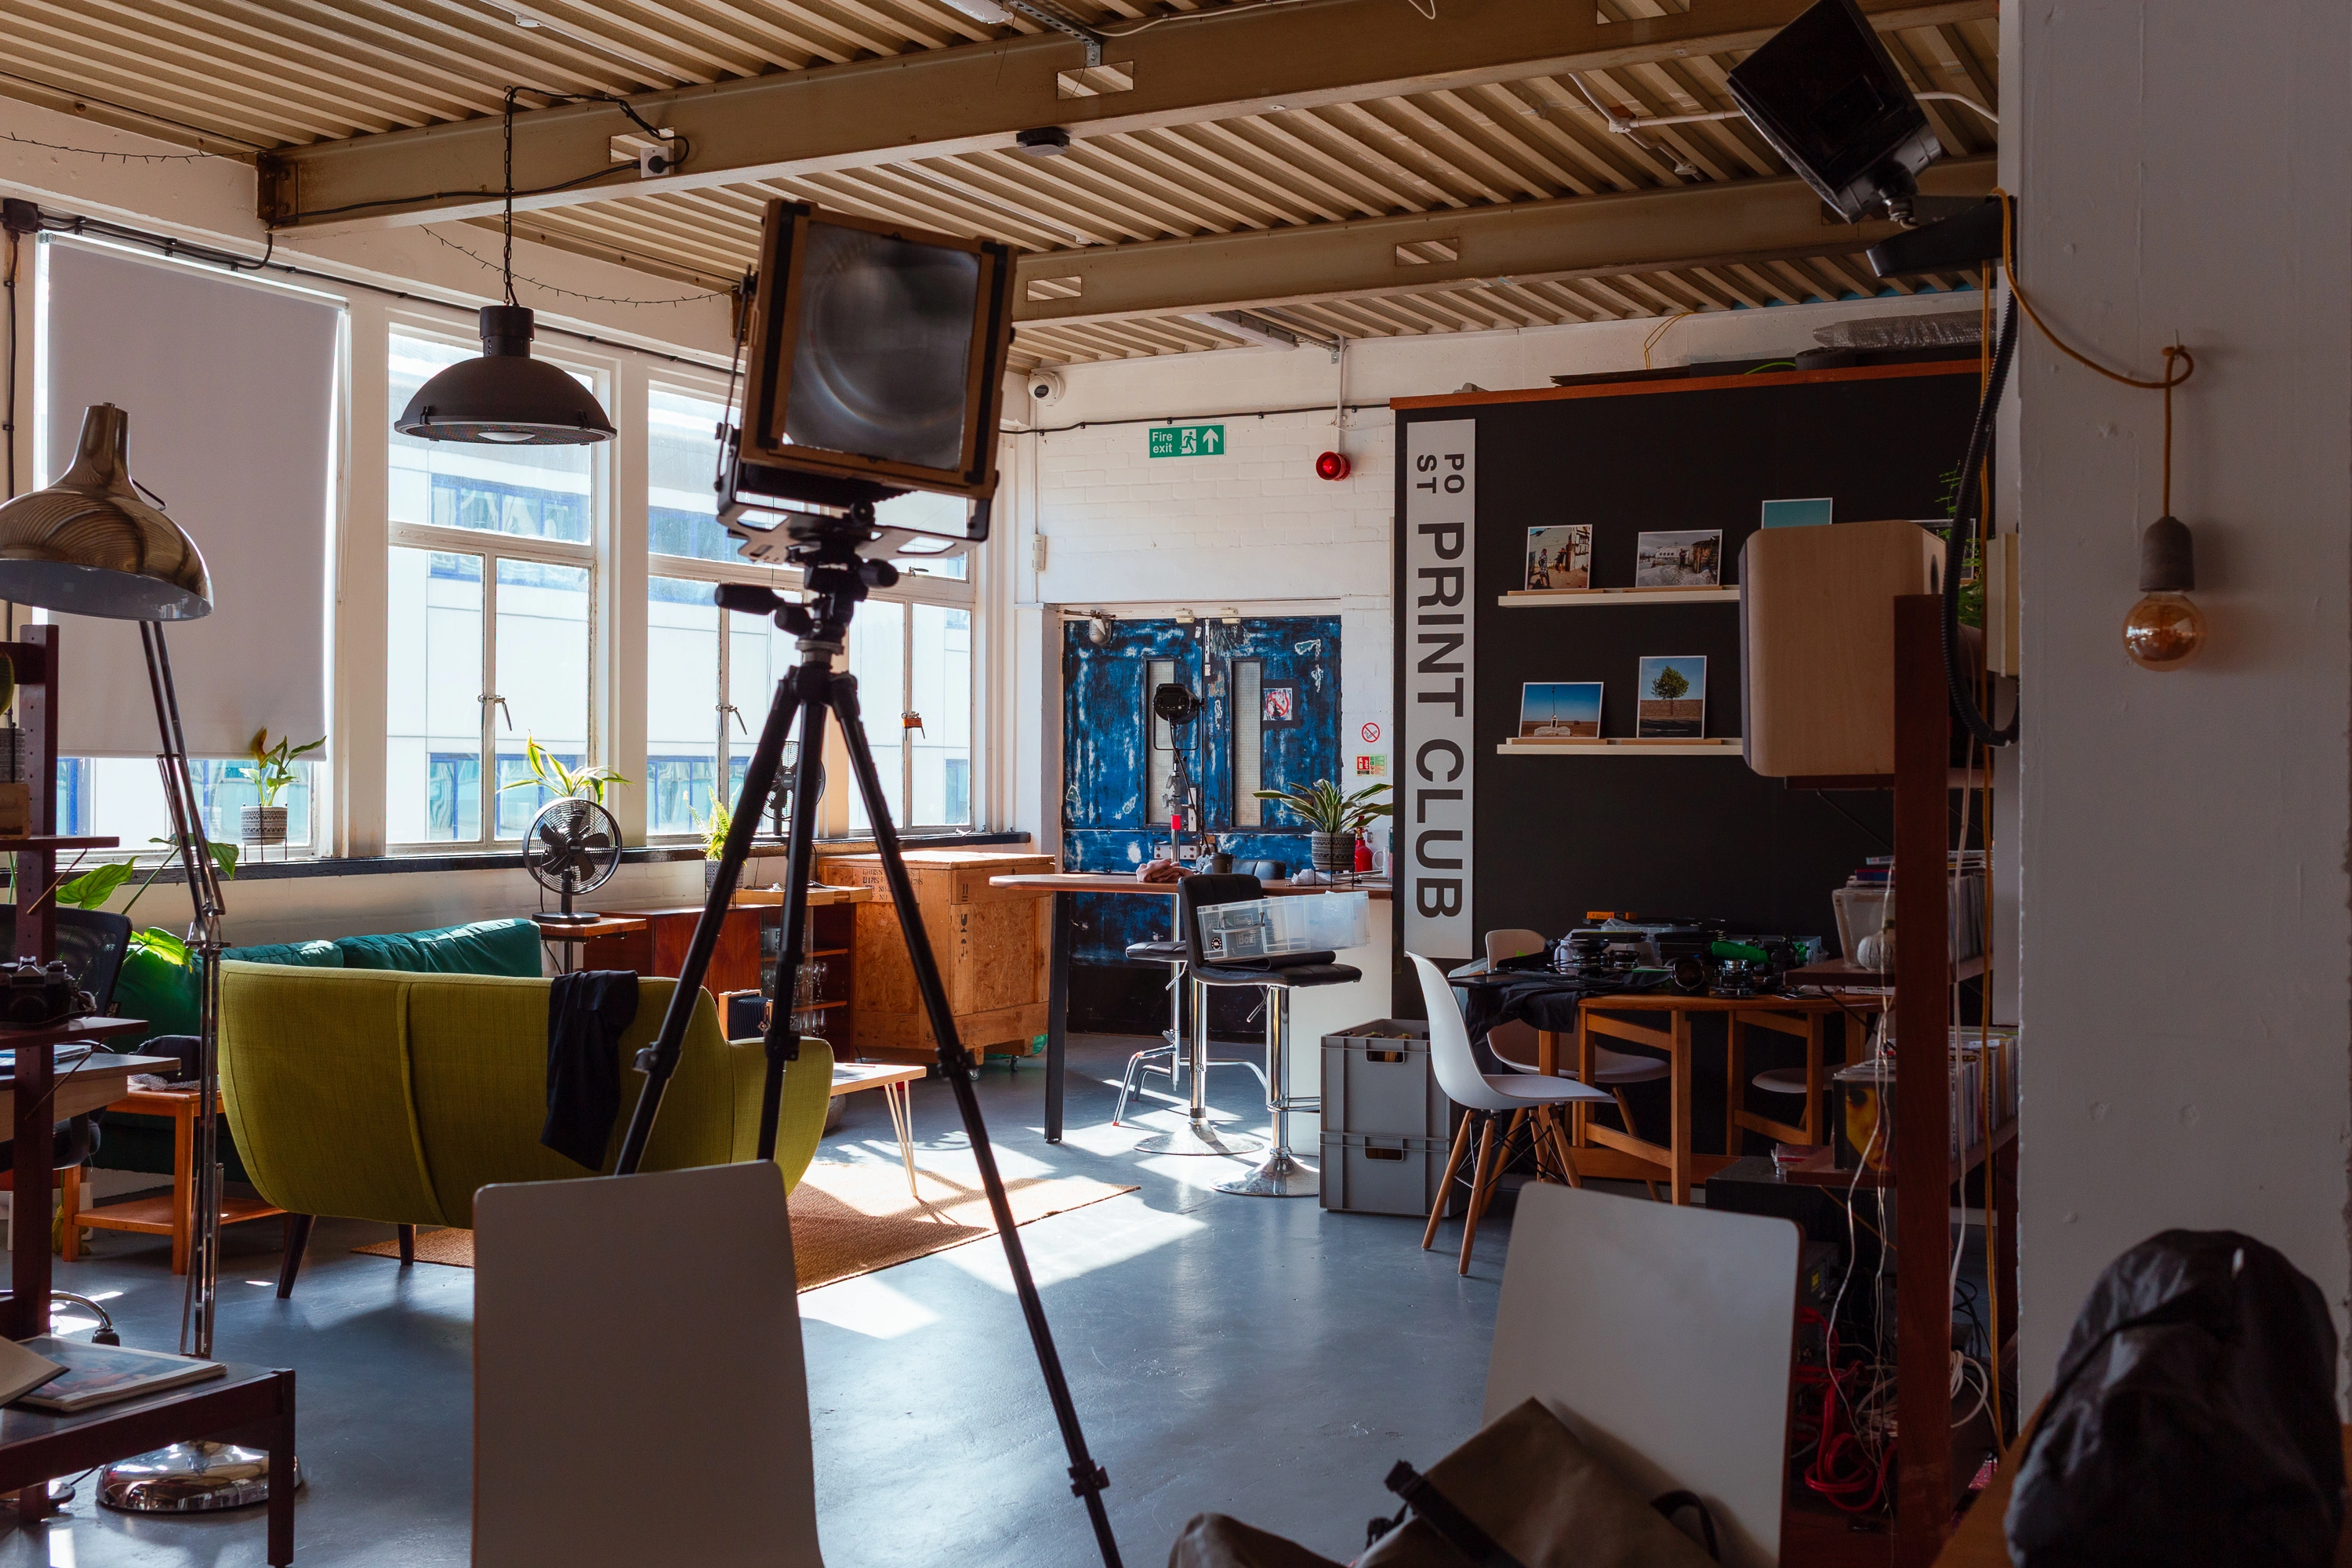
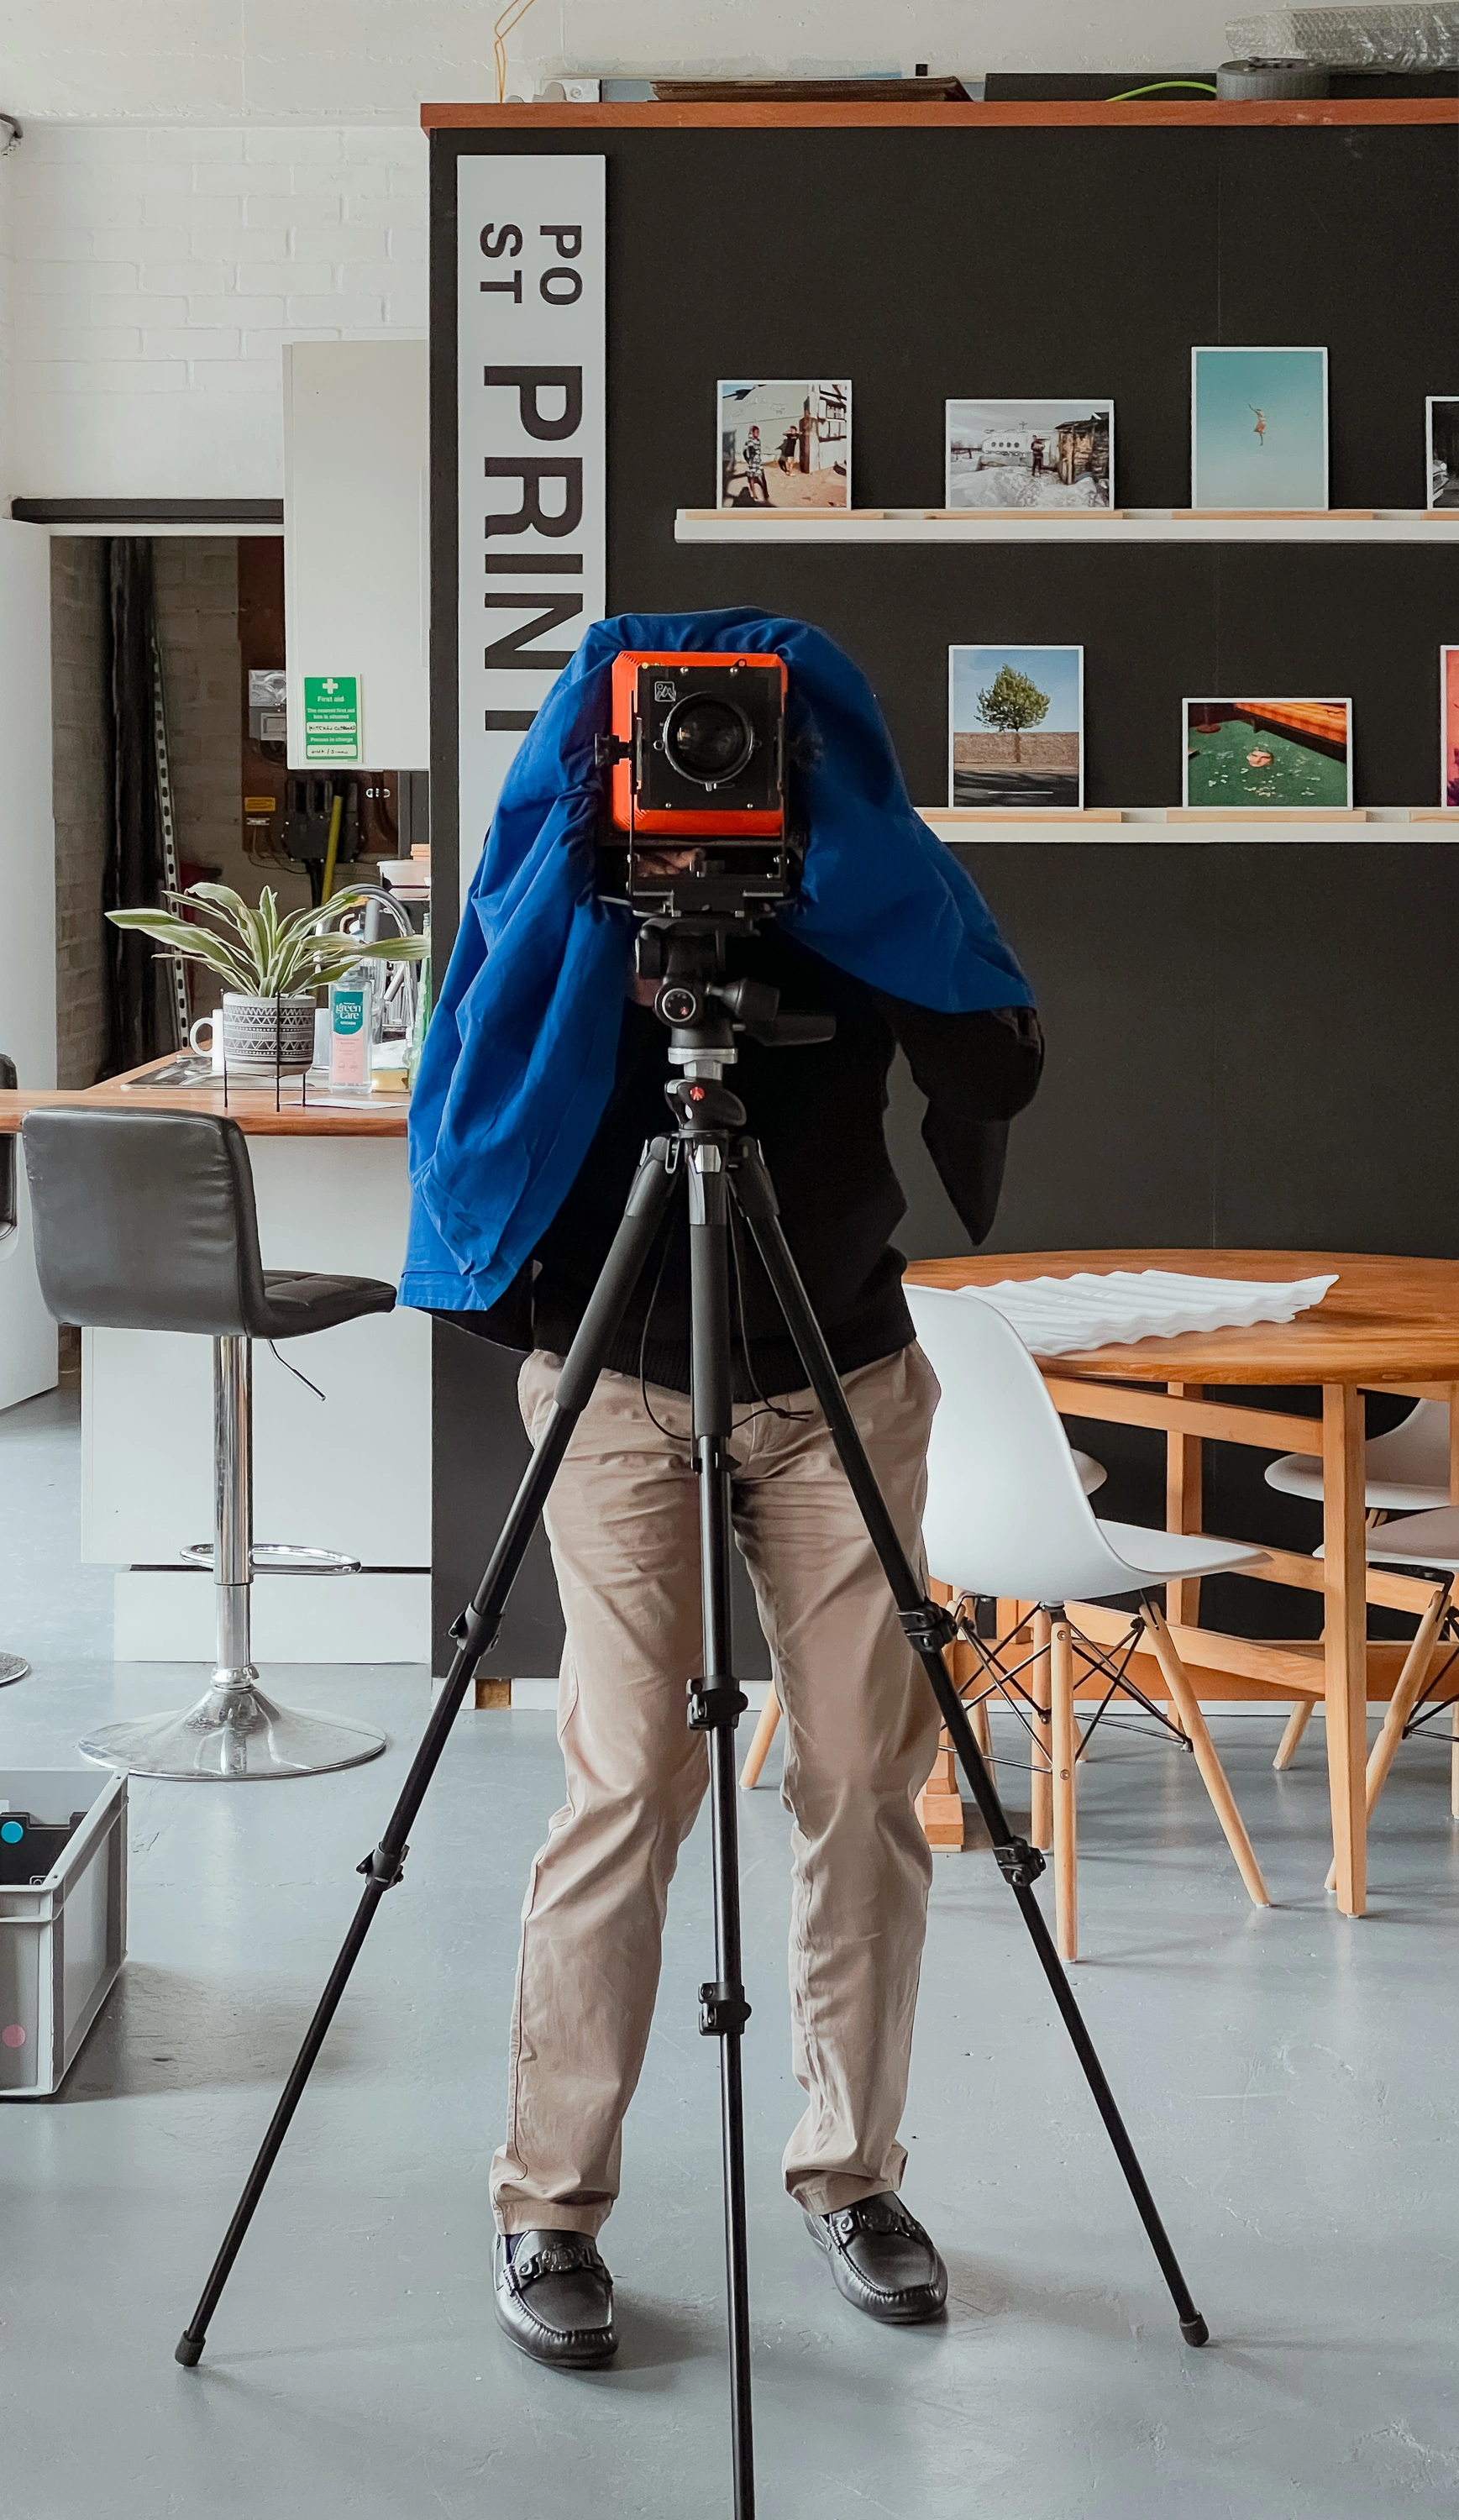
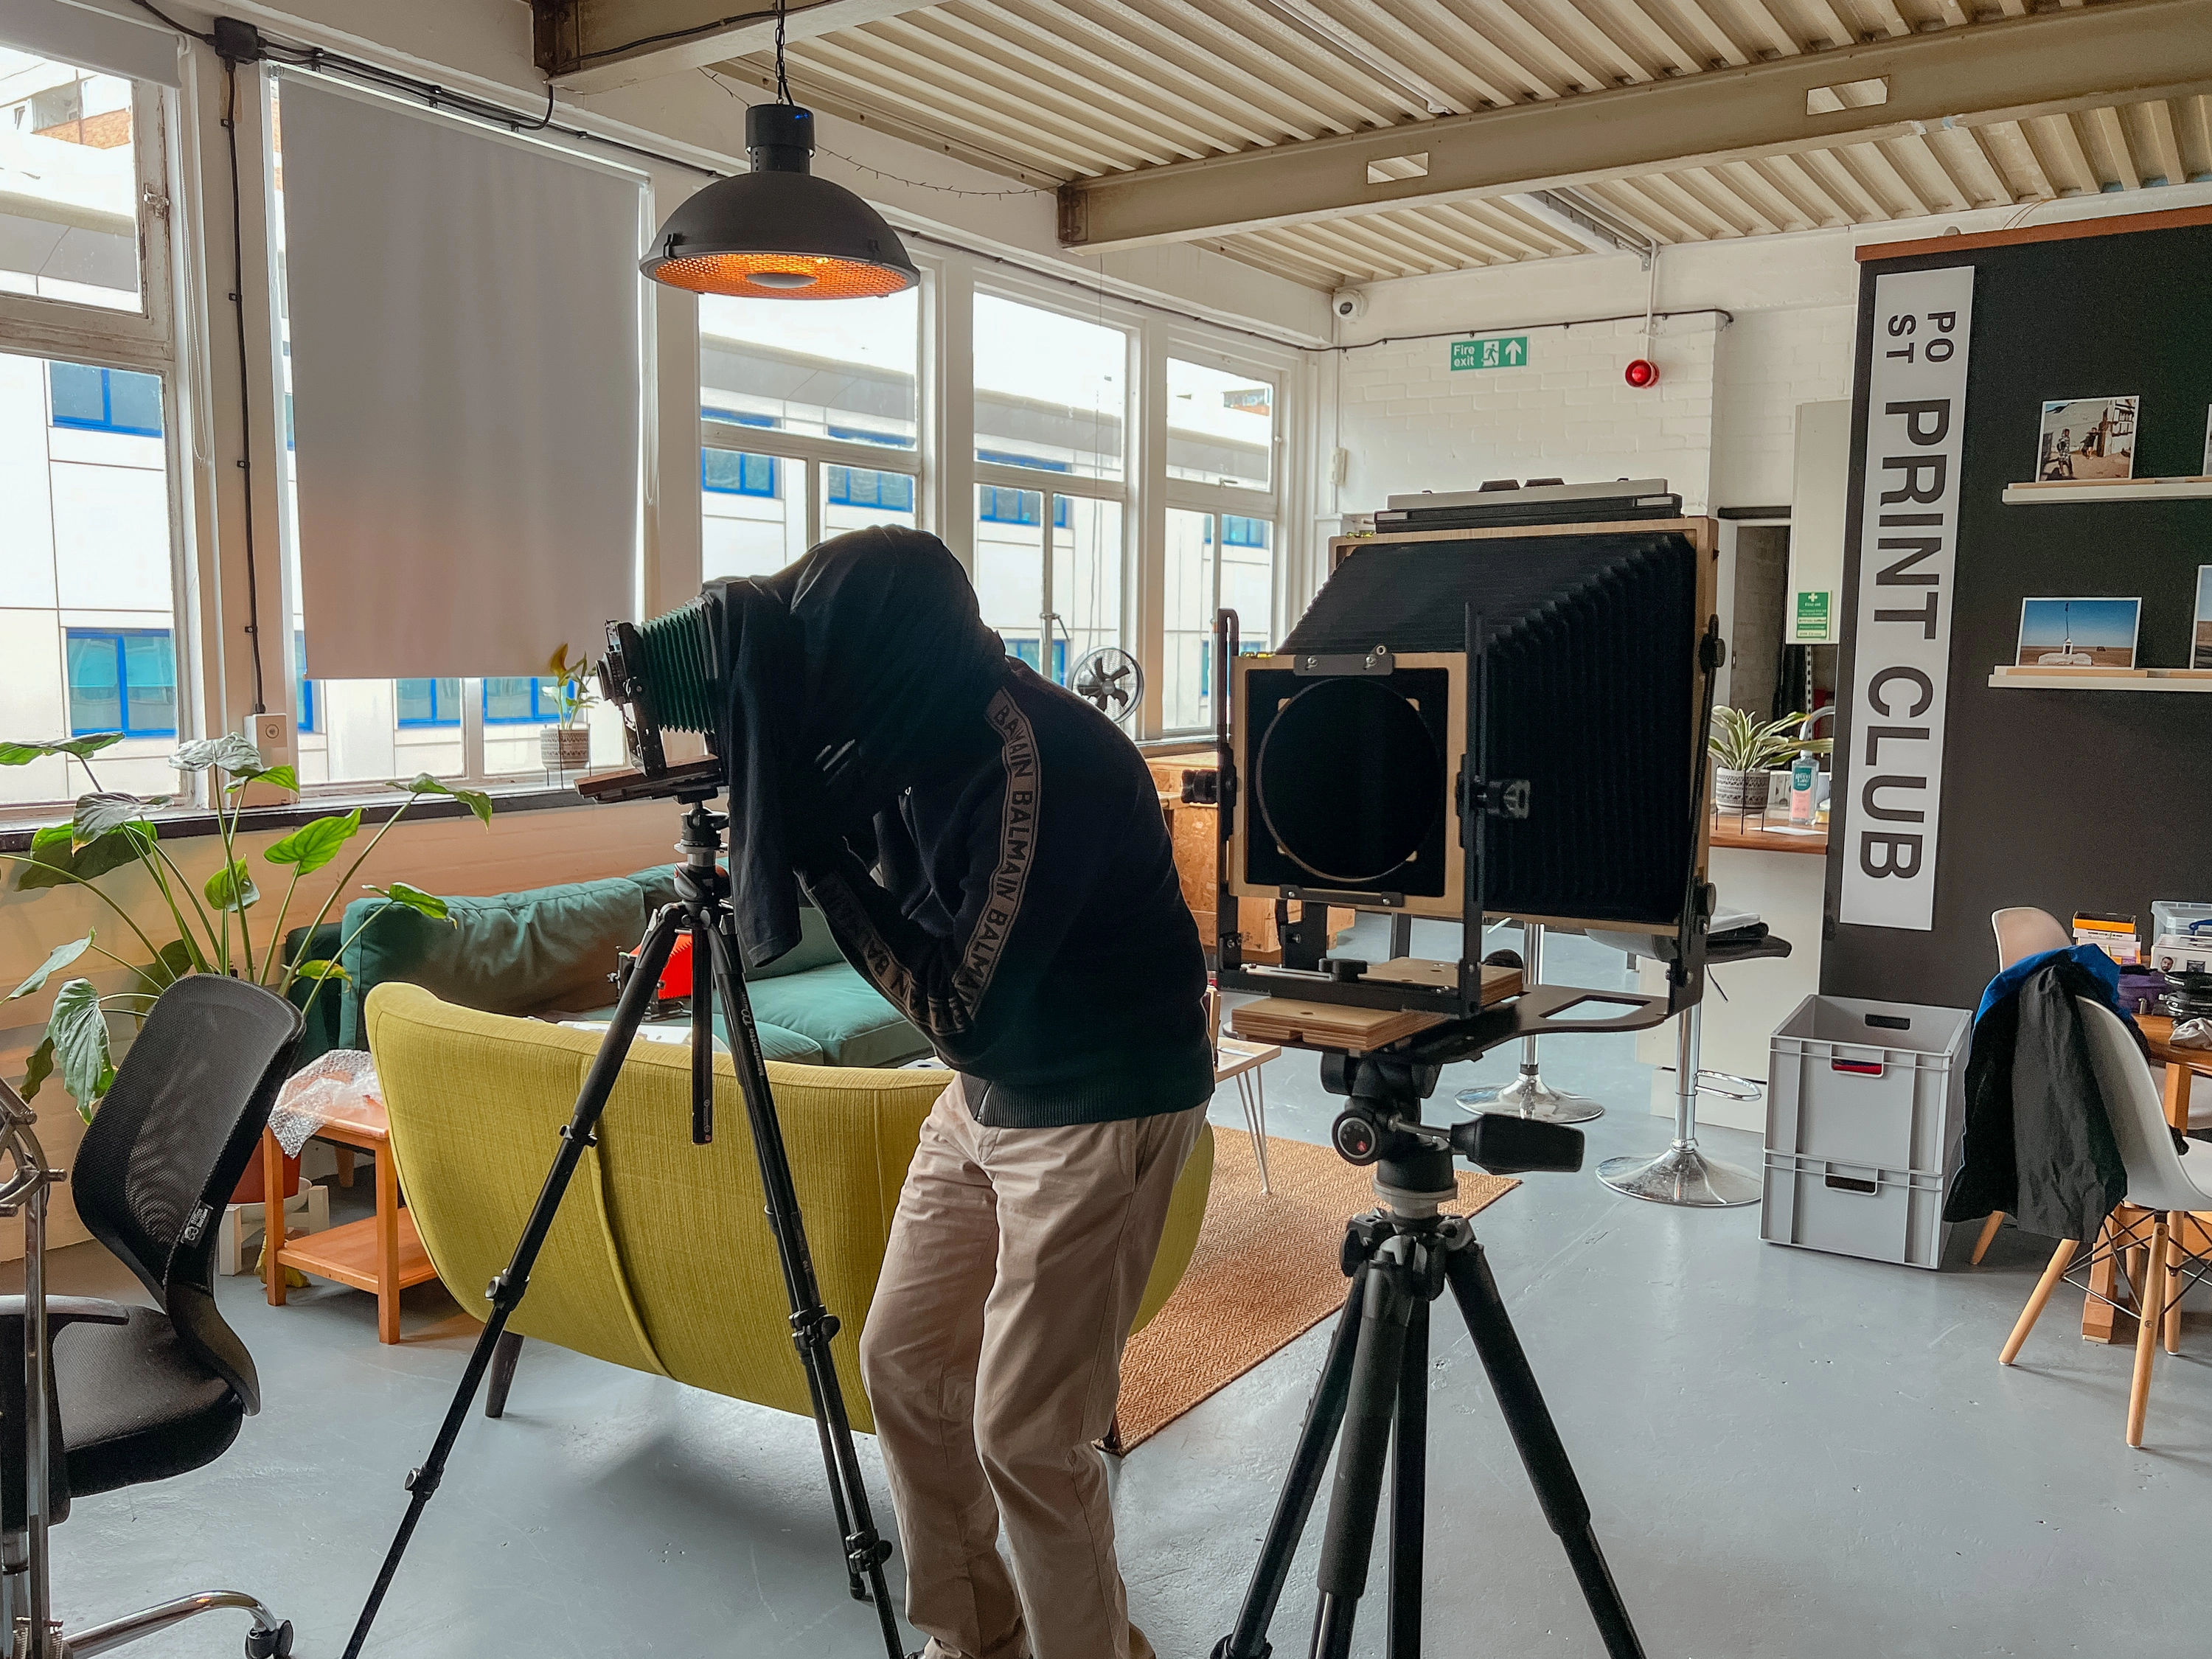
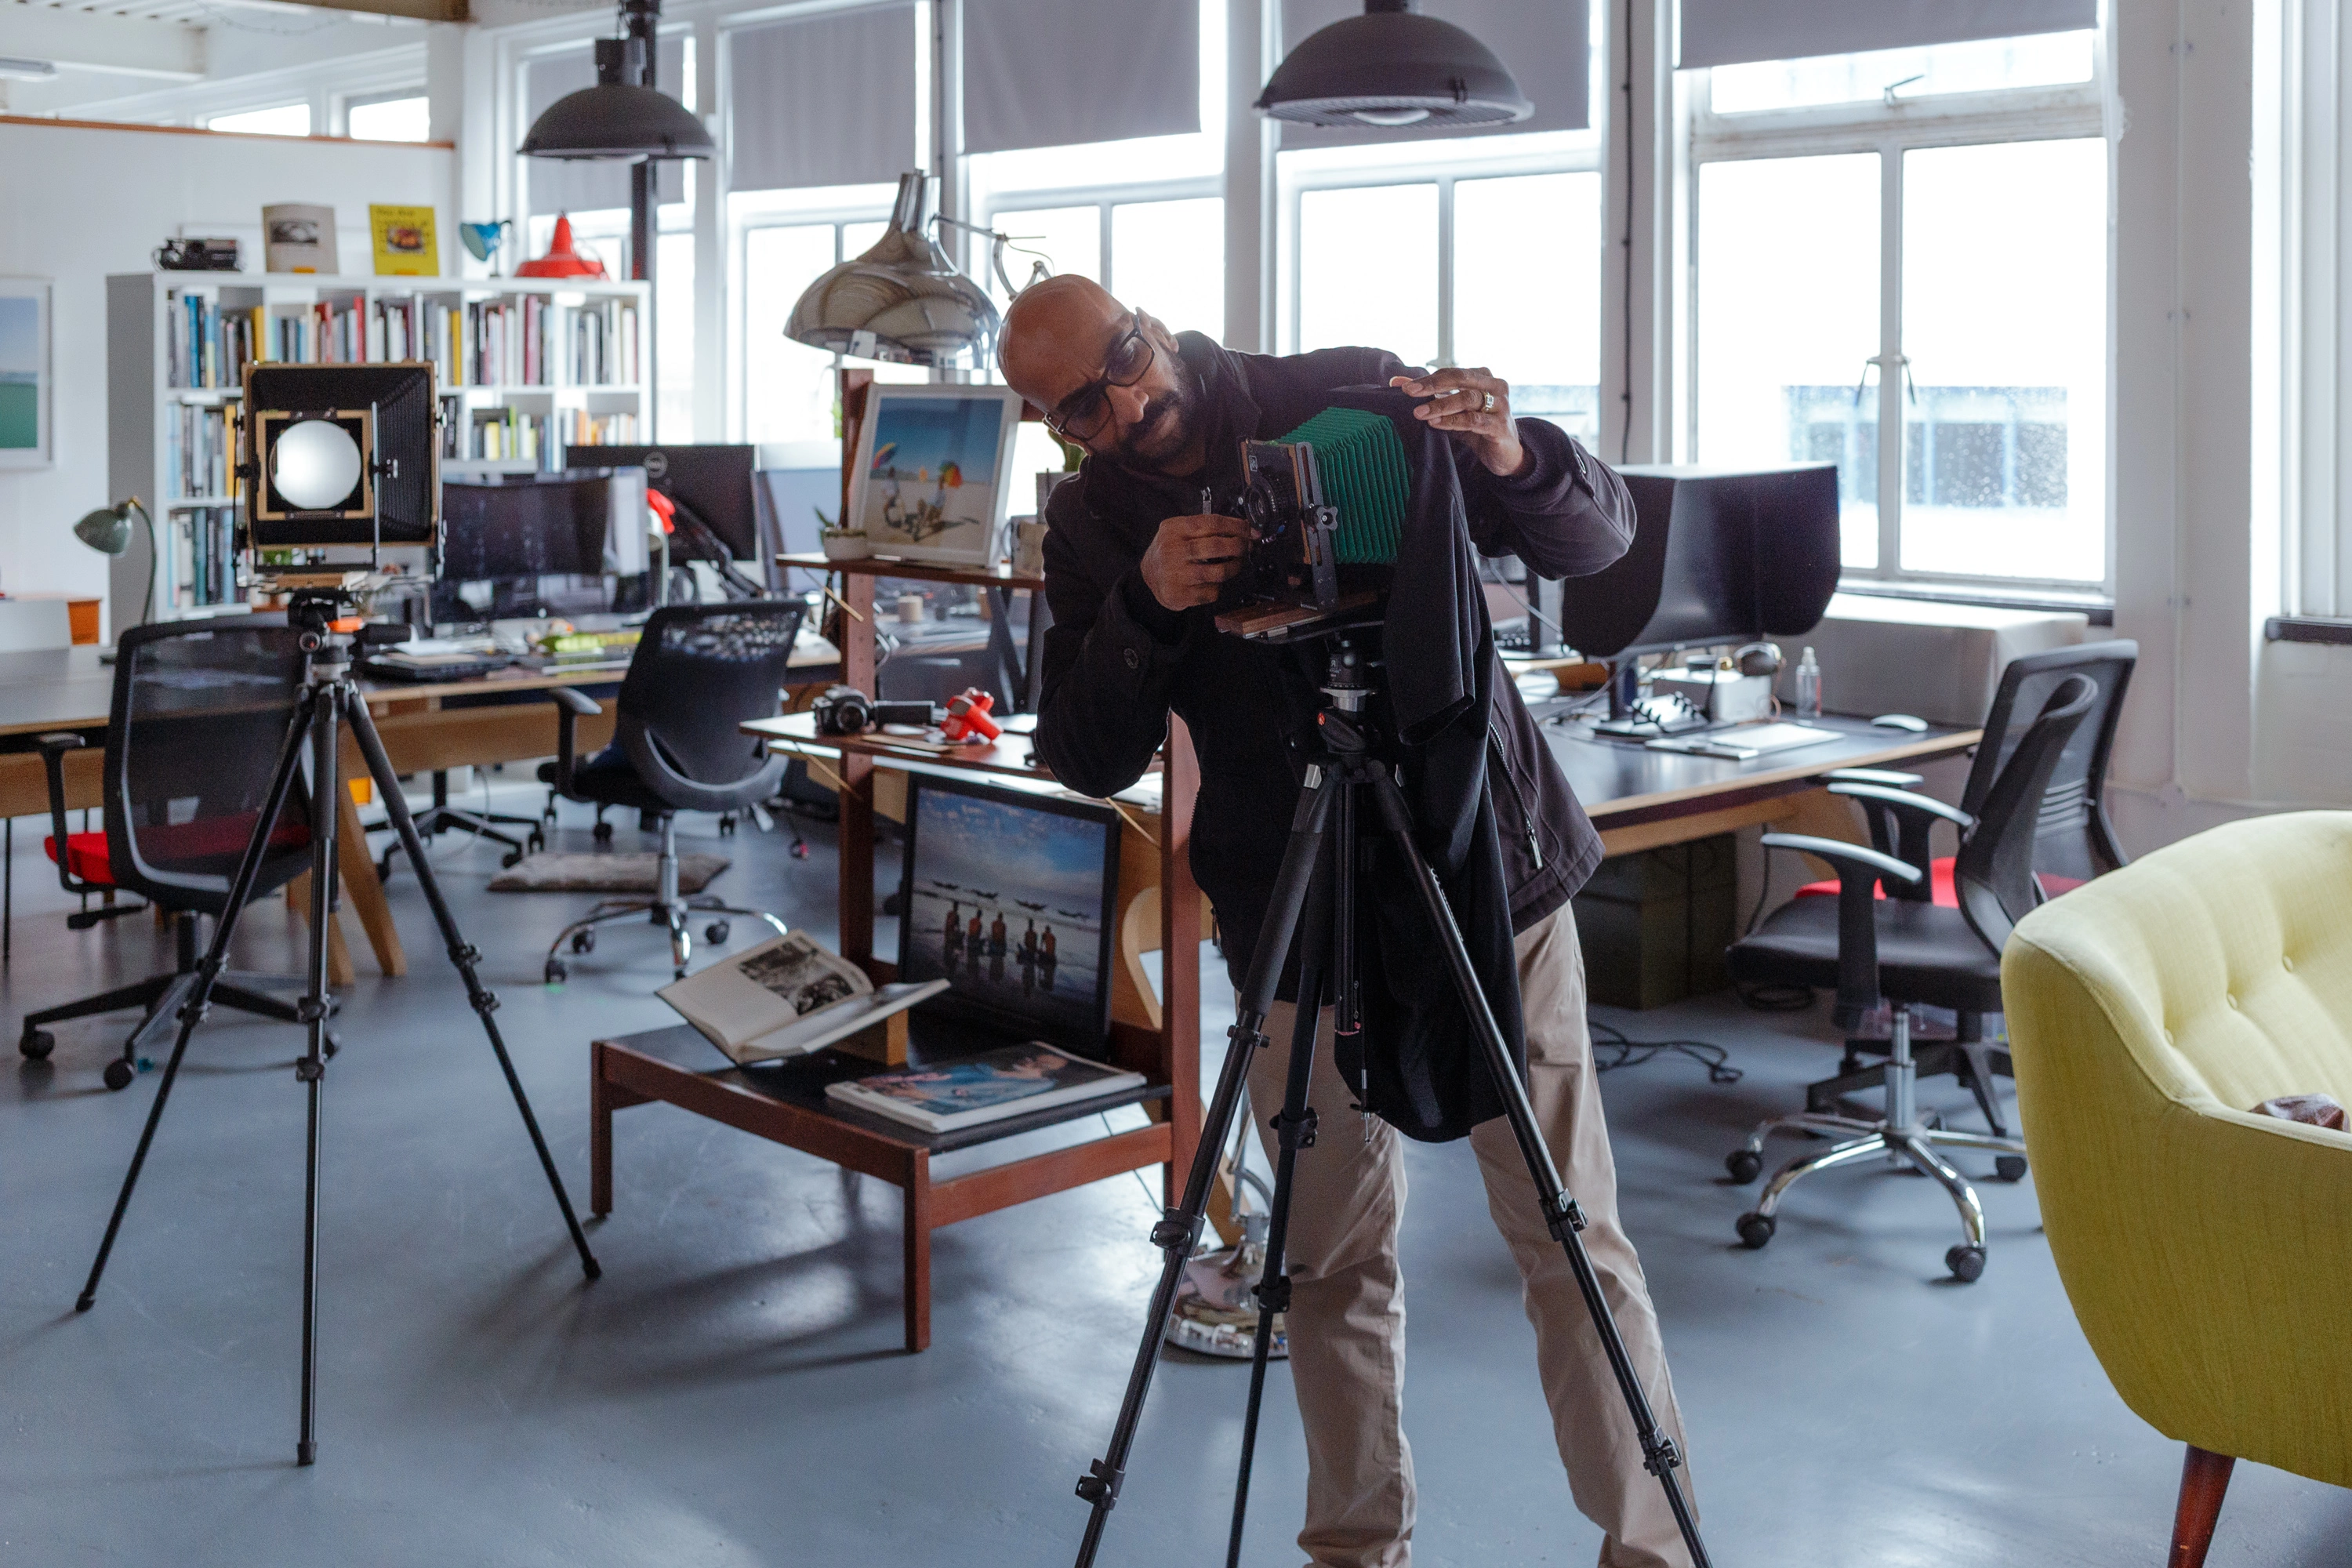
I spent a full day with Josh Redfearn at Intrepid, learning to work with the 4x5, and I came out the other side with a working understanding of the camera and a much clearer sense of what it is actually going to do to this project. Not what I hoped it would do. What it will actually do, which is something different and bigger.
The 4x5 is not the ceremonial camera I was treating it as when I first planned this project. It is the primary portrait camera. The one that goes to every key subject, once the relationship is built and the location is understood. Sitting with that properly, rather than just holding it as an idea, is what this day gave me.
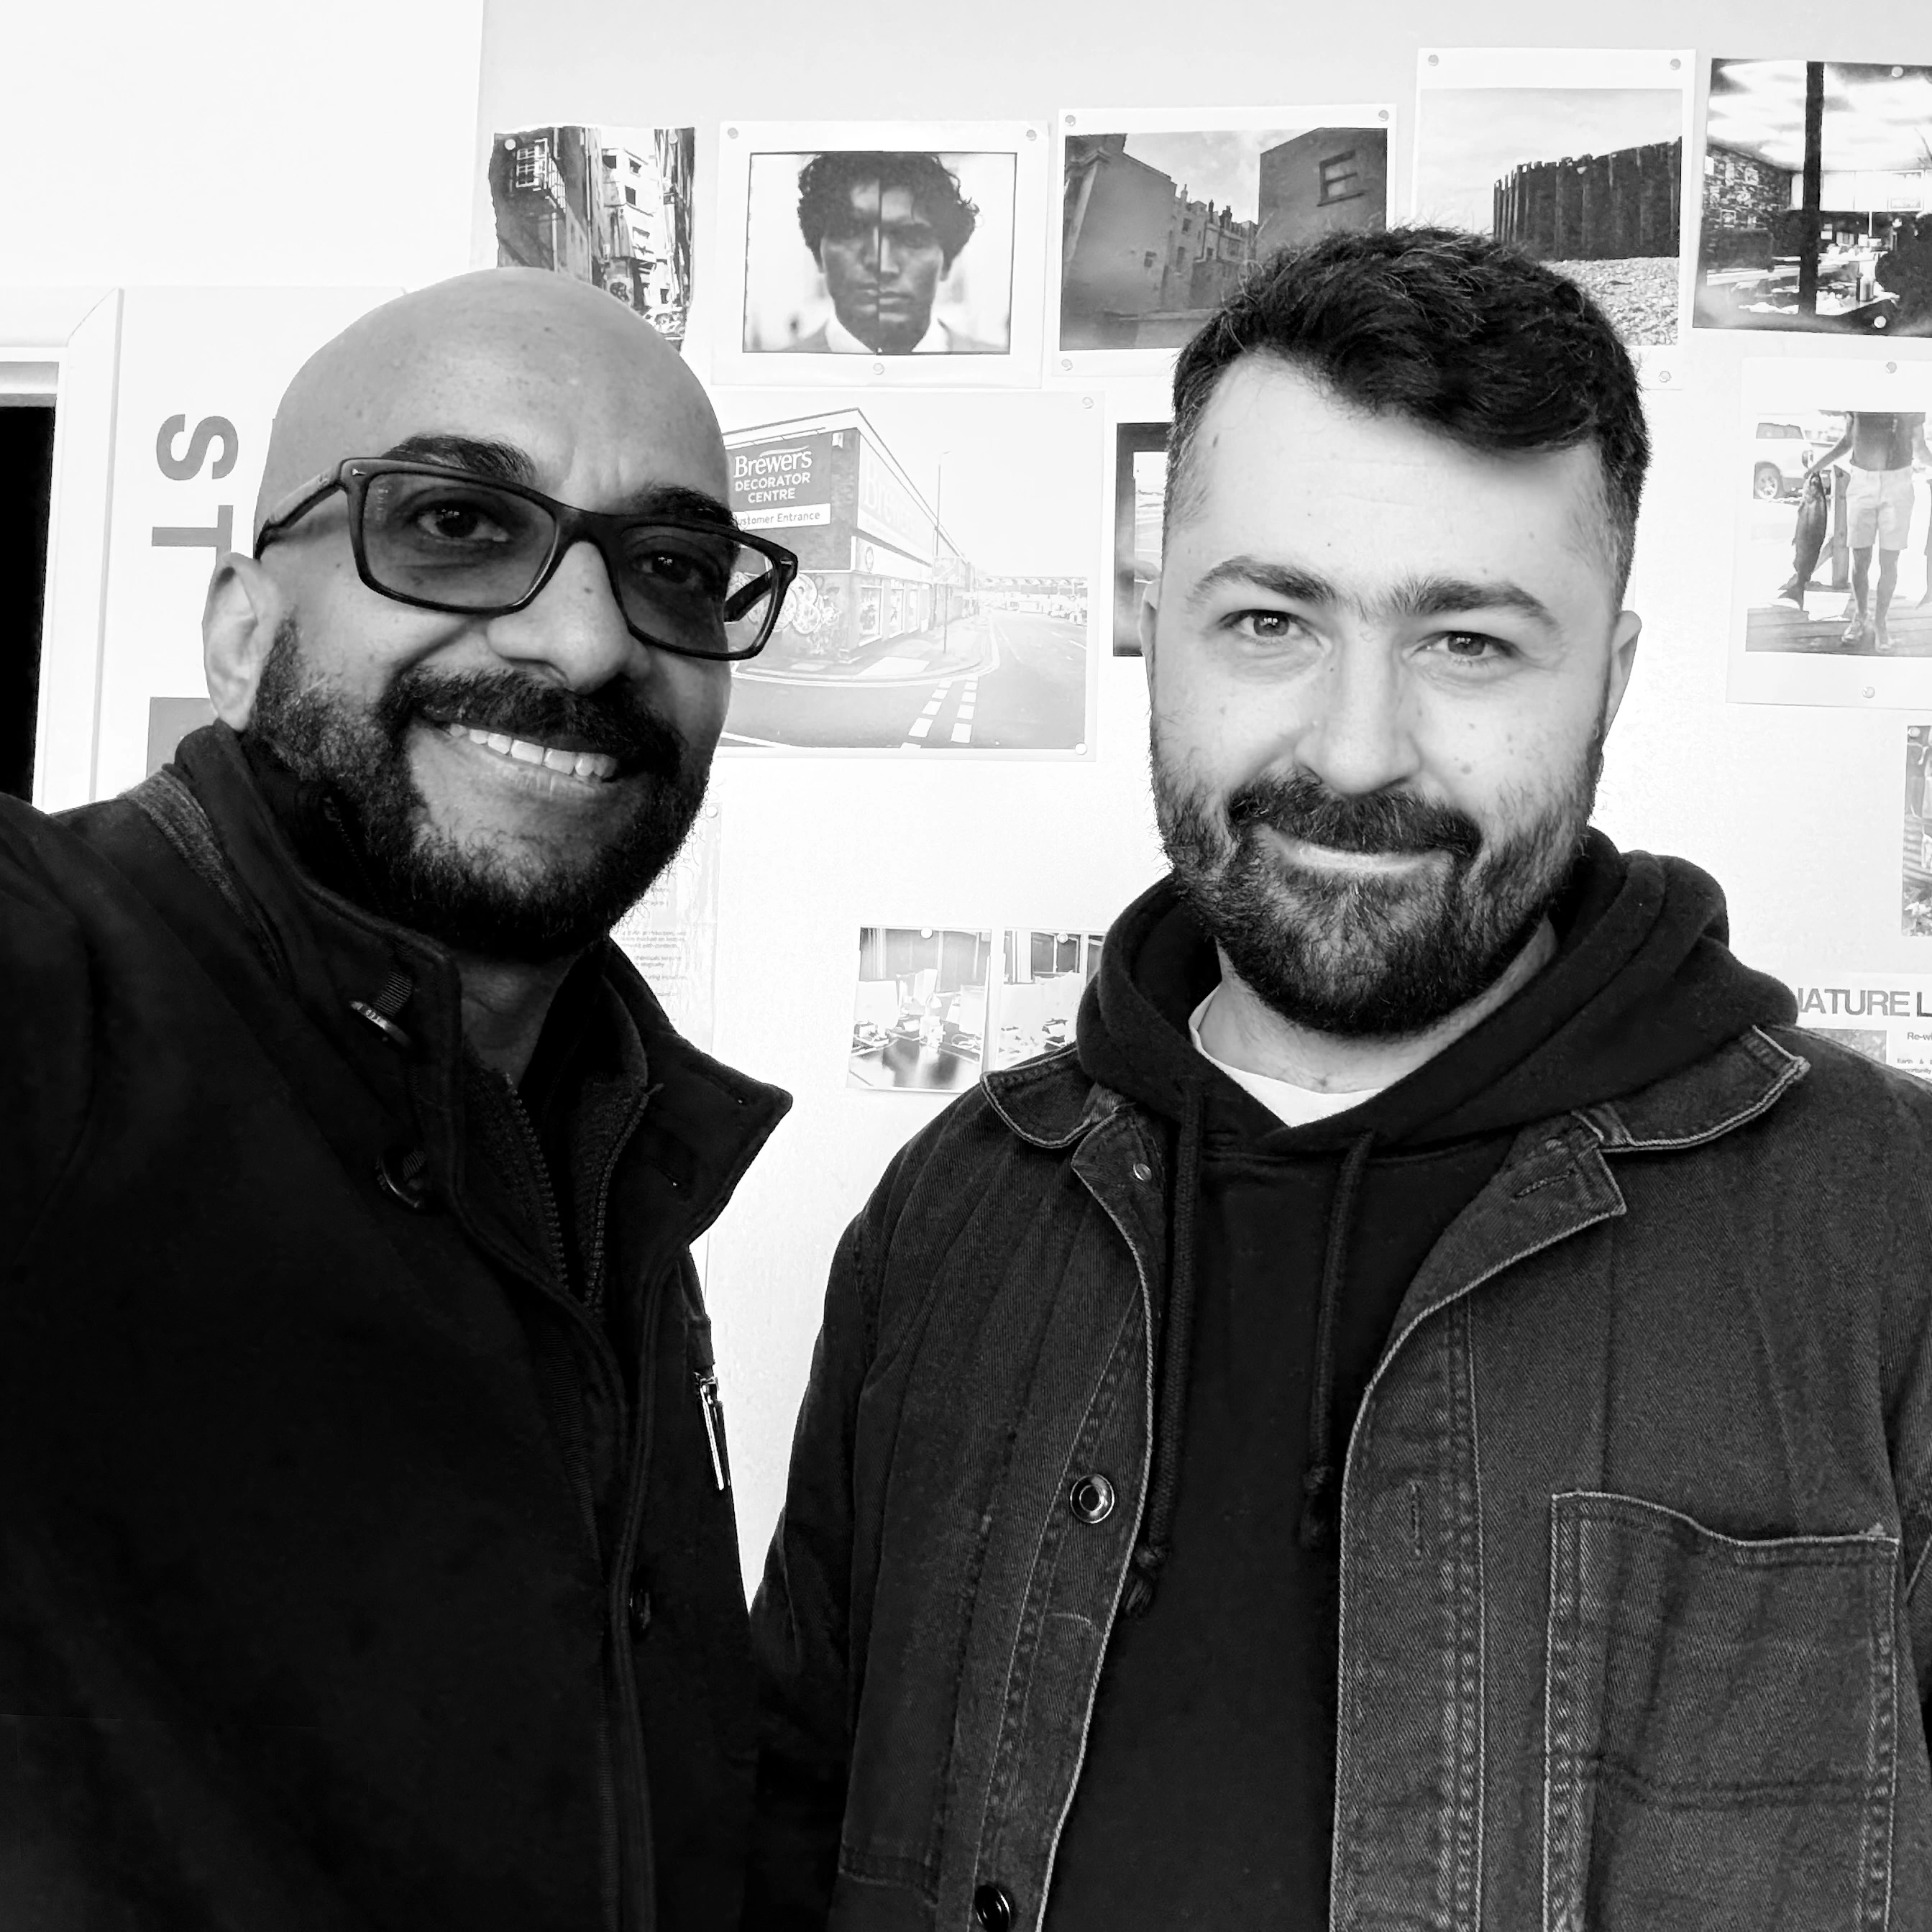
Josh is a photographer himself, and a seriously good one. His work documenting the urban environments of Brighton and Hove is top class - precise, atmospheric, and deeply attentive to the character of the built landscape. Check out Josh’s work. He was generous with his knowledge from the first minute, clearly passionate about the craft and about helping people get into large format properly rather than just selling cameras. We bonded quickly. There is something about spending a full day working through a slow, deliberate process with someone who genuinely cares about getting it right that builds a connection faster than most things do. By the end of the day it felt less like a training session and more like a conversation between two people who care about the same things.
The Sequence
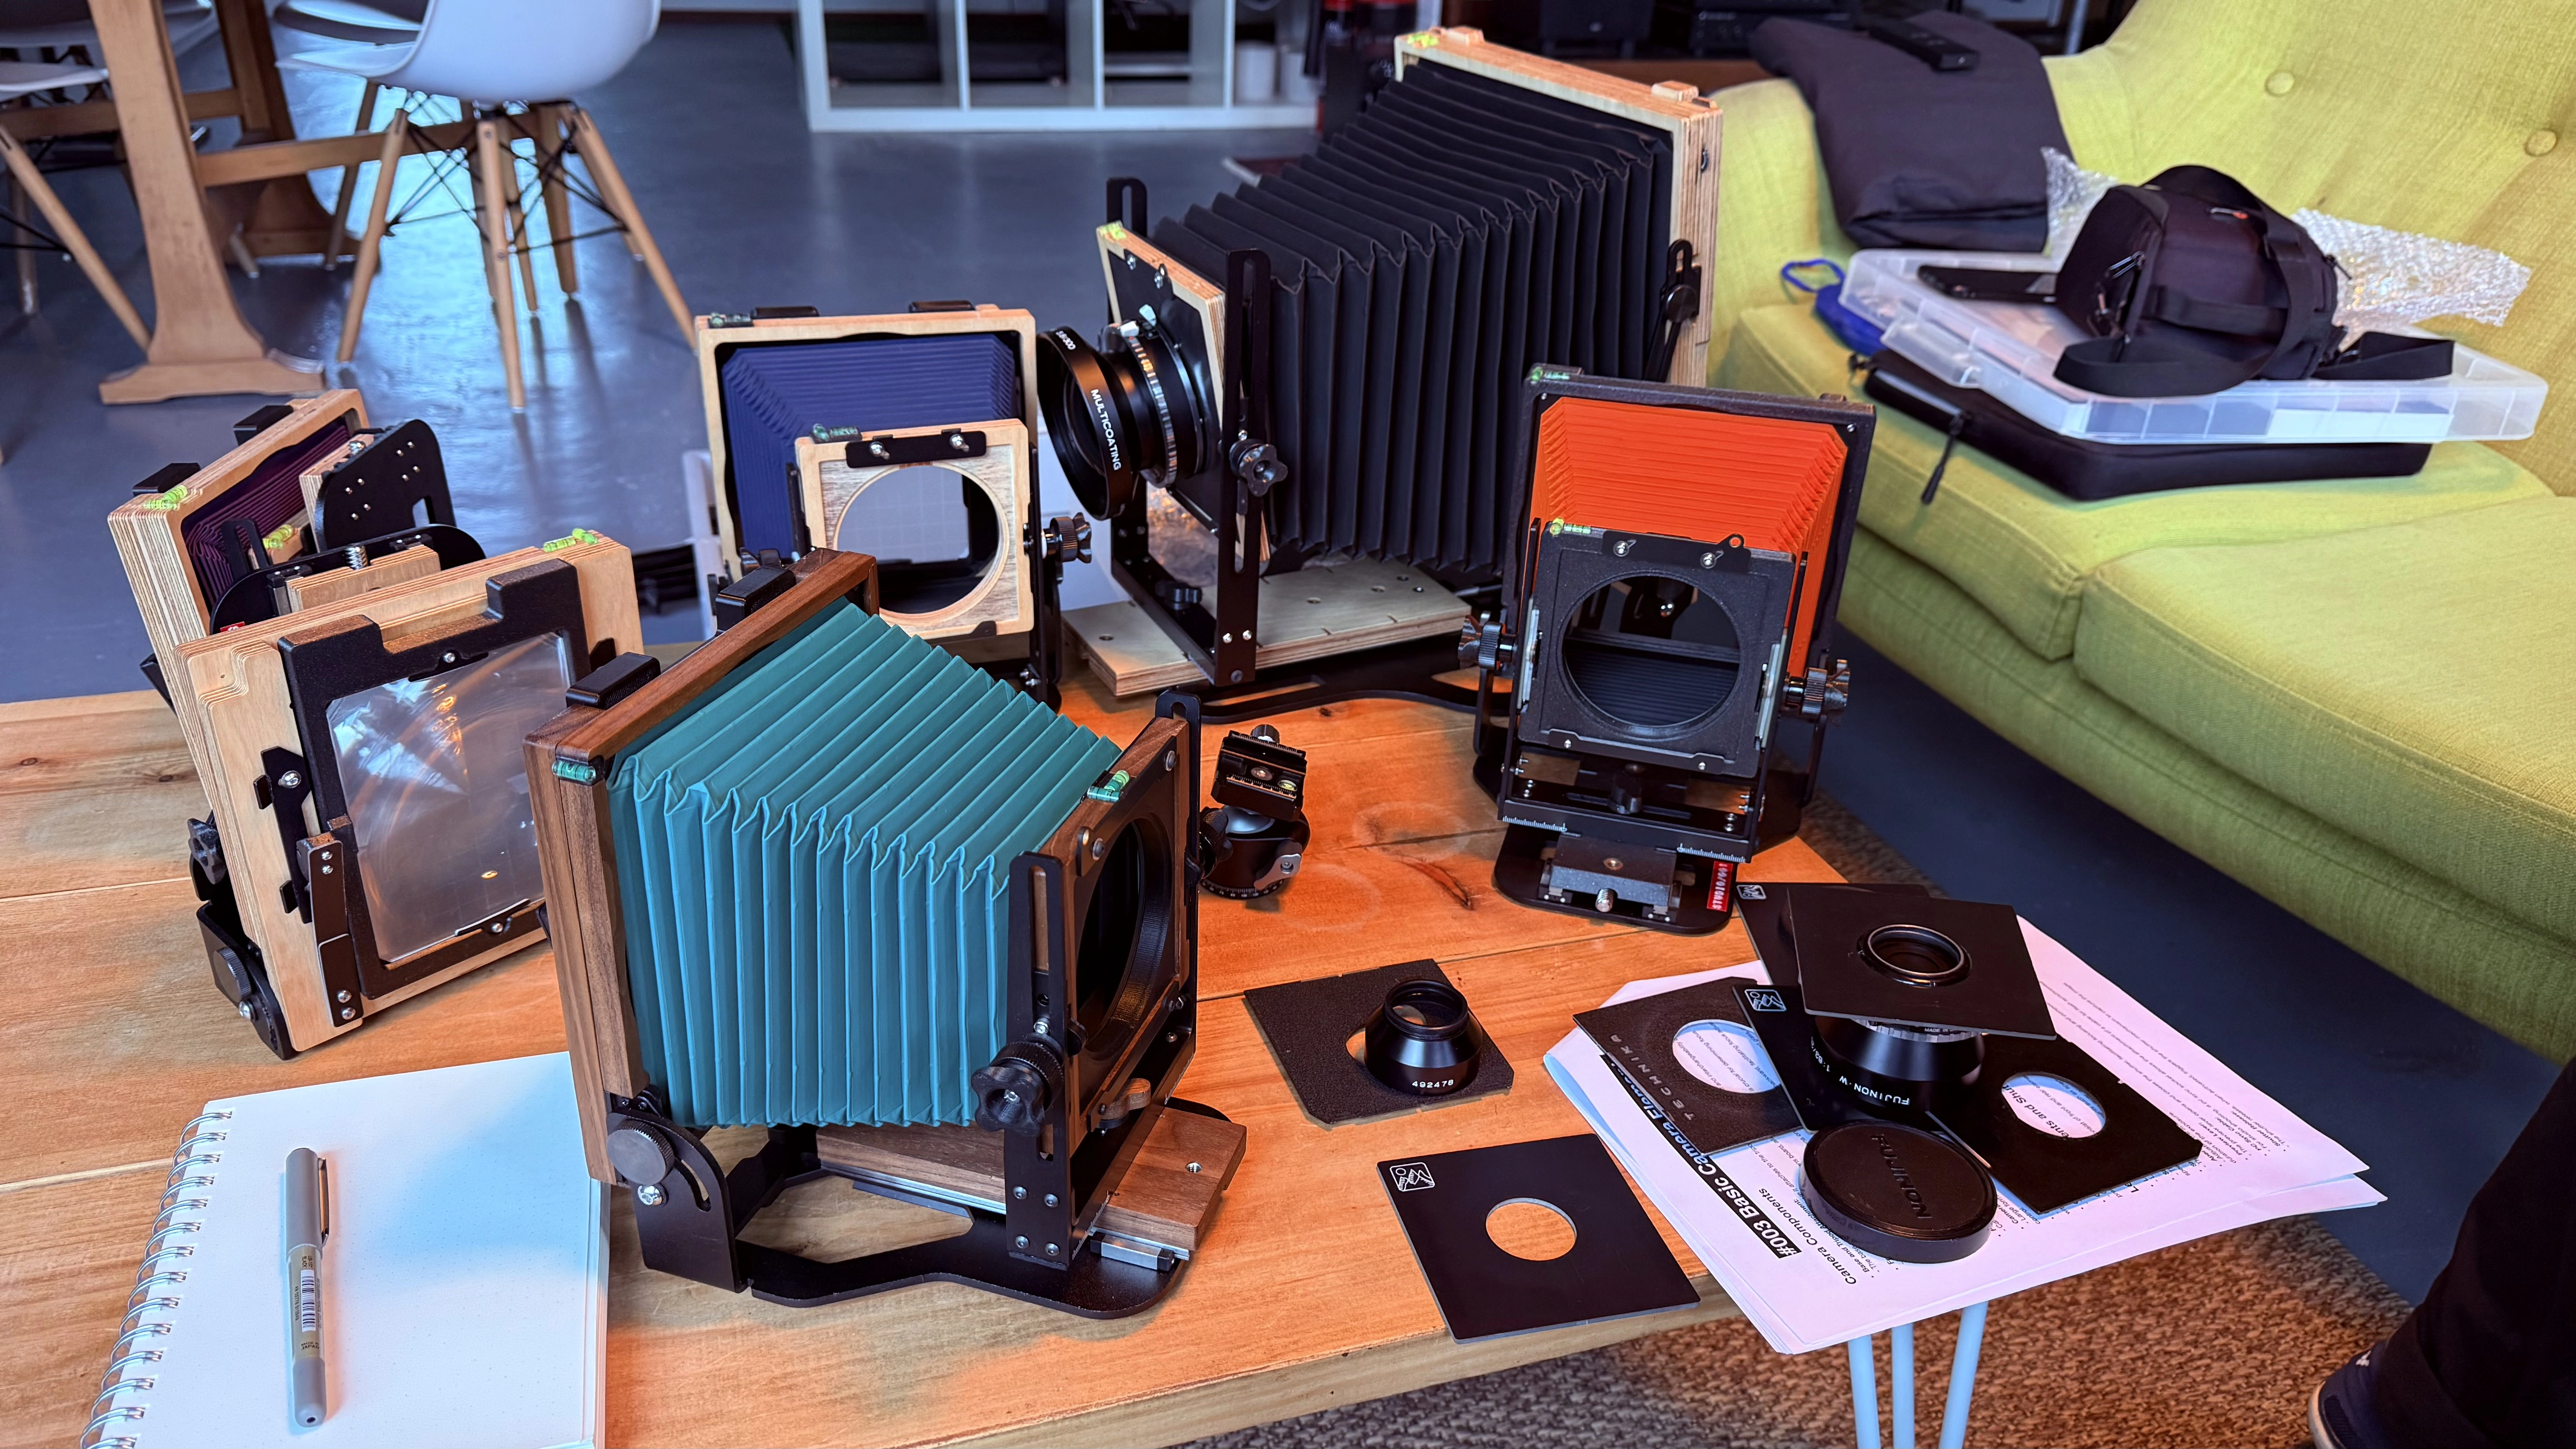
The camera itself is not complicated. What it requires is a strict order of operations, and the willingness to slow down enough to follow that order every single time without rushing. The difficulty is not in any individual step. It is in holding the whole chain intact until it becomes muscle memory, because if you skip a step or do them out of sequence, you either get a blank sheet or an overexposed one, and either way you have wasted something irreplaceable.
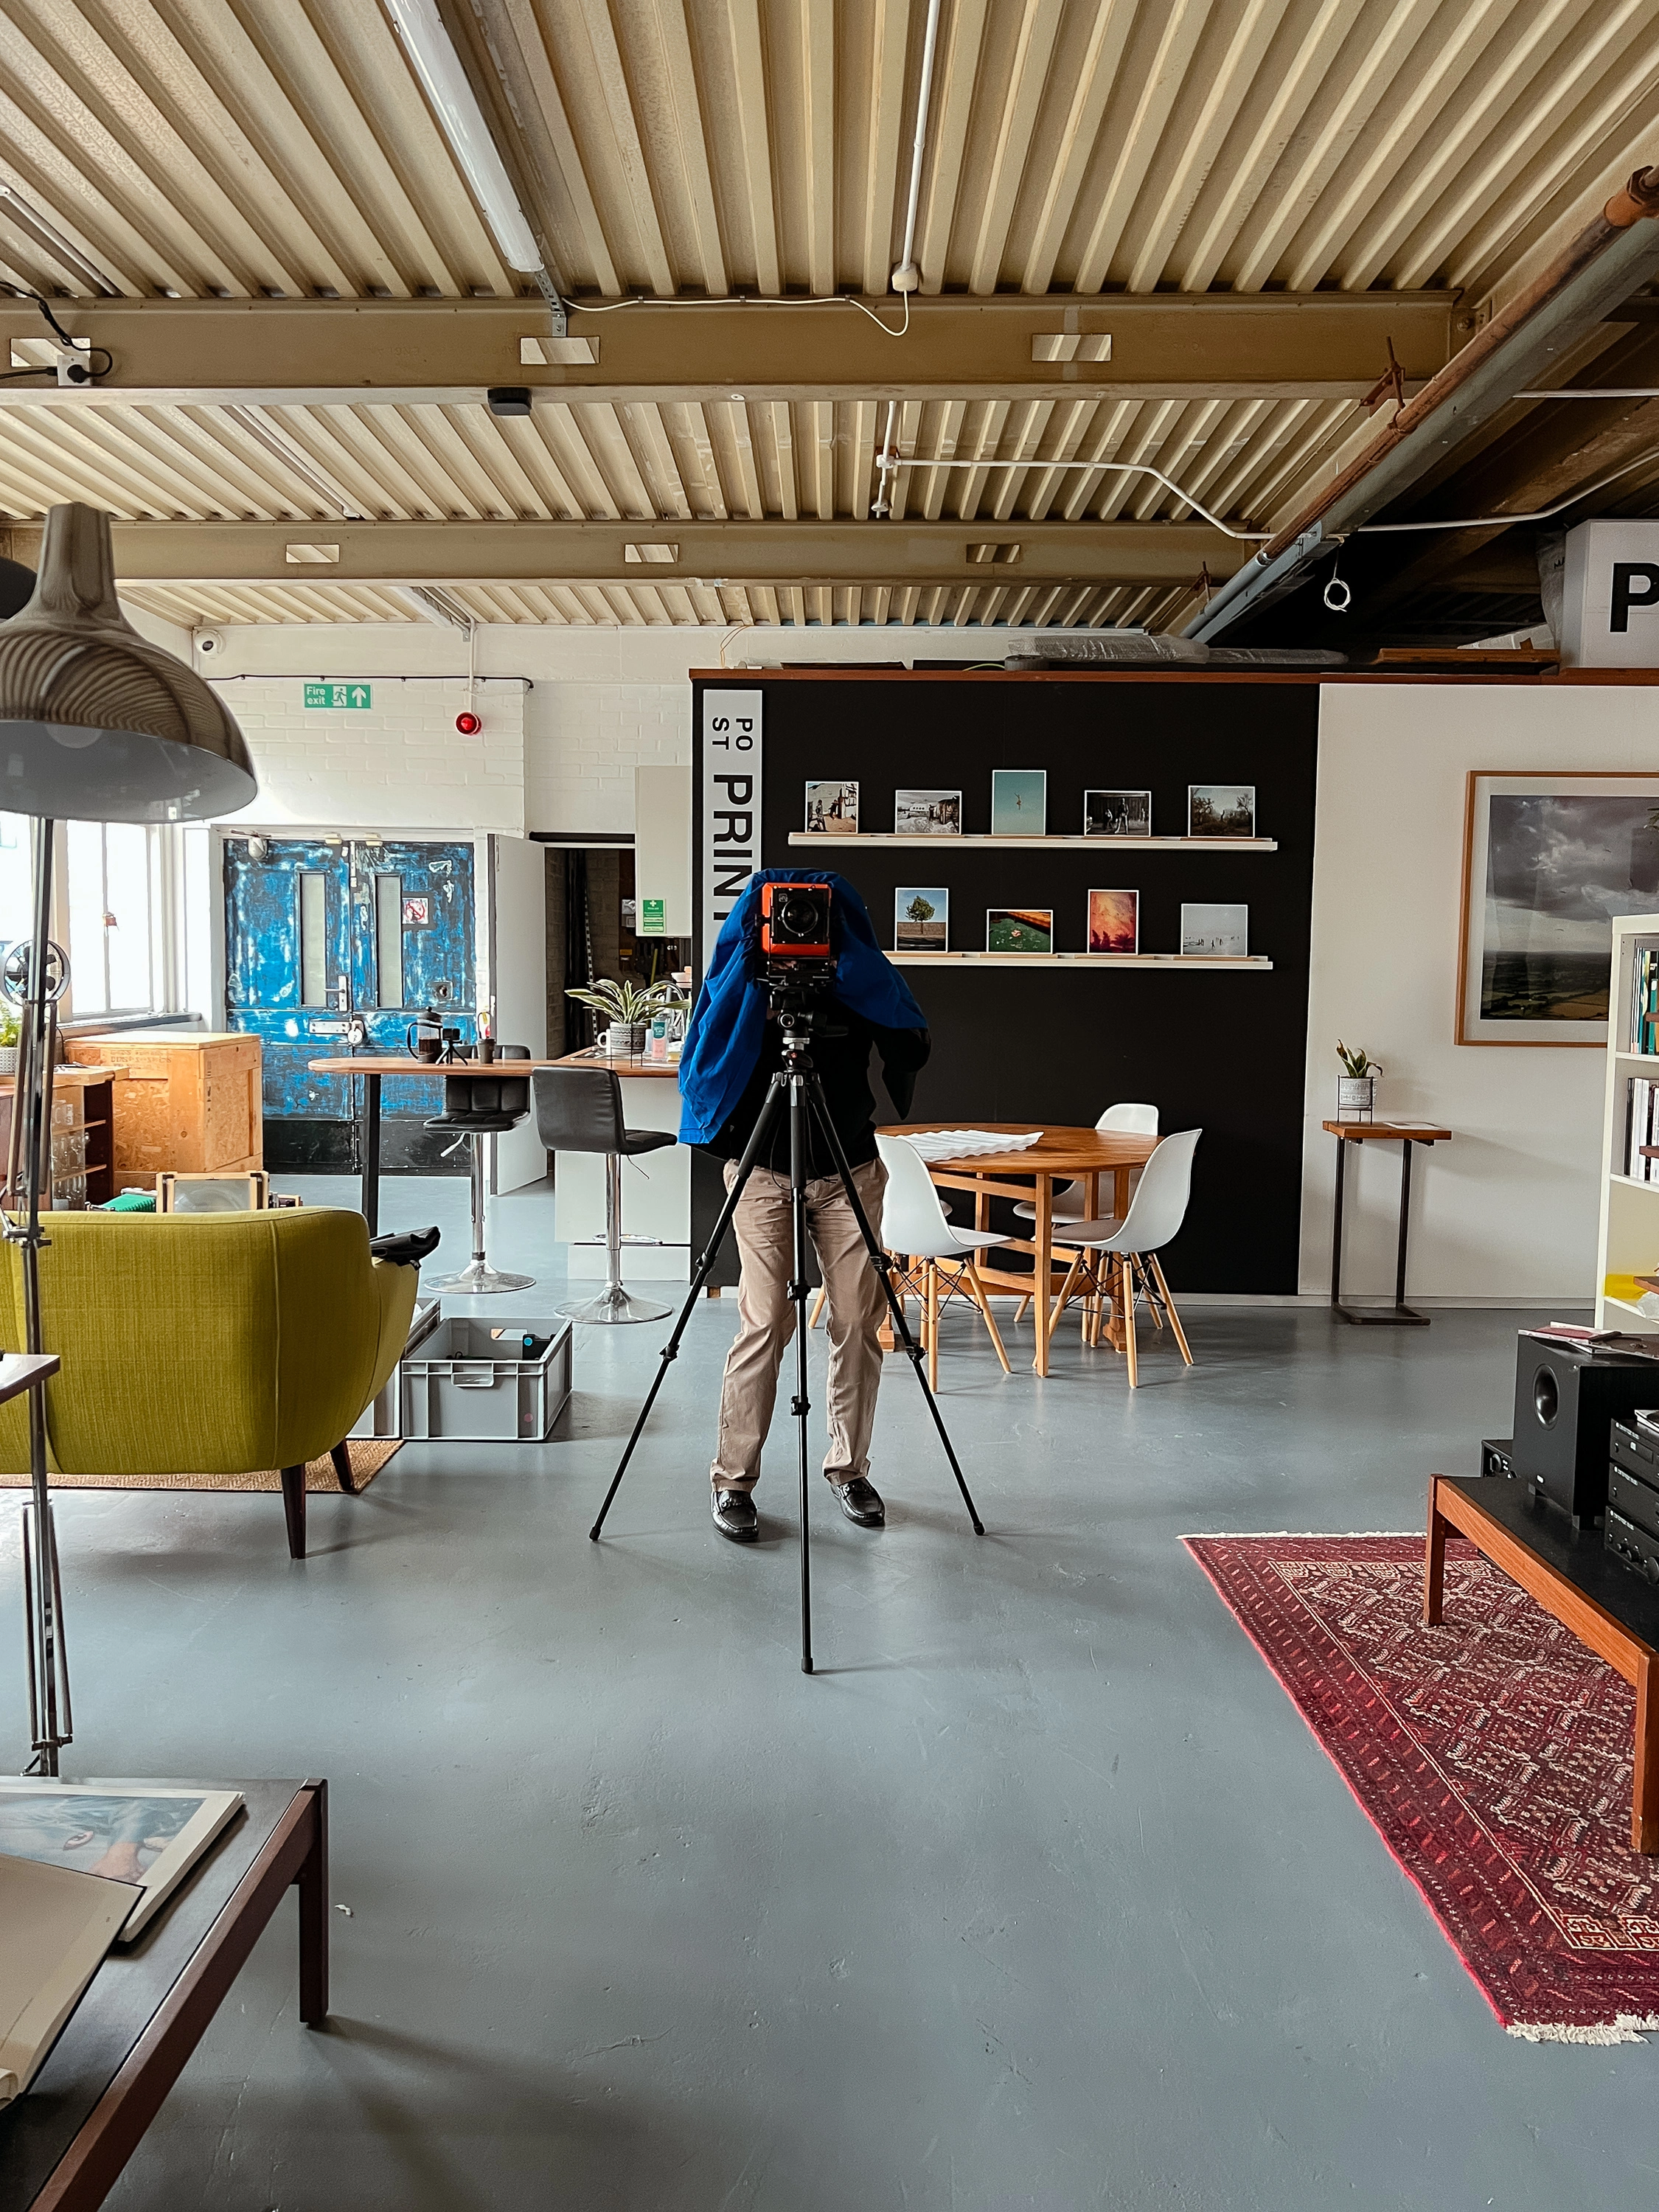
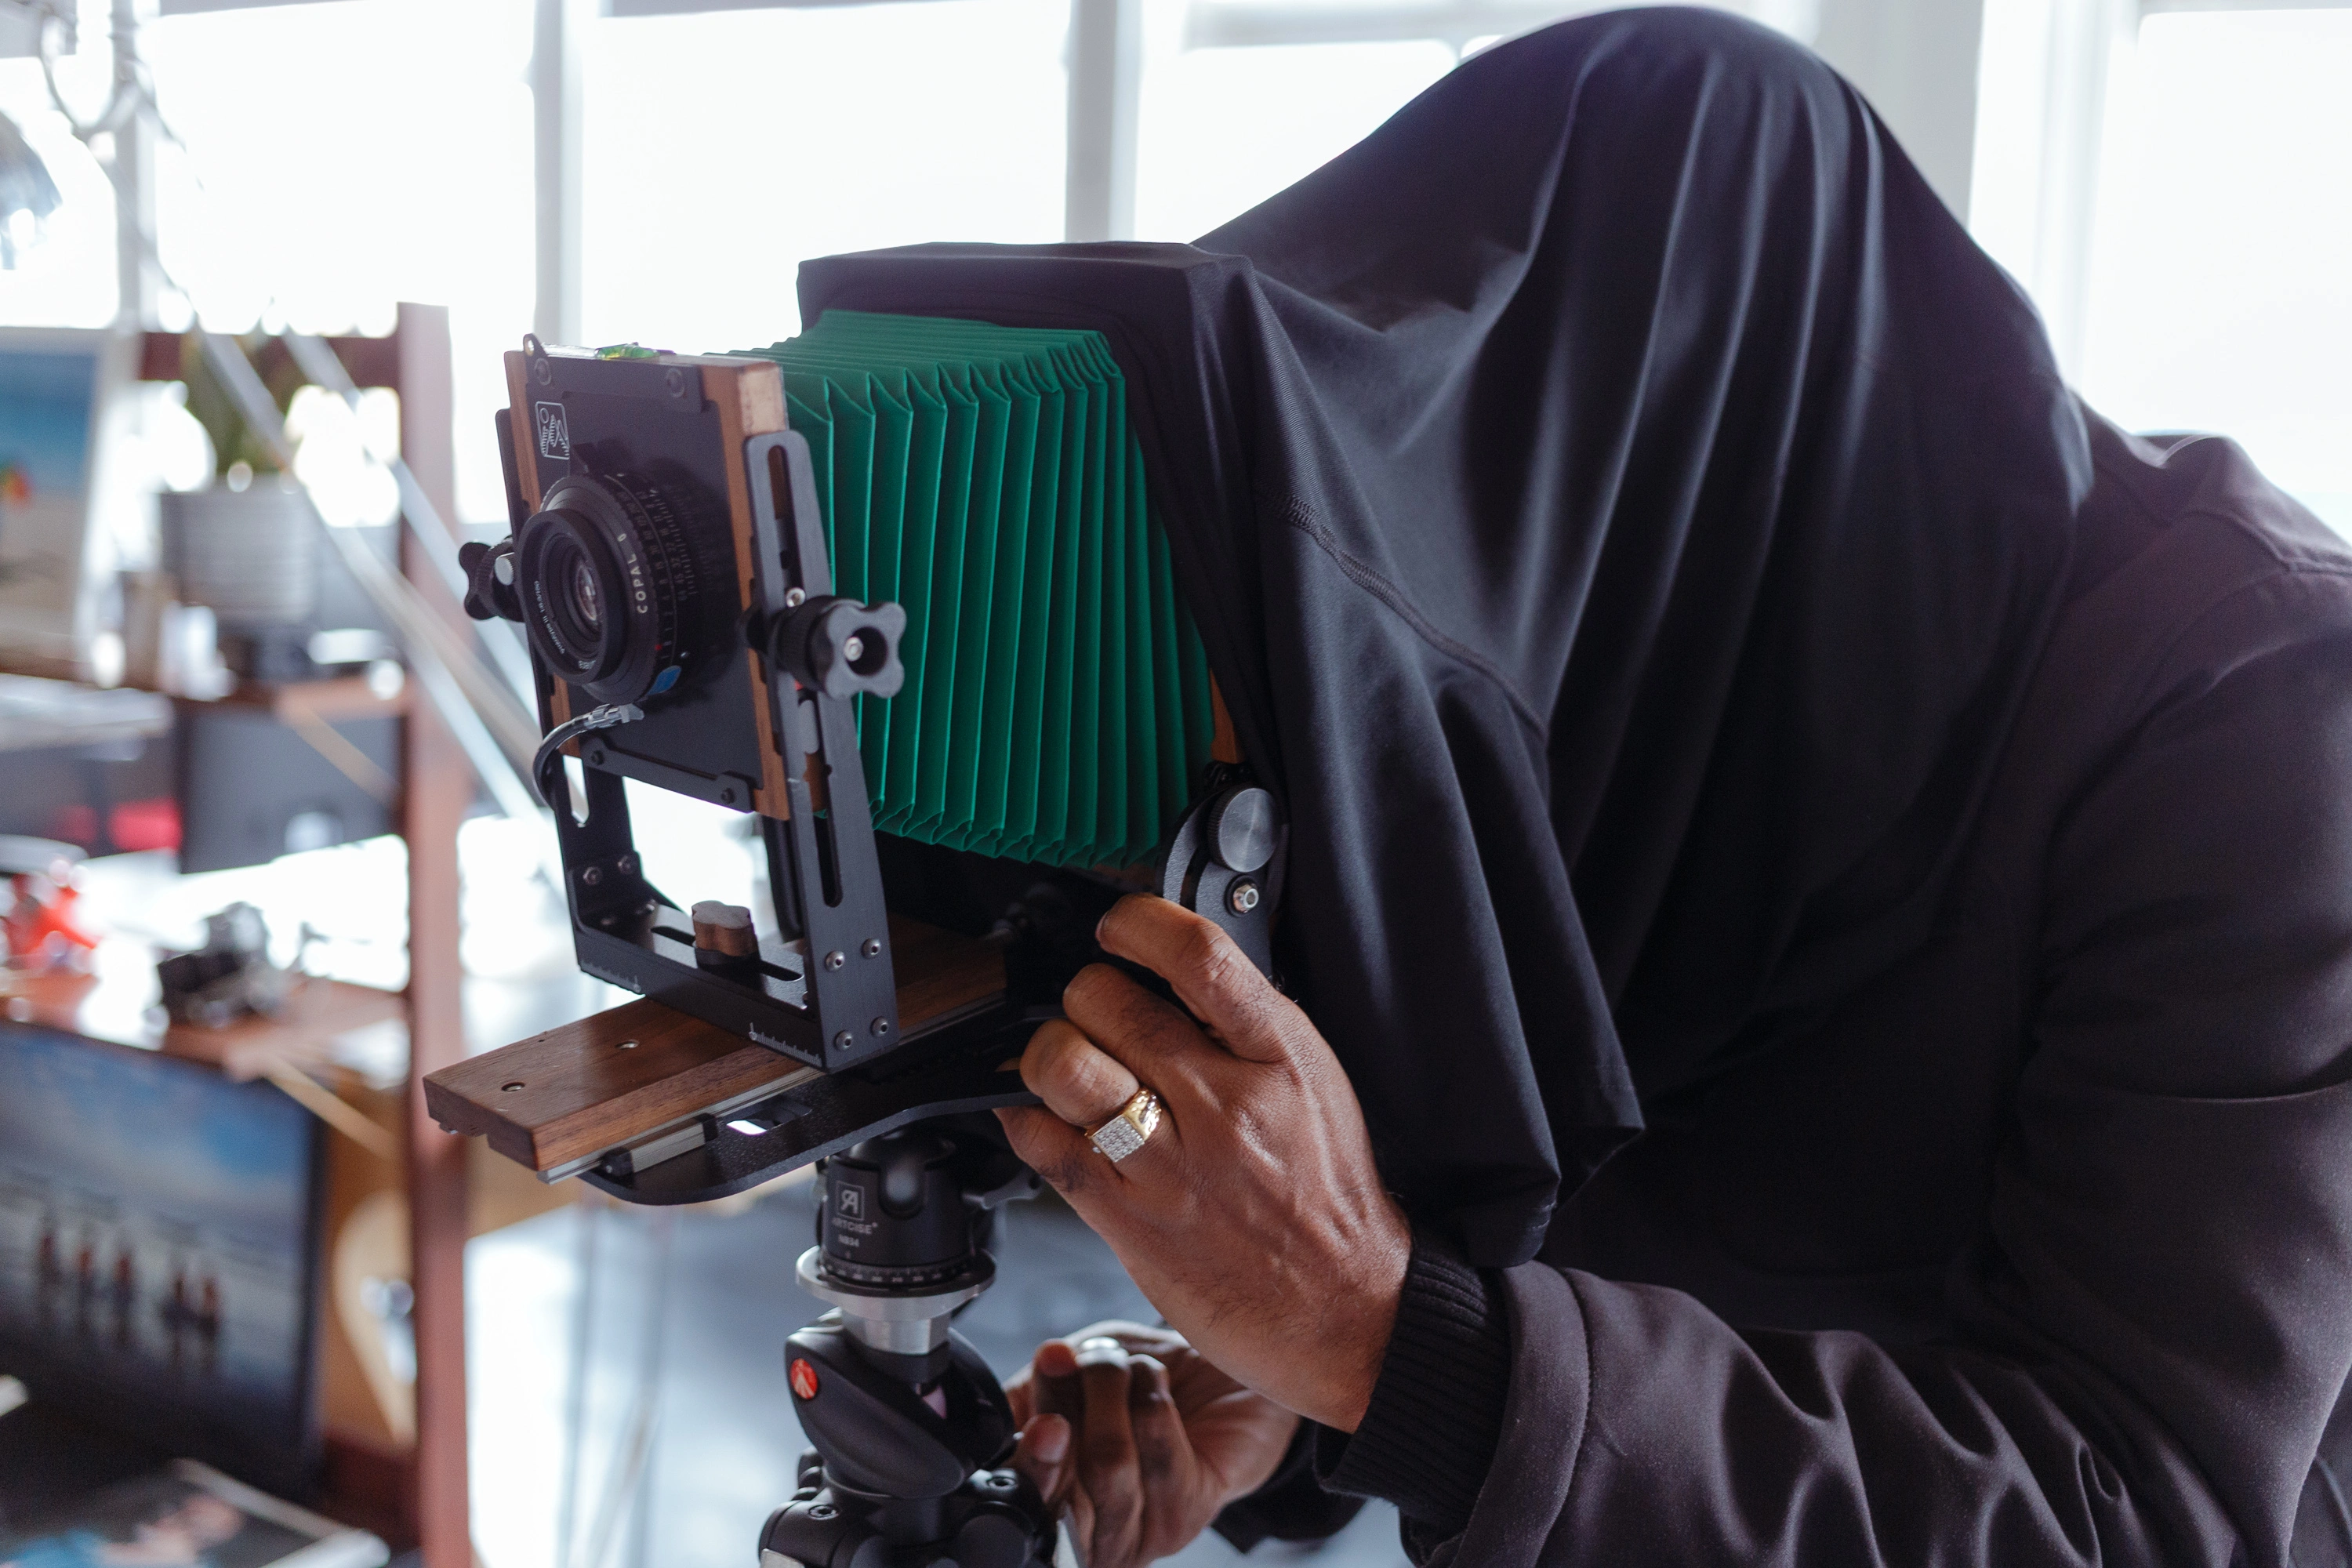
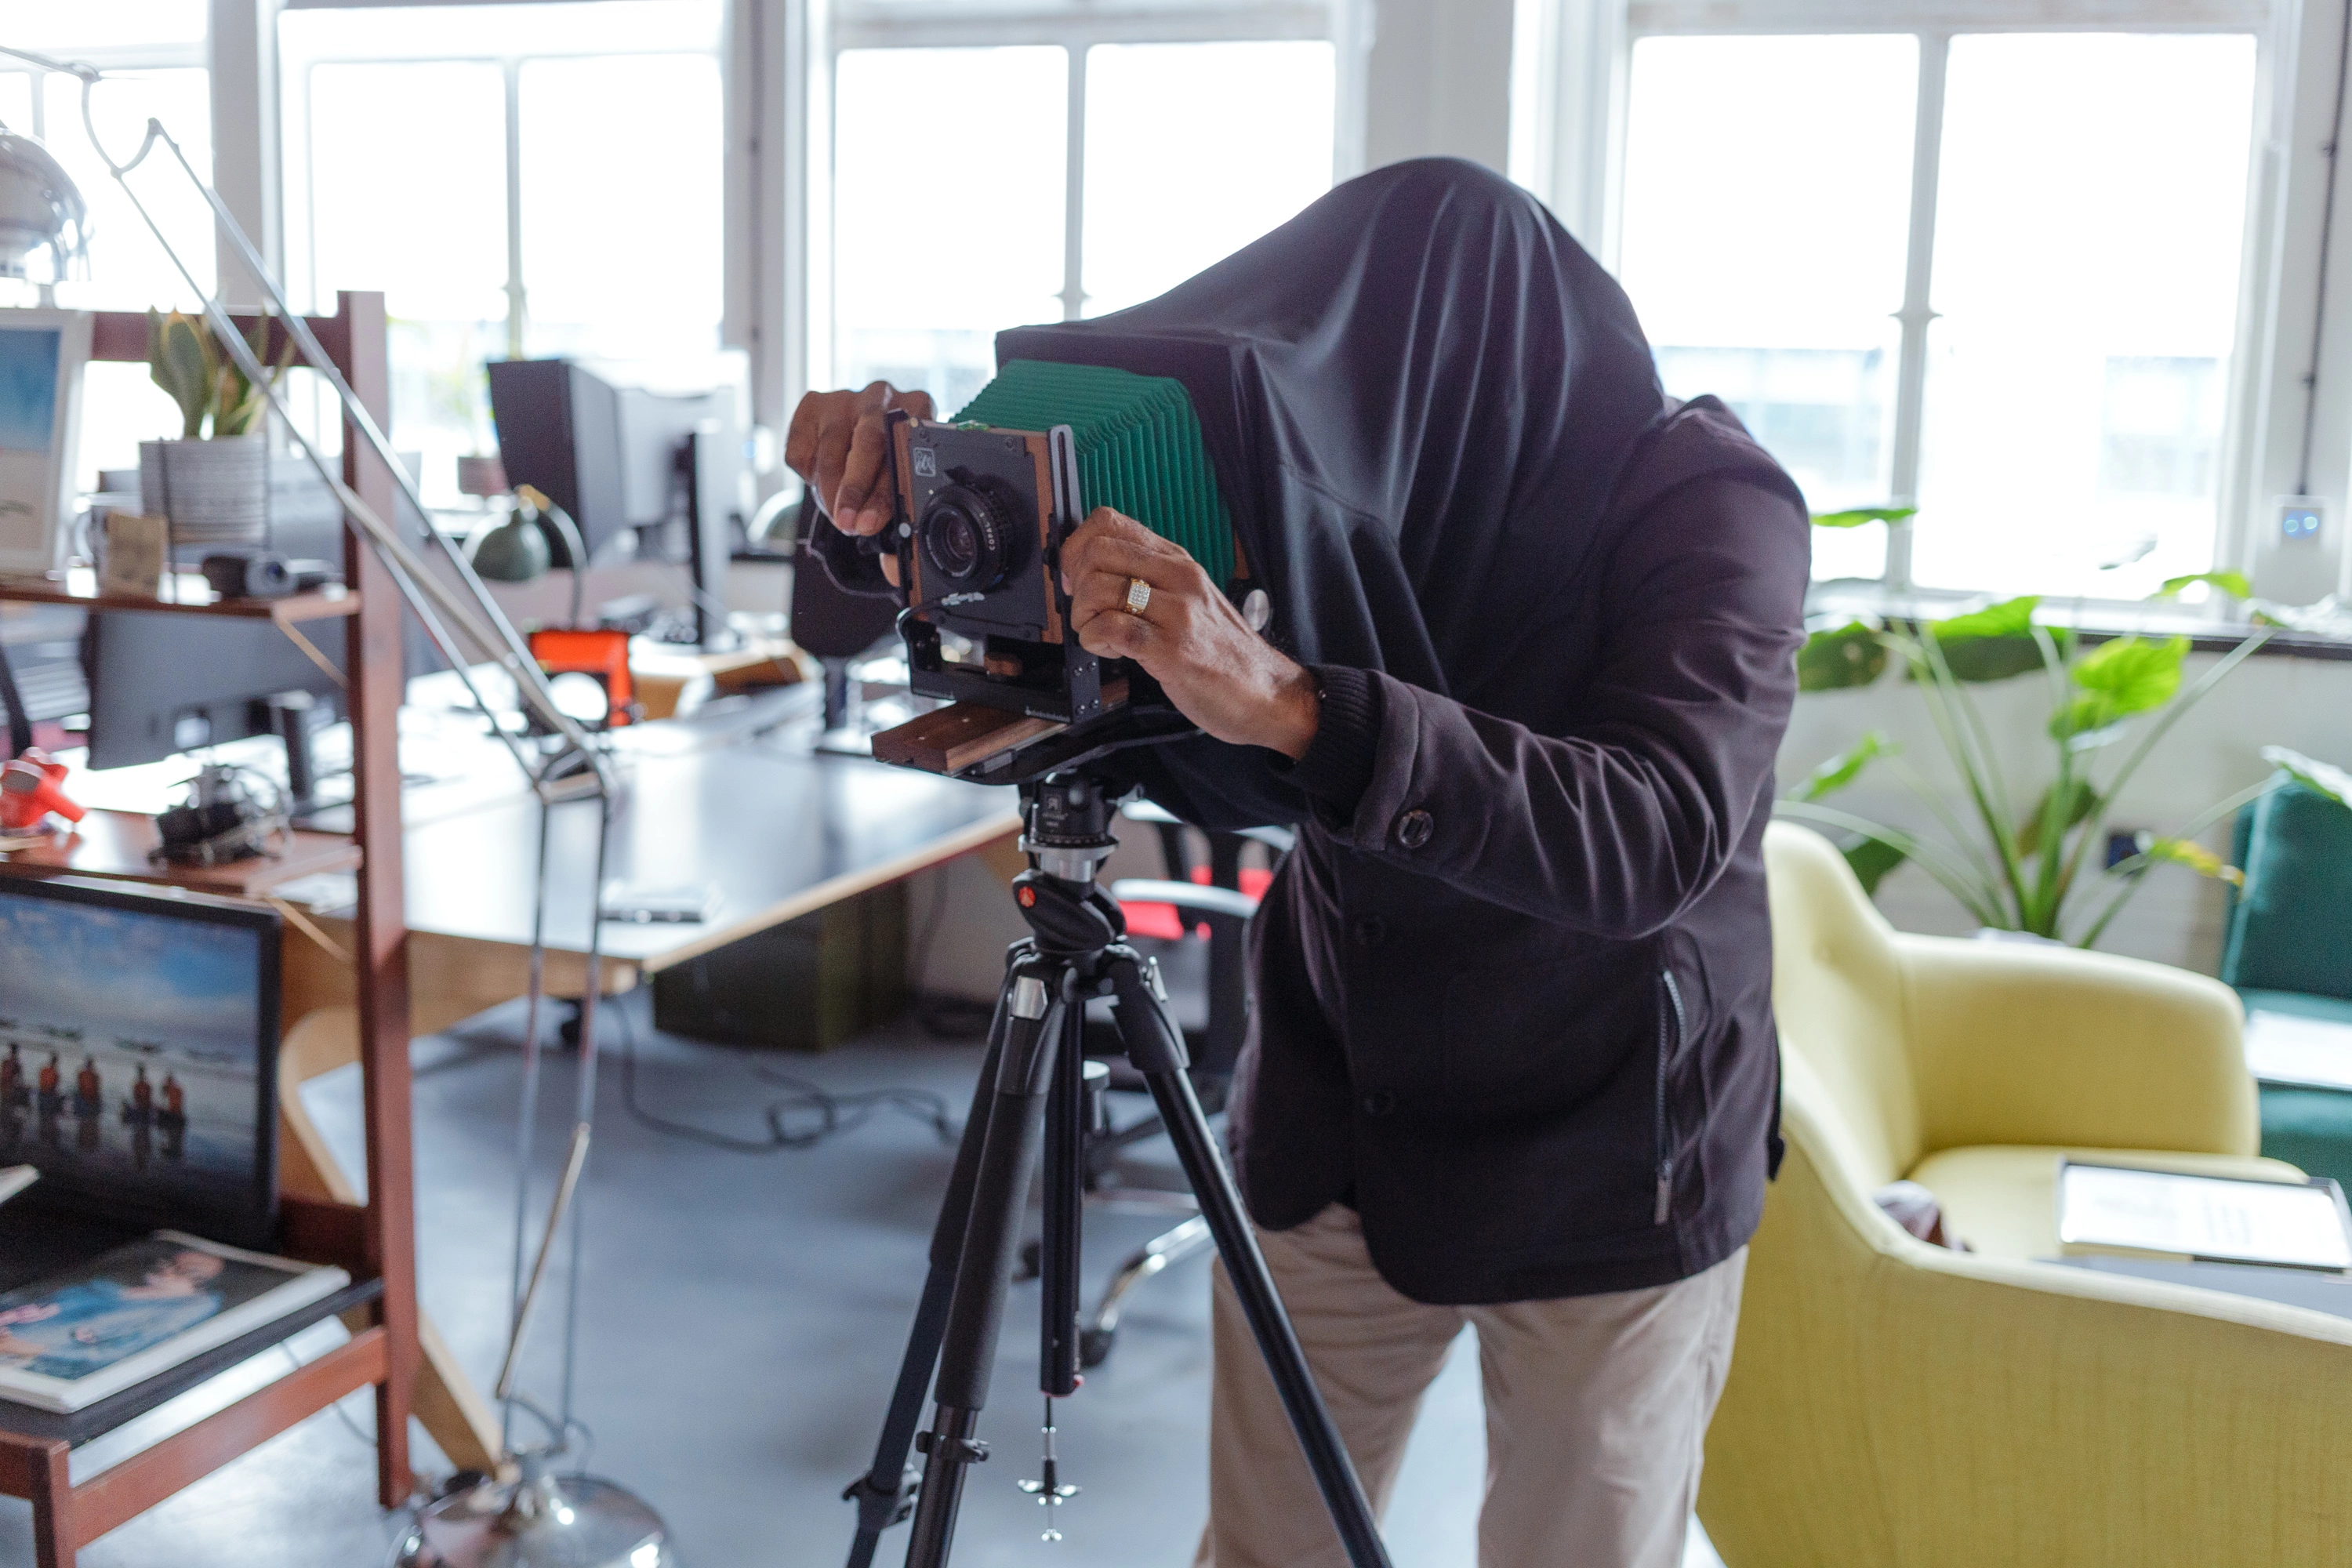
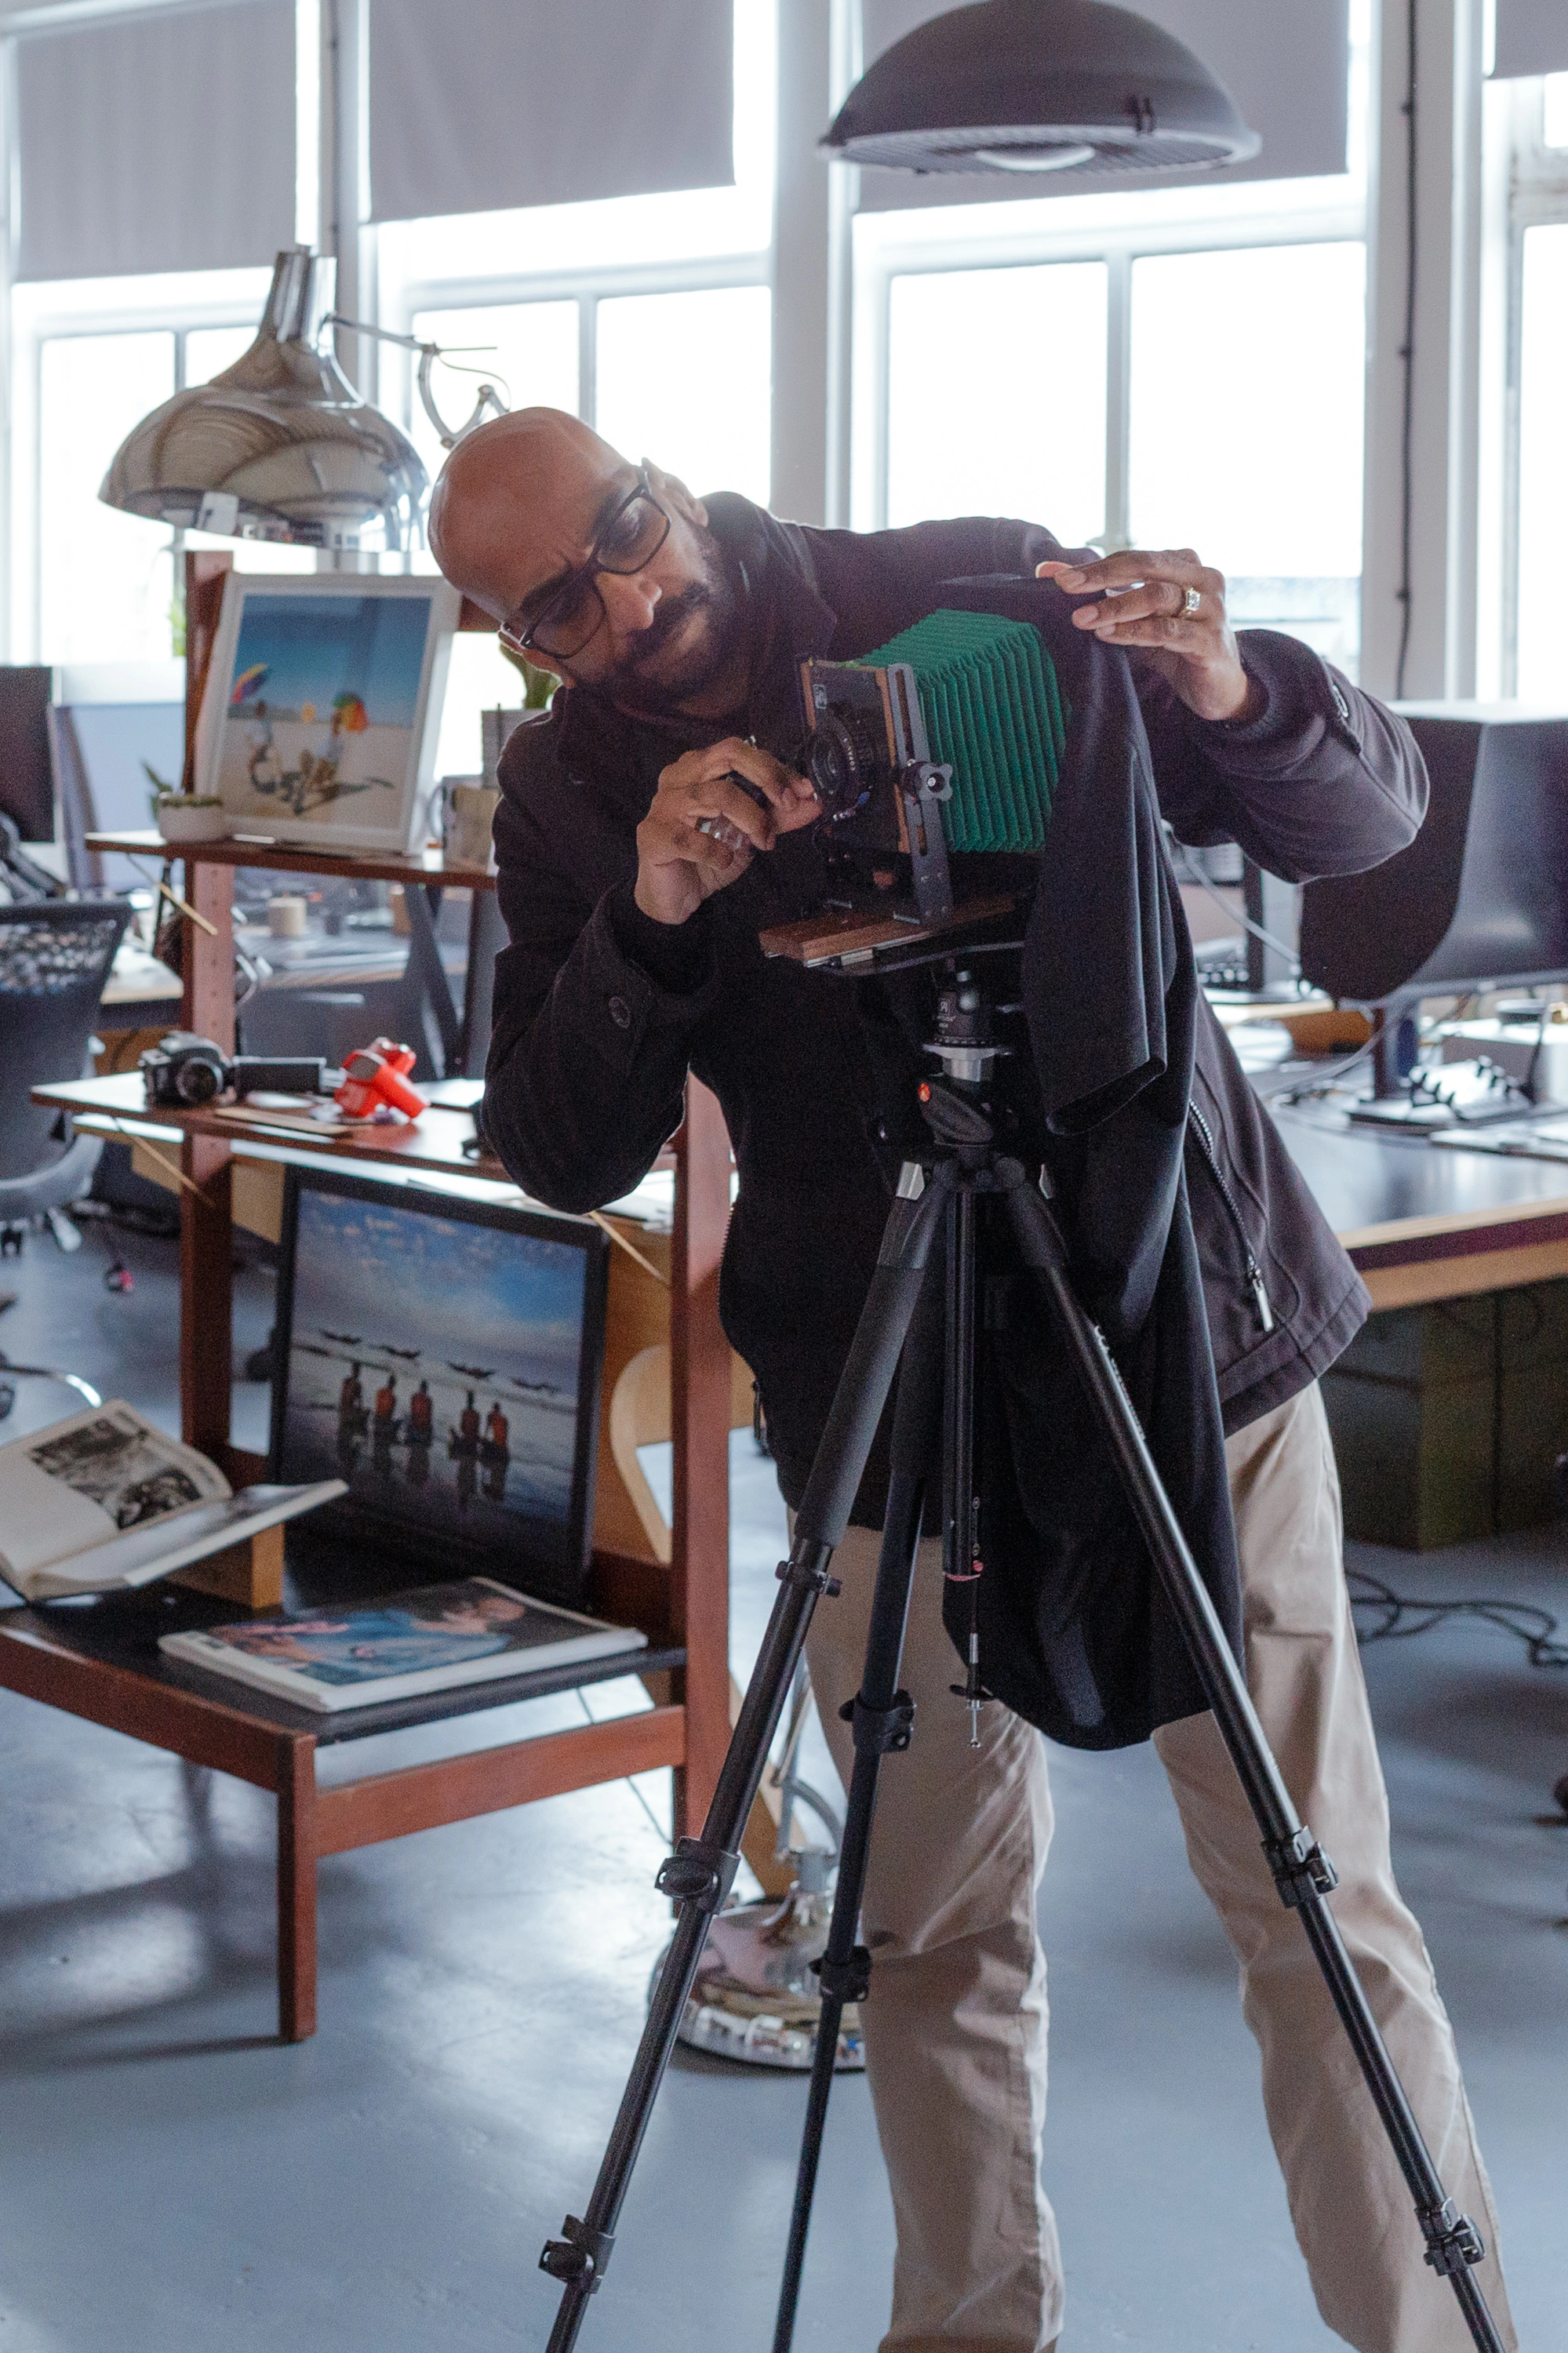
Here is how it works. You compose first, with the aperture wide open so the ground glass is as bright as possible, and you use a loupe to focus. An 8x loupe for portrait work. You get in under the dark cloth and take your time. There is no rushing this part. The composition has to be settled before anything else.
Once you are sharp and composed, you meter. This is where you make a genuine photographic decision rather than just reading a number. Spot metering points at the subject’s face and returns a reading for that specific area, but before you accept it you have to decide what the photograph is actually doing. Are you exposing to hold the face while everything else falls into shadow? Or are you trying to preserve a relationship between the face, the clothing, and the environment behind them? The principle I am taking away from today is to expose for the highlights and let the rest find its own level. The shadows will look after themselves. Protect the bright areas and the image holds integrity.
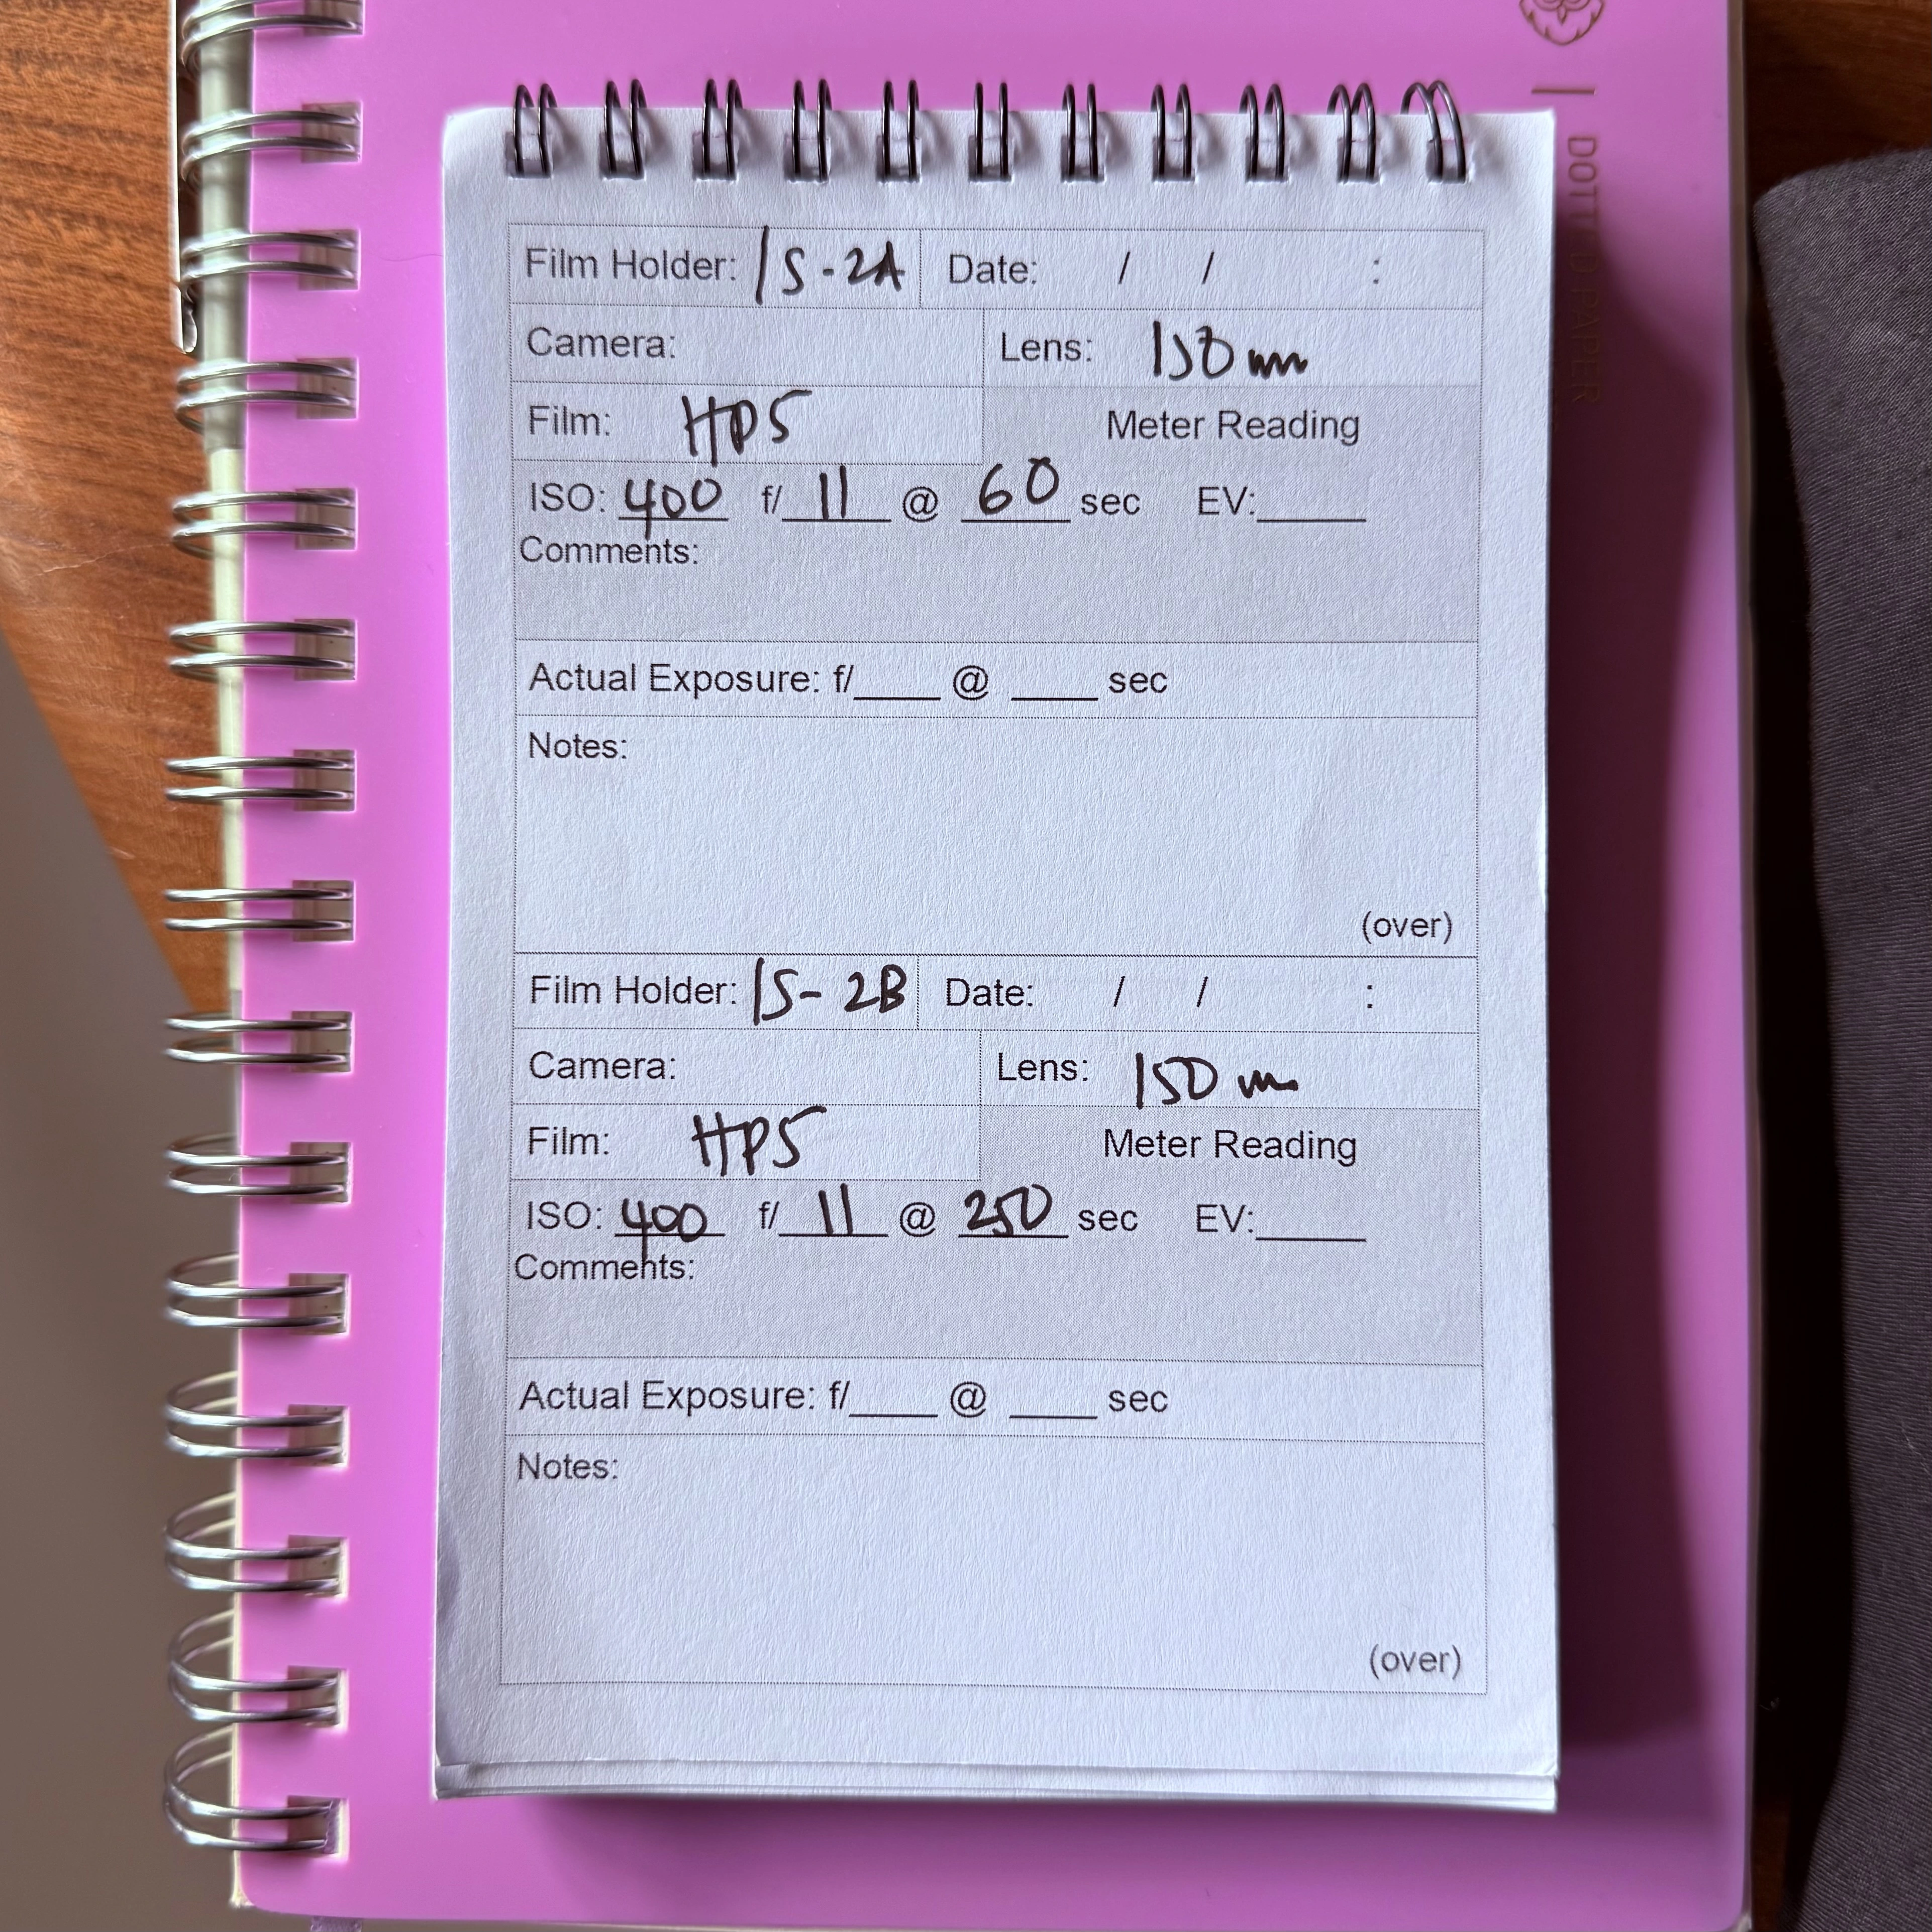
After metering, you set the shutter speed and aperture on the lens, then close the aperture so the film stays in darkness. You slide the film holder into the back, cock the shutter and fire it once without removing the dark slide, just to confirm the mechanism is working as expected. Then you pull the dark slide, look at your subject, settle them, and fire.
The dark slide discipline sounds like a small thing until you understand what is at stake. The moment a sheet is exposed, you flip the dark slide so the black band faces outward. That marking is your only record of which sheets have been used and which have not. Miss it once and you will pull an exposed sheet back out thinking it is fresh. With film at roughly £2–3 a sheet and development on top of that, the financial cost is real, but the cost of losing an irreplaceable portrait of someone who gave you their time is the one that matters.
Loading in the Dark
The darkroom session was its own separate education and one I did not expect to find so absorbing. Loading sheet film in complete darkness is entirely tactile. You have no visual reference at all. What you have is the notch.
You hold the film in your right hand and feel for the notch at the corner. Notch in the right hand means the emulsion is facing up and you are oriented correctly. From there you pull the dark slide back, open the top flap on the holder, and feed the film in from the top so it sits in the rails. There are small retaining notches on both sides of the holder and the film needs to go under those, not on top of them. If it sits on top it will shift when you move the holder, and a shifted negative is a ruined sheet. Push the film down until it is seated properly, close the flap, push the dark slide back in.
Thirty seconds, once you know what you are doing. The first few times, considerably longer. I will practice this at home in a changing bag before the first real shoot, until the movement is automatic.

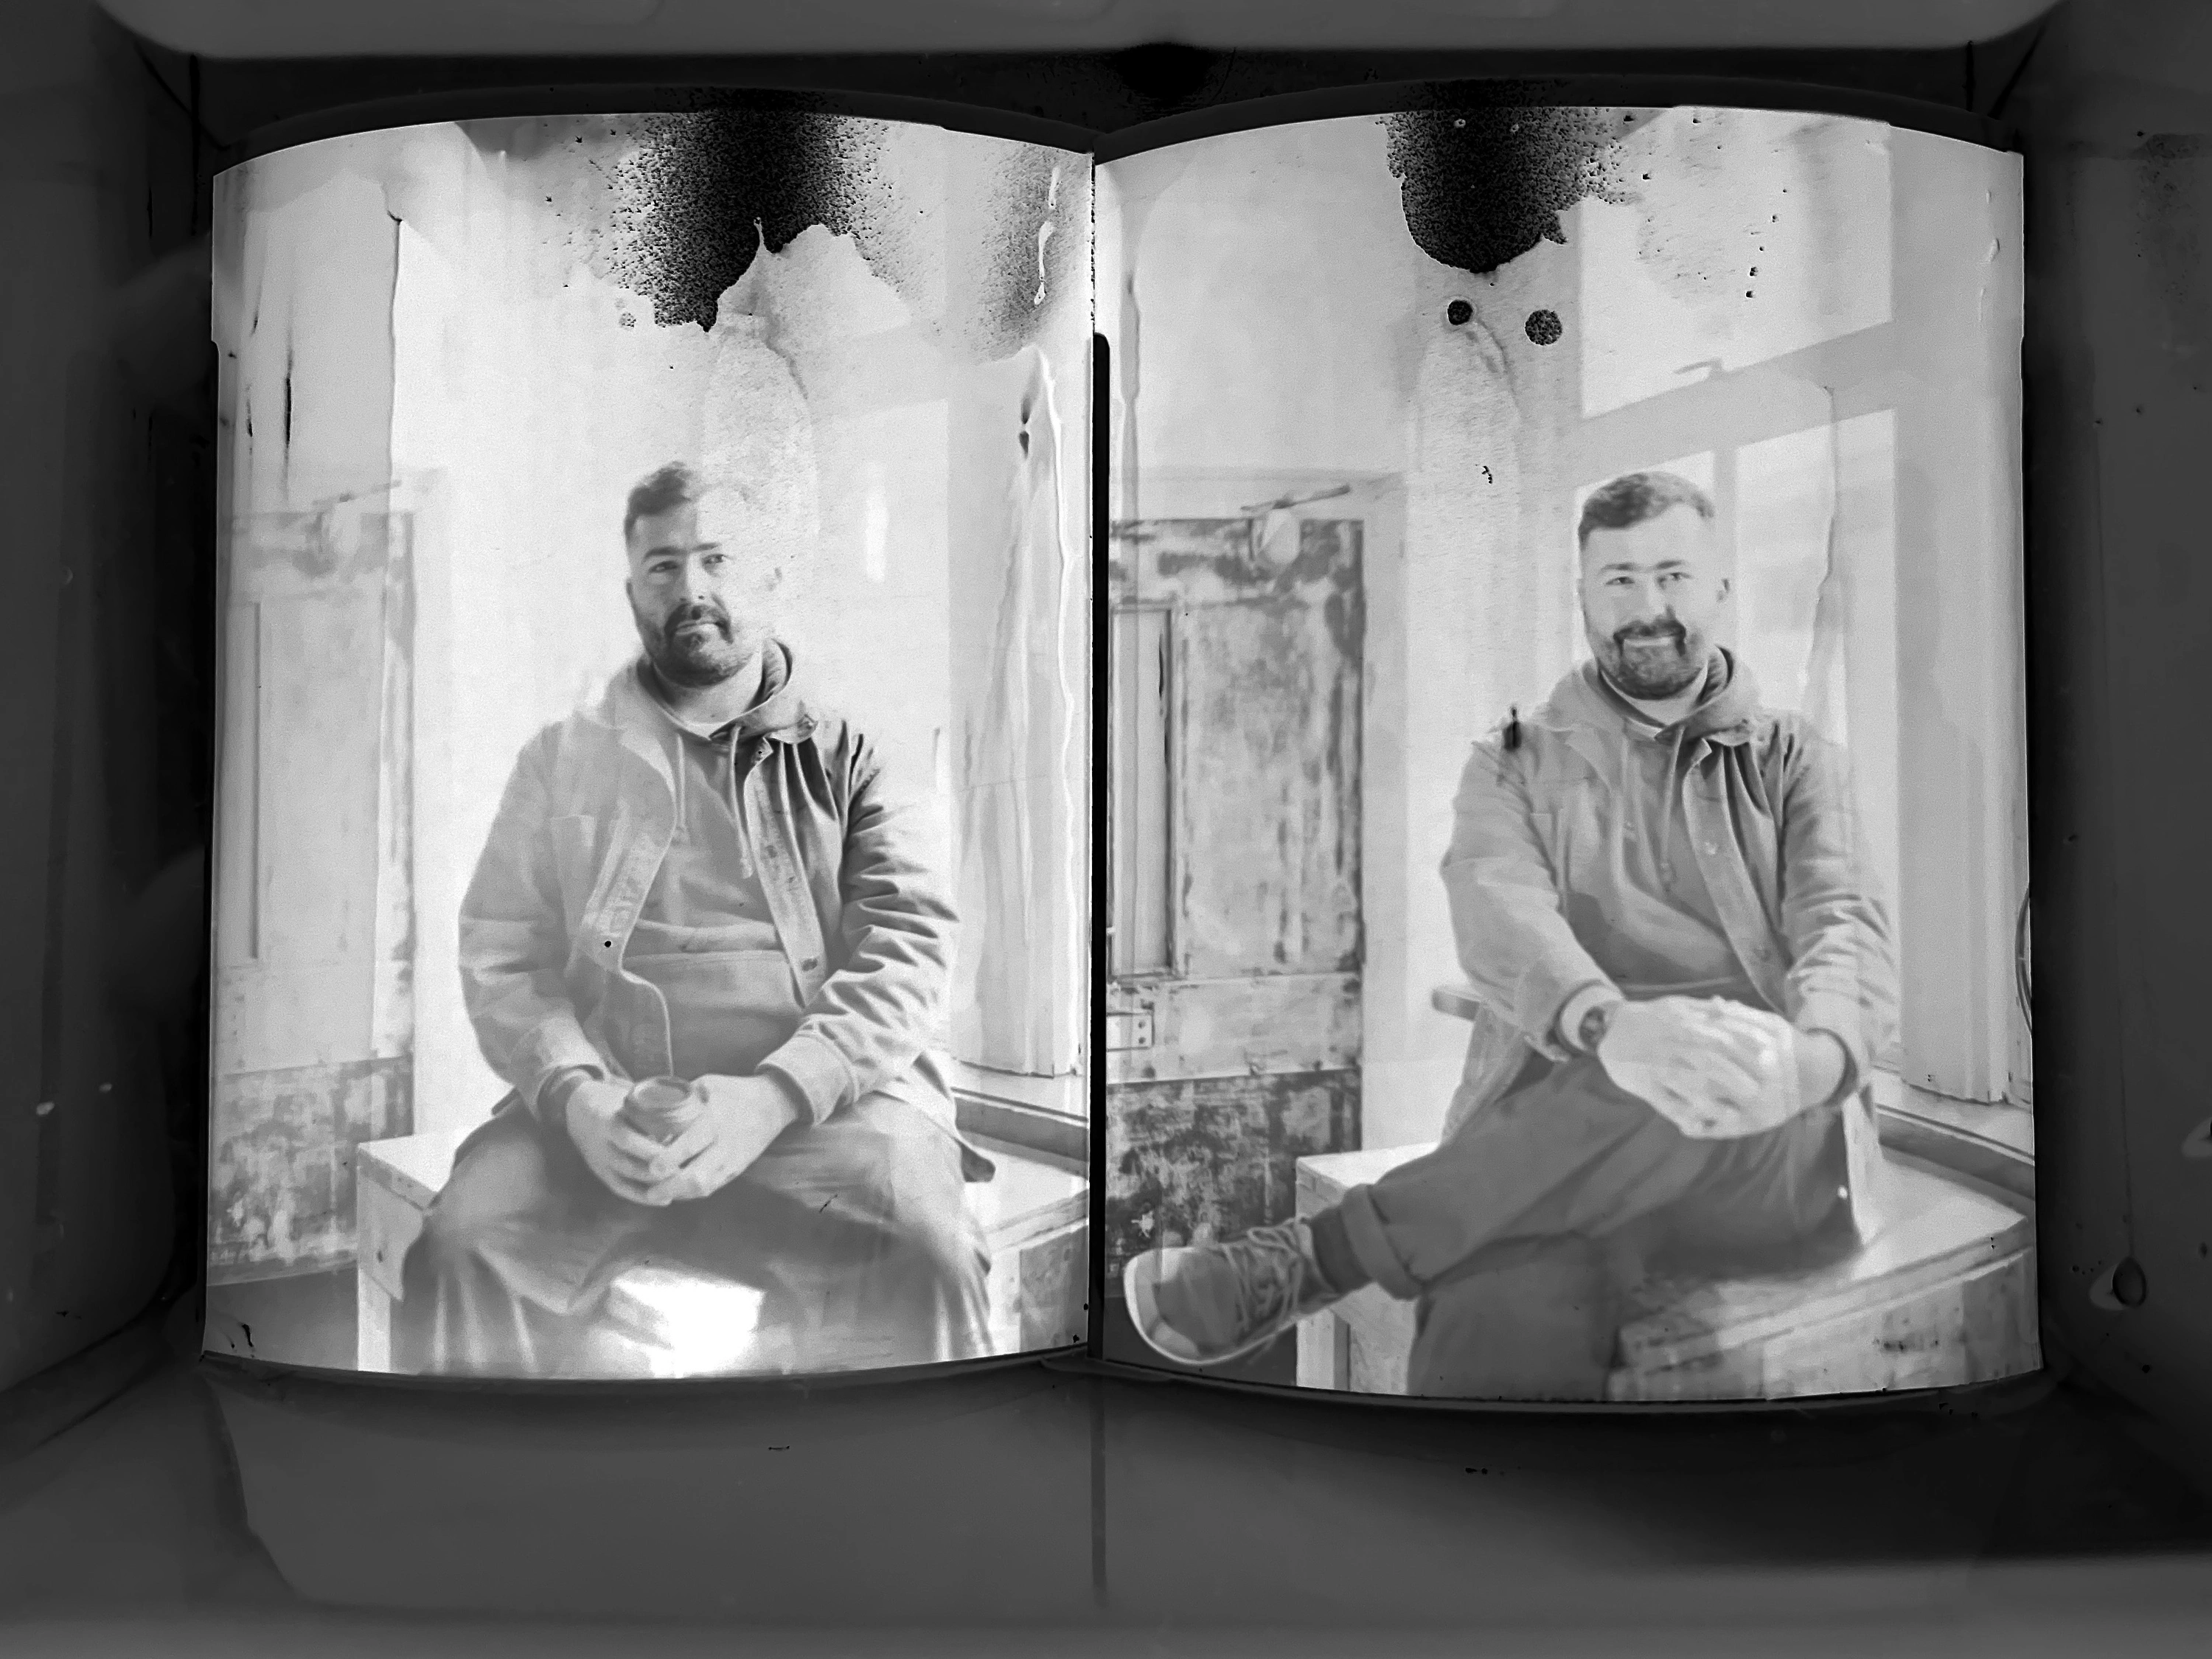
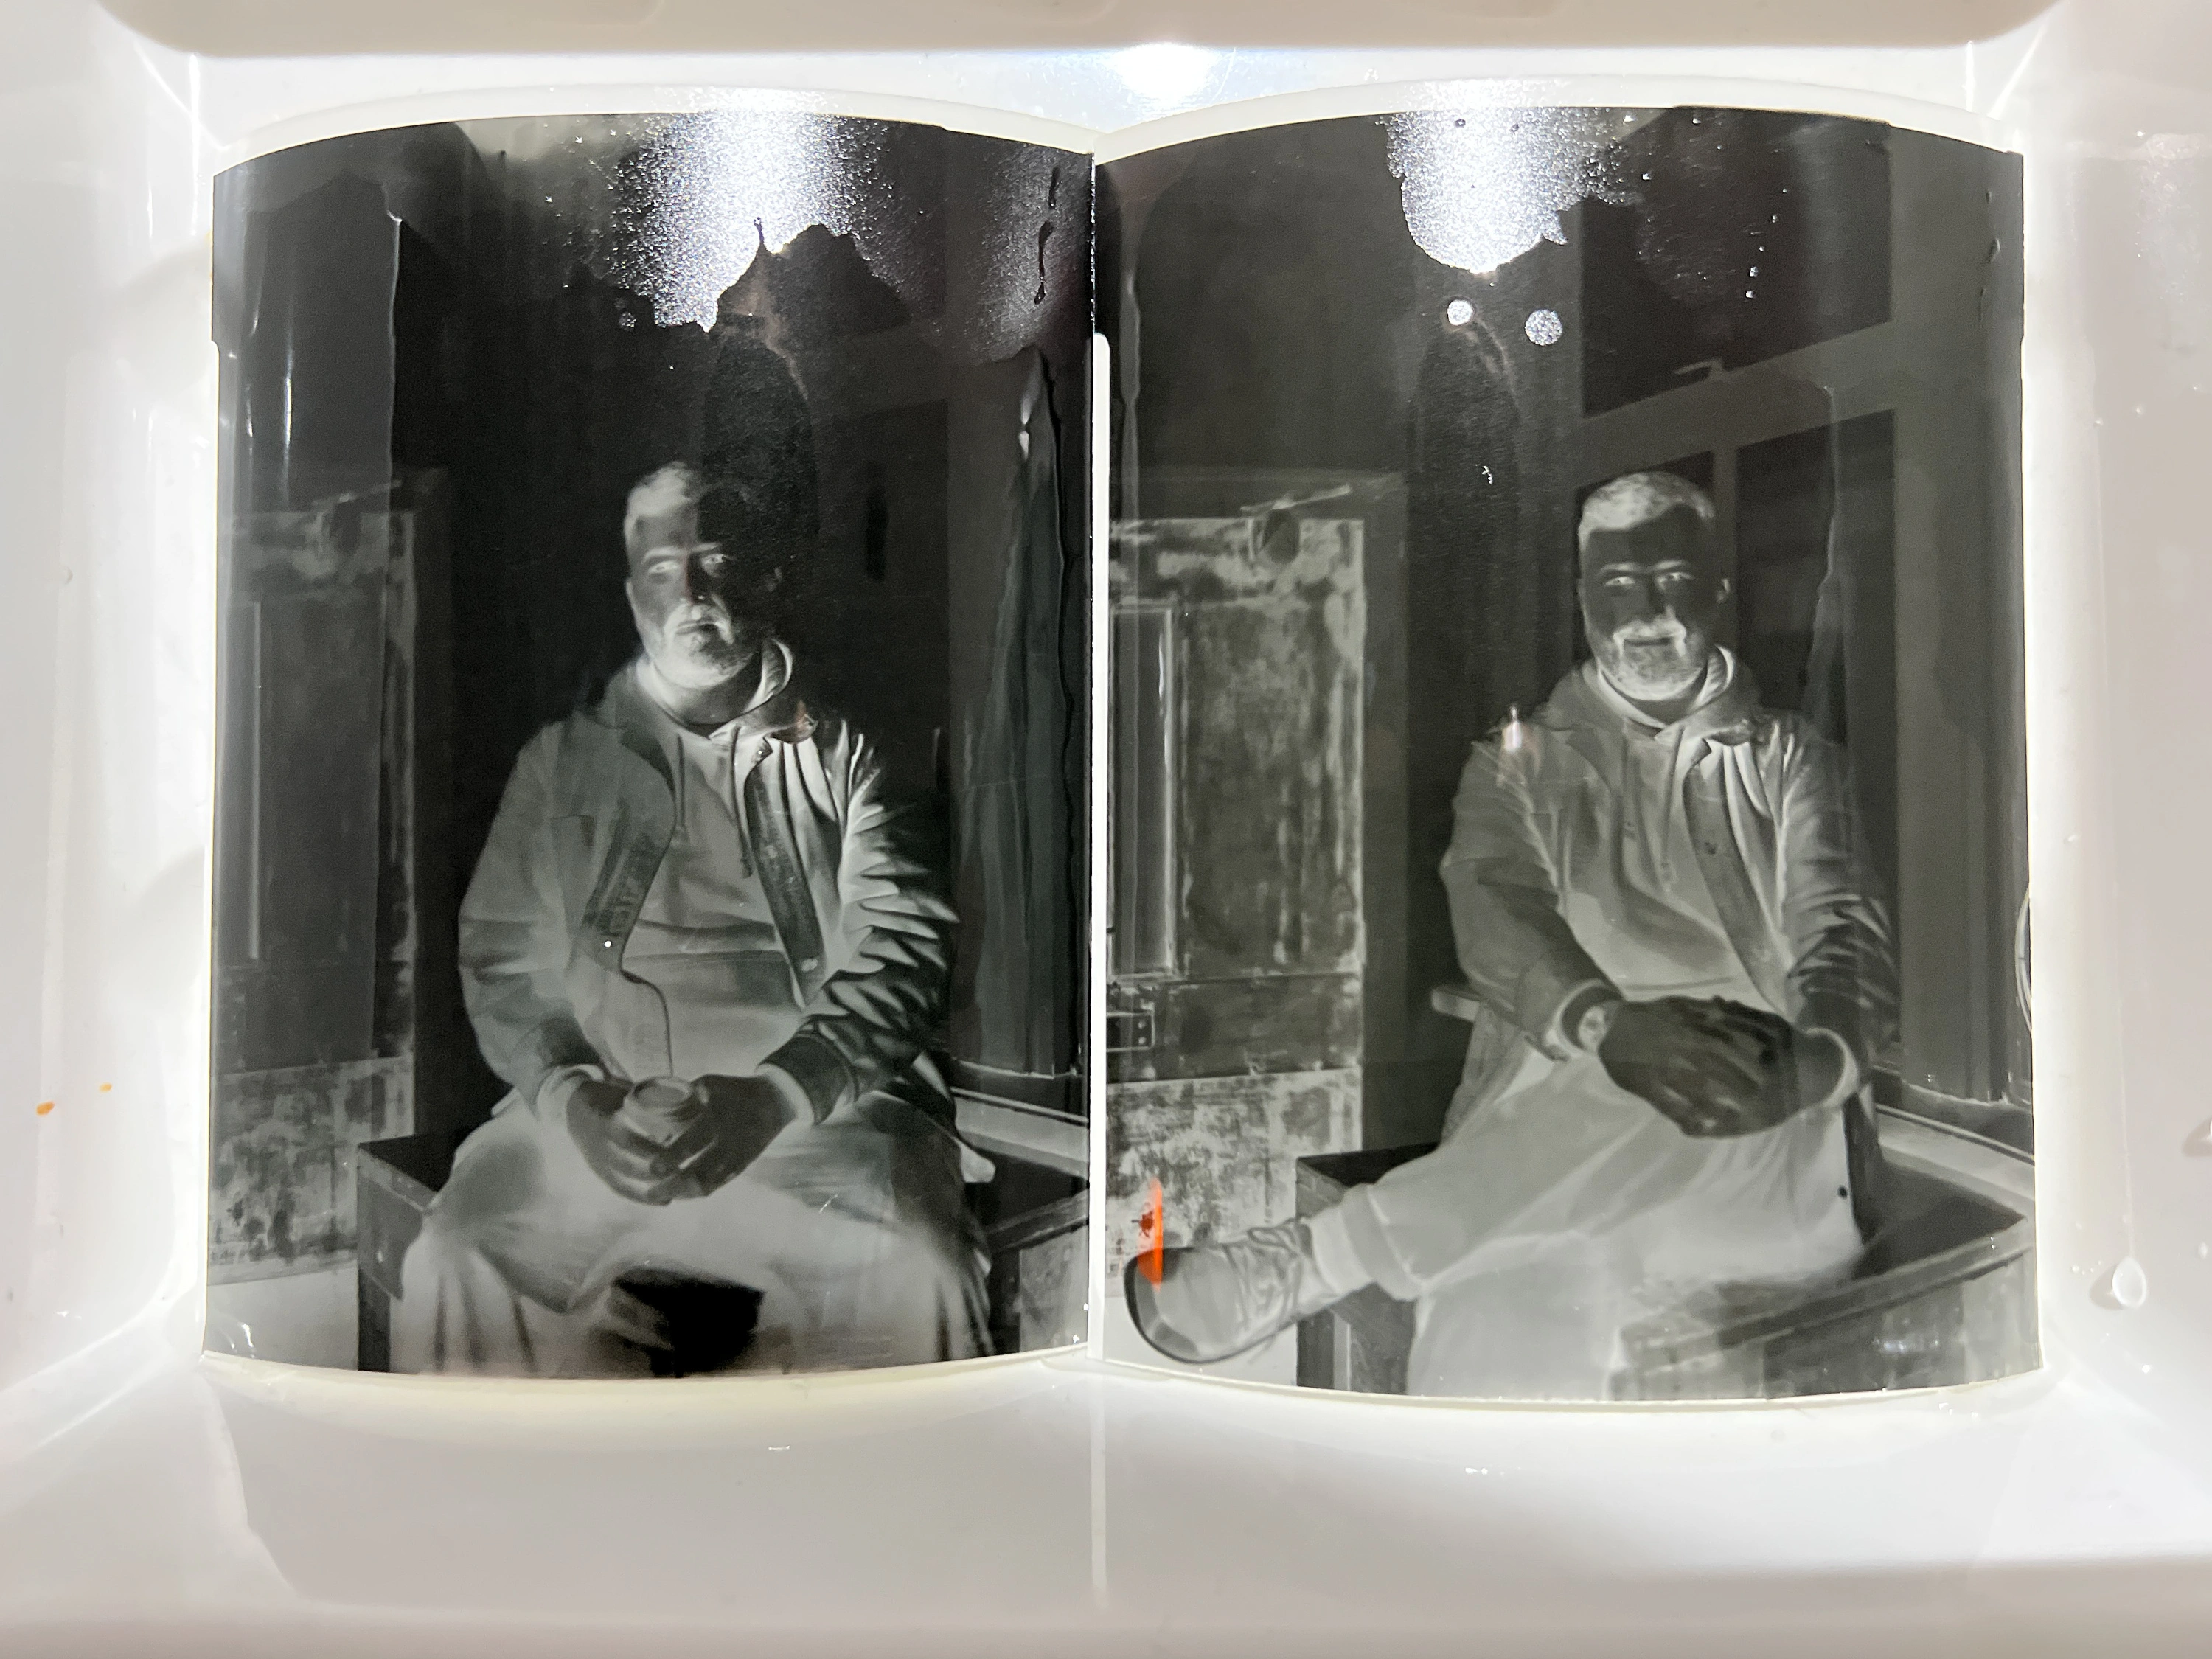
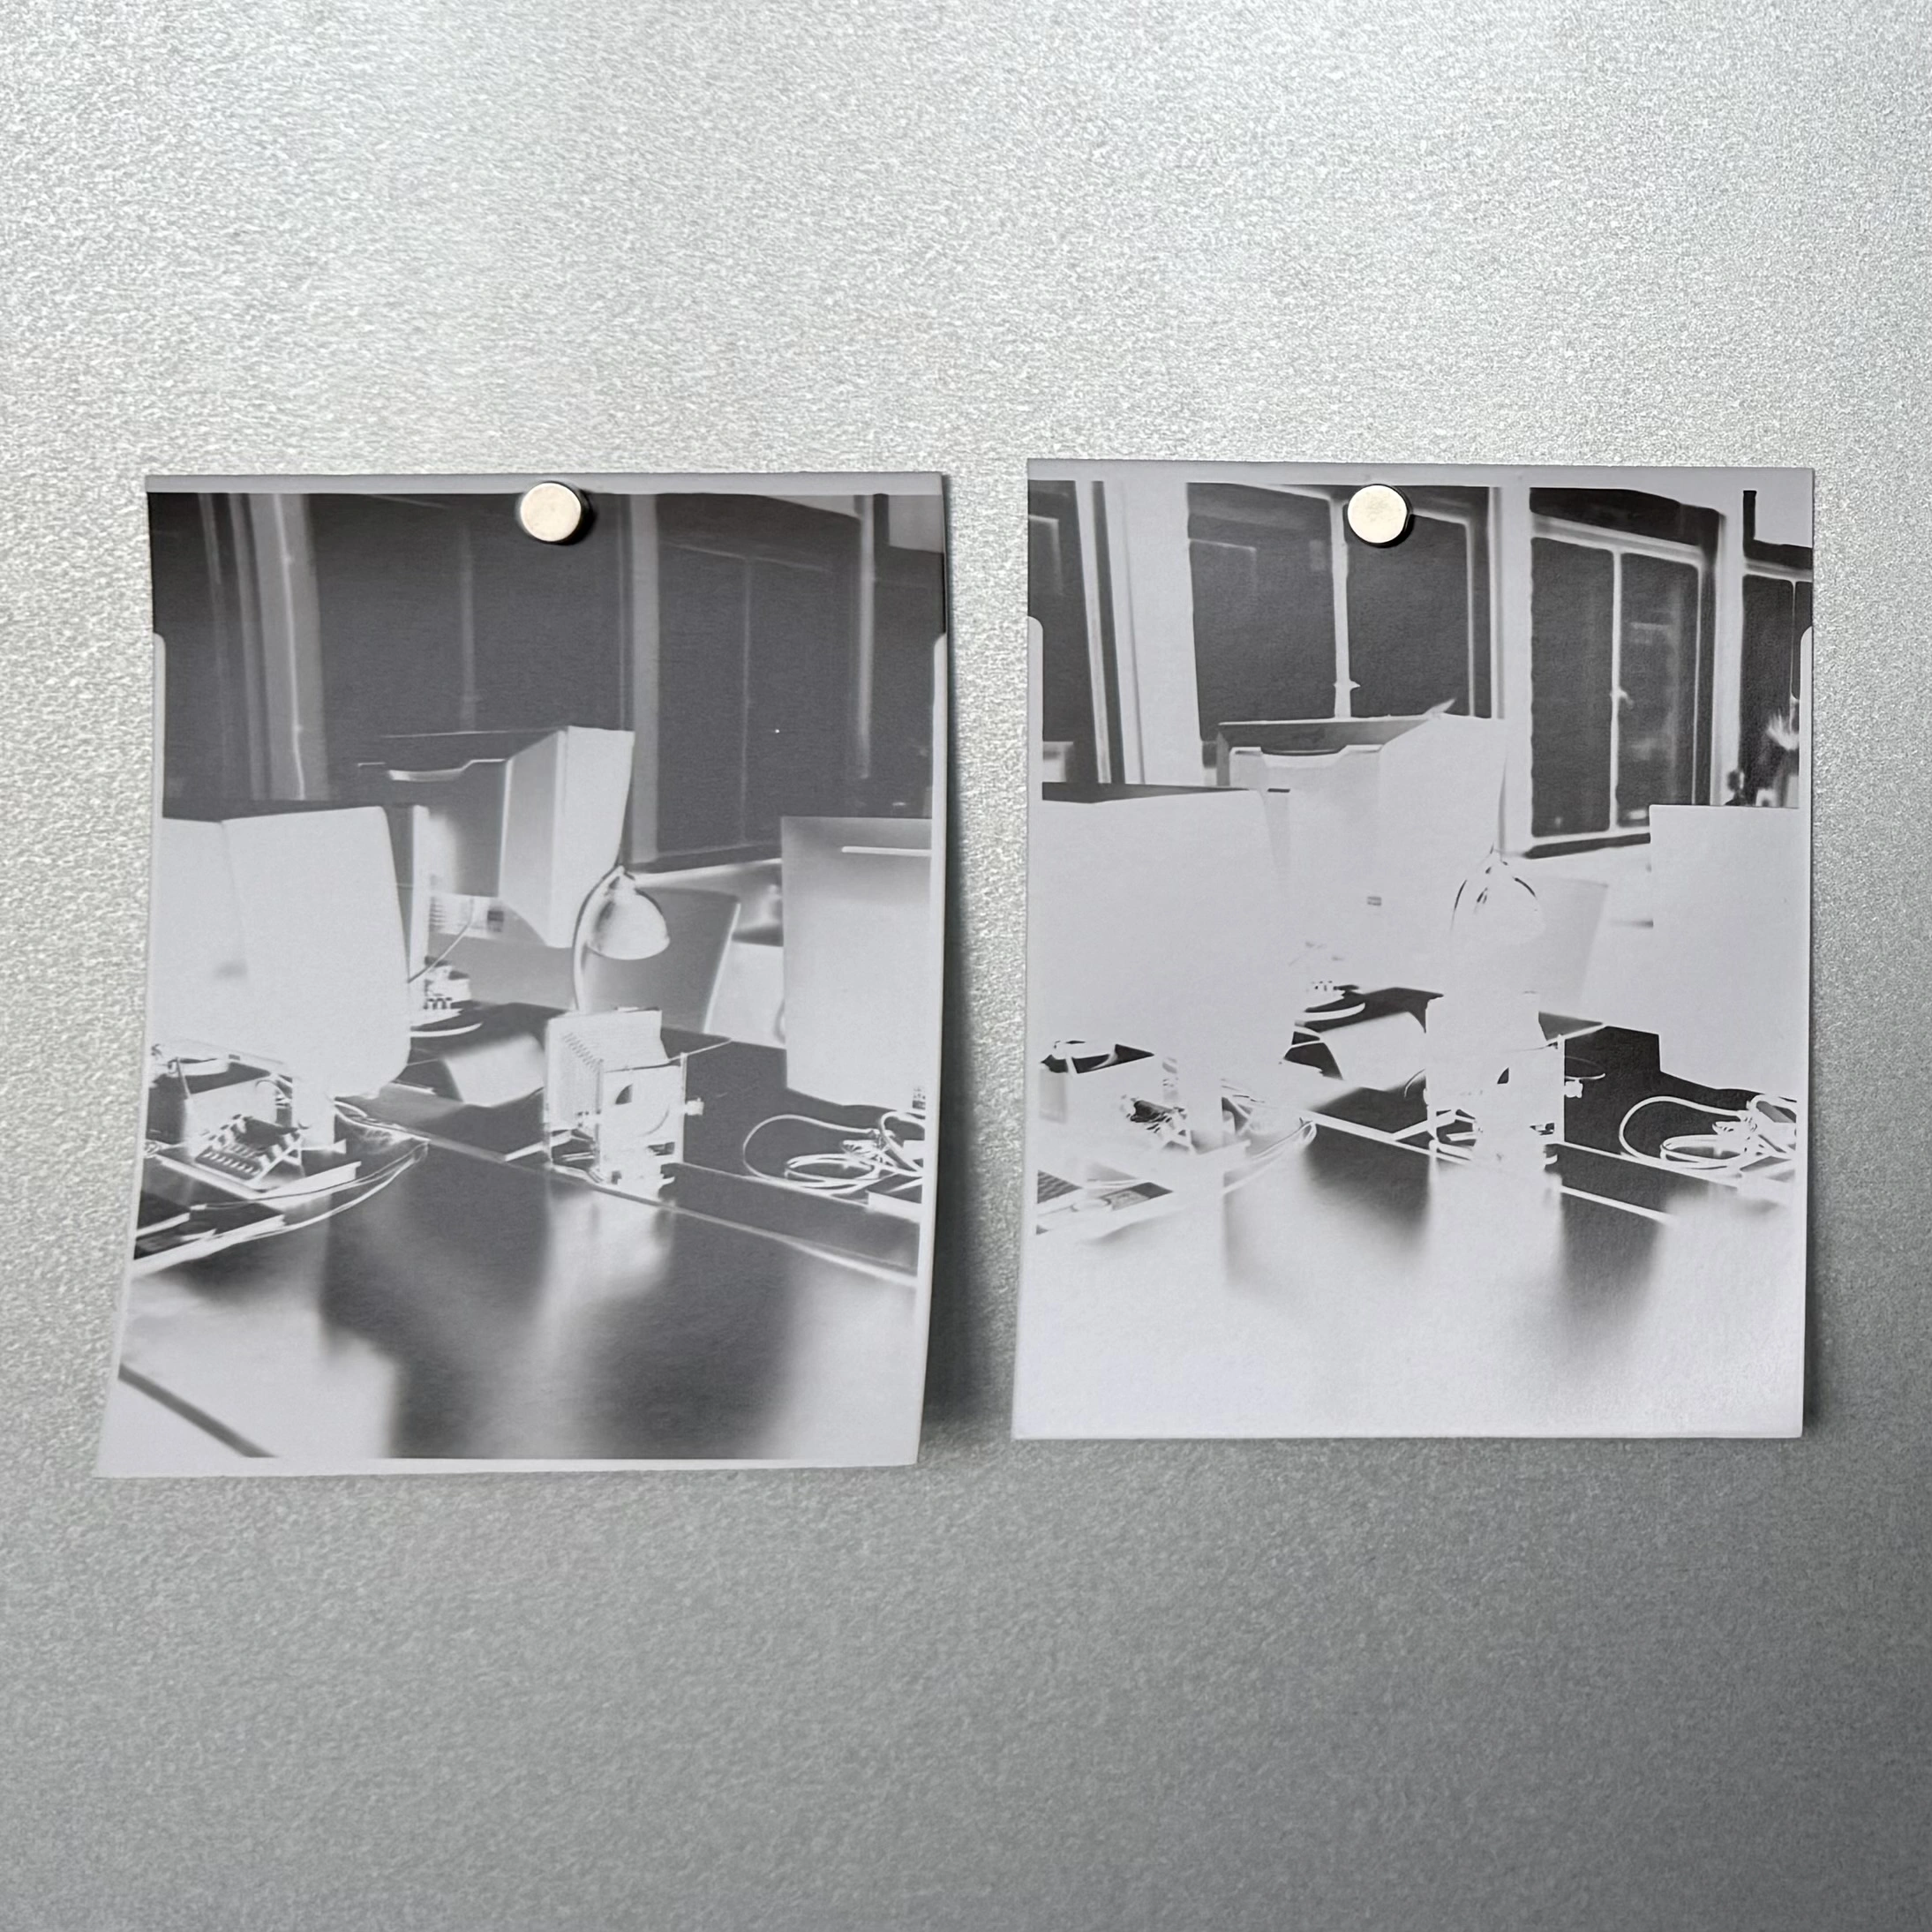
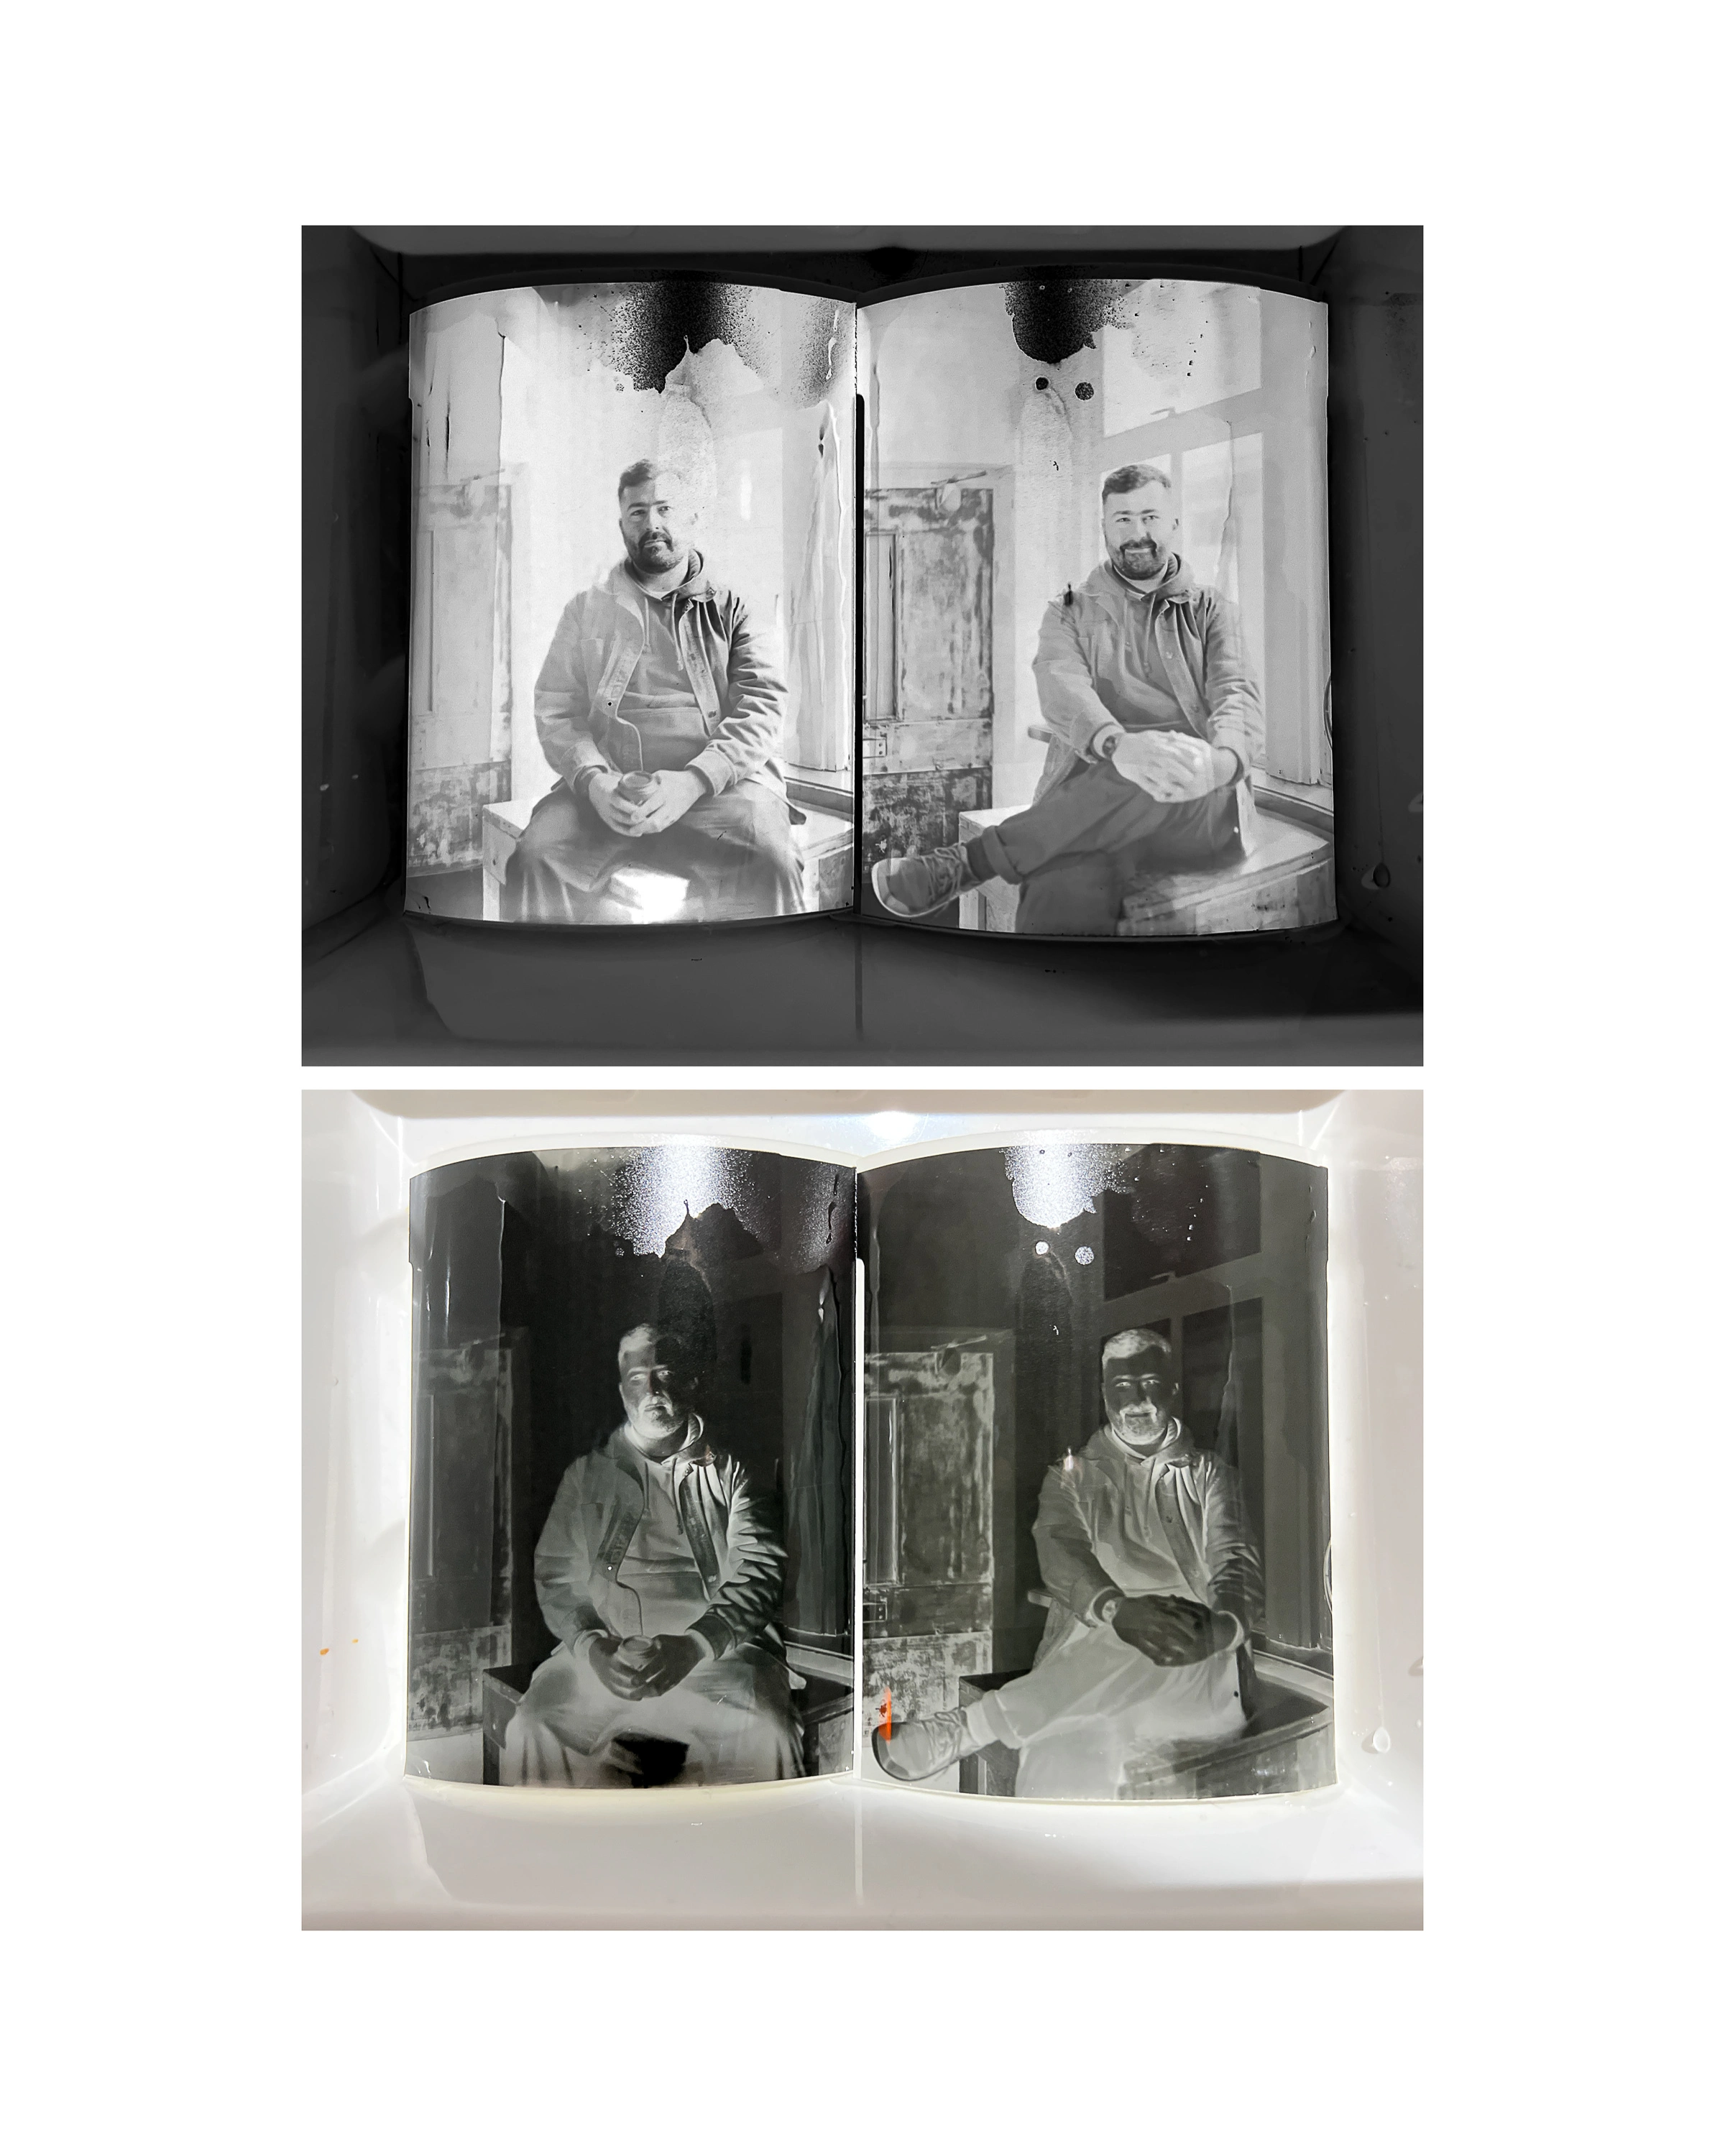
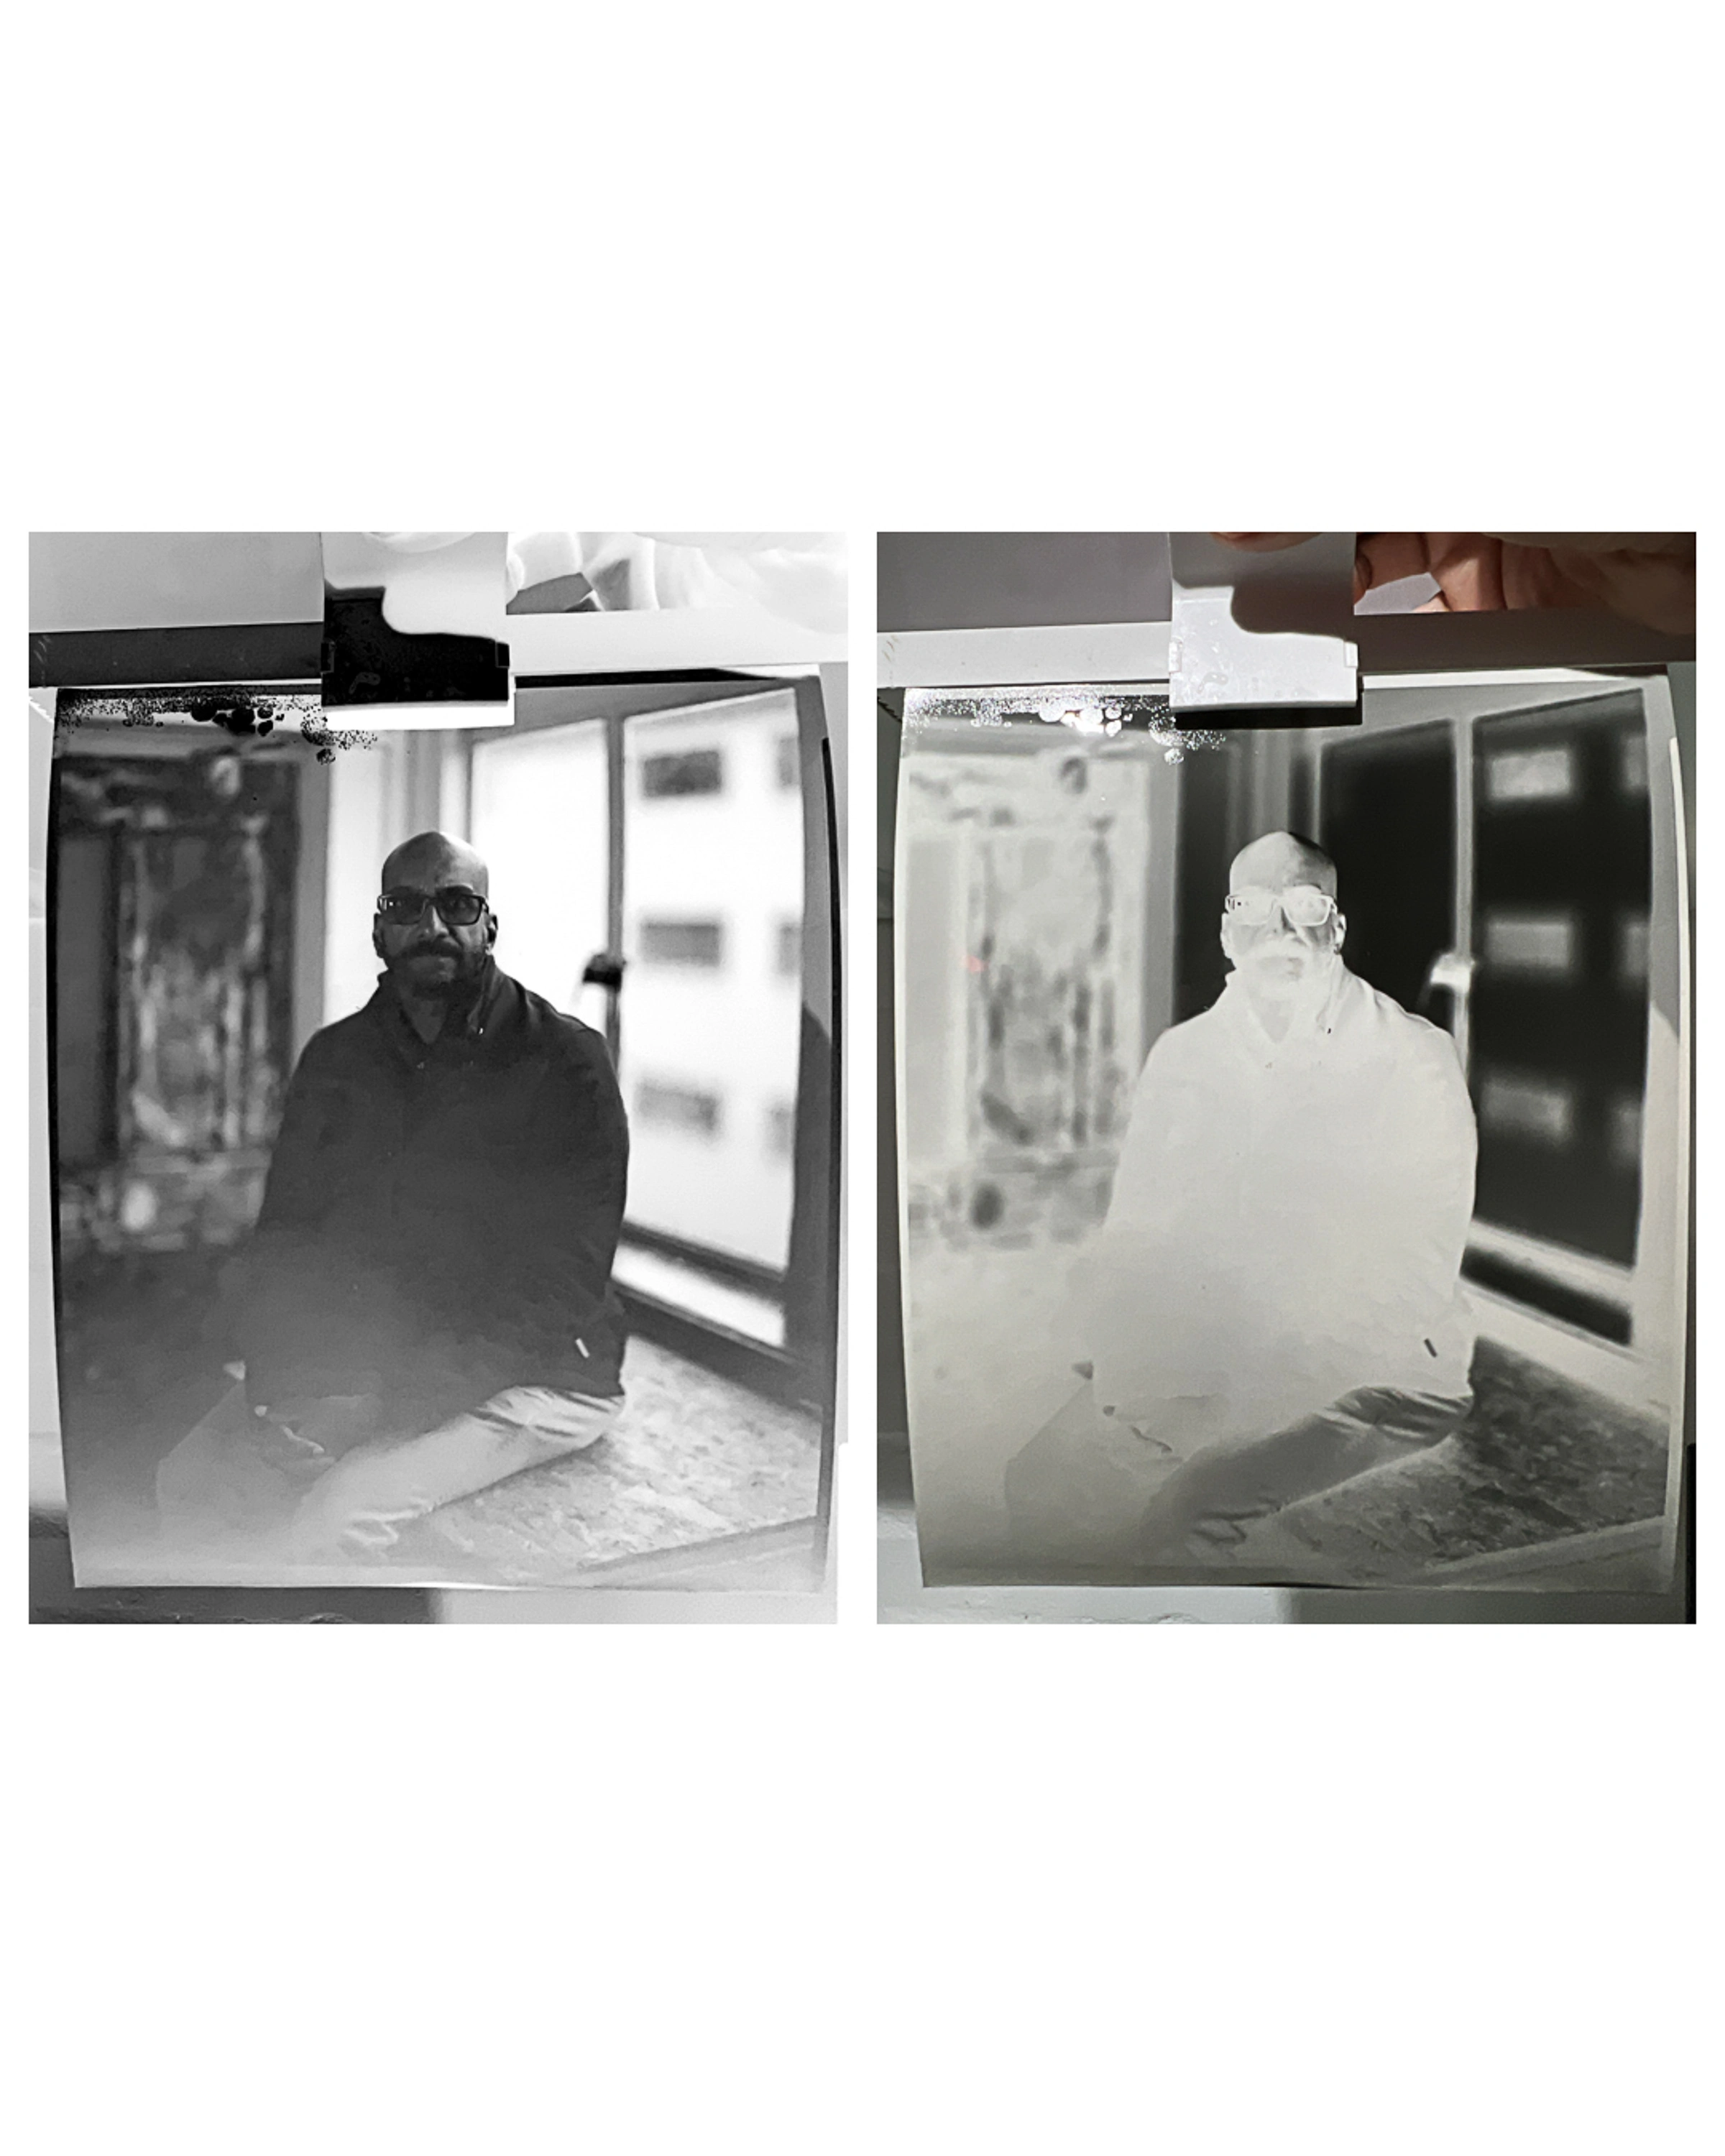
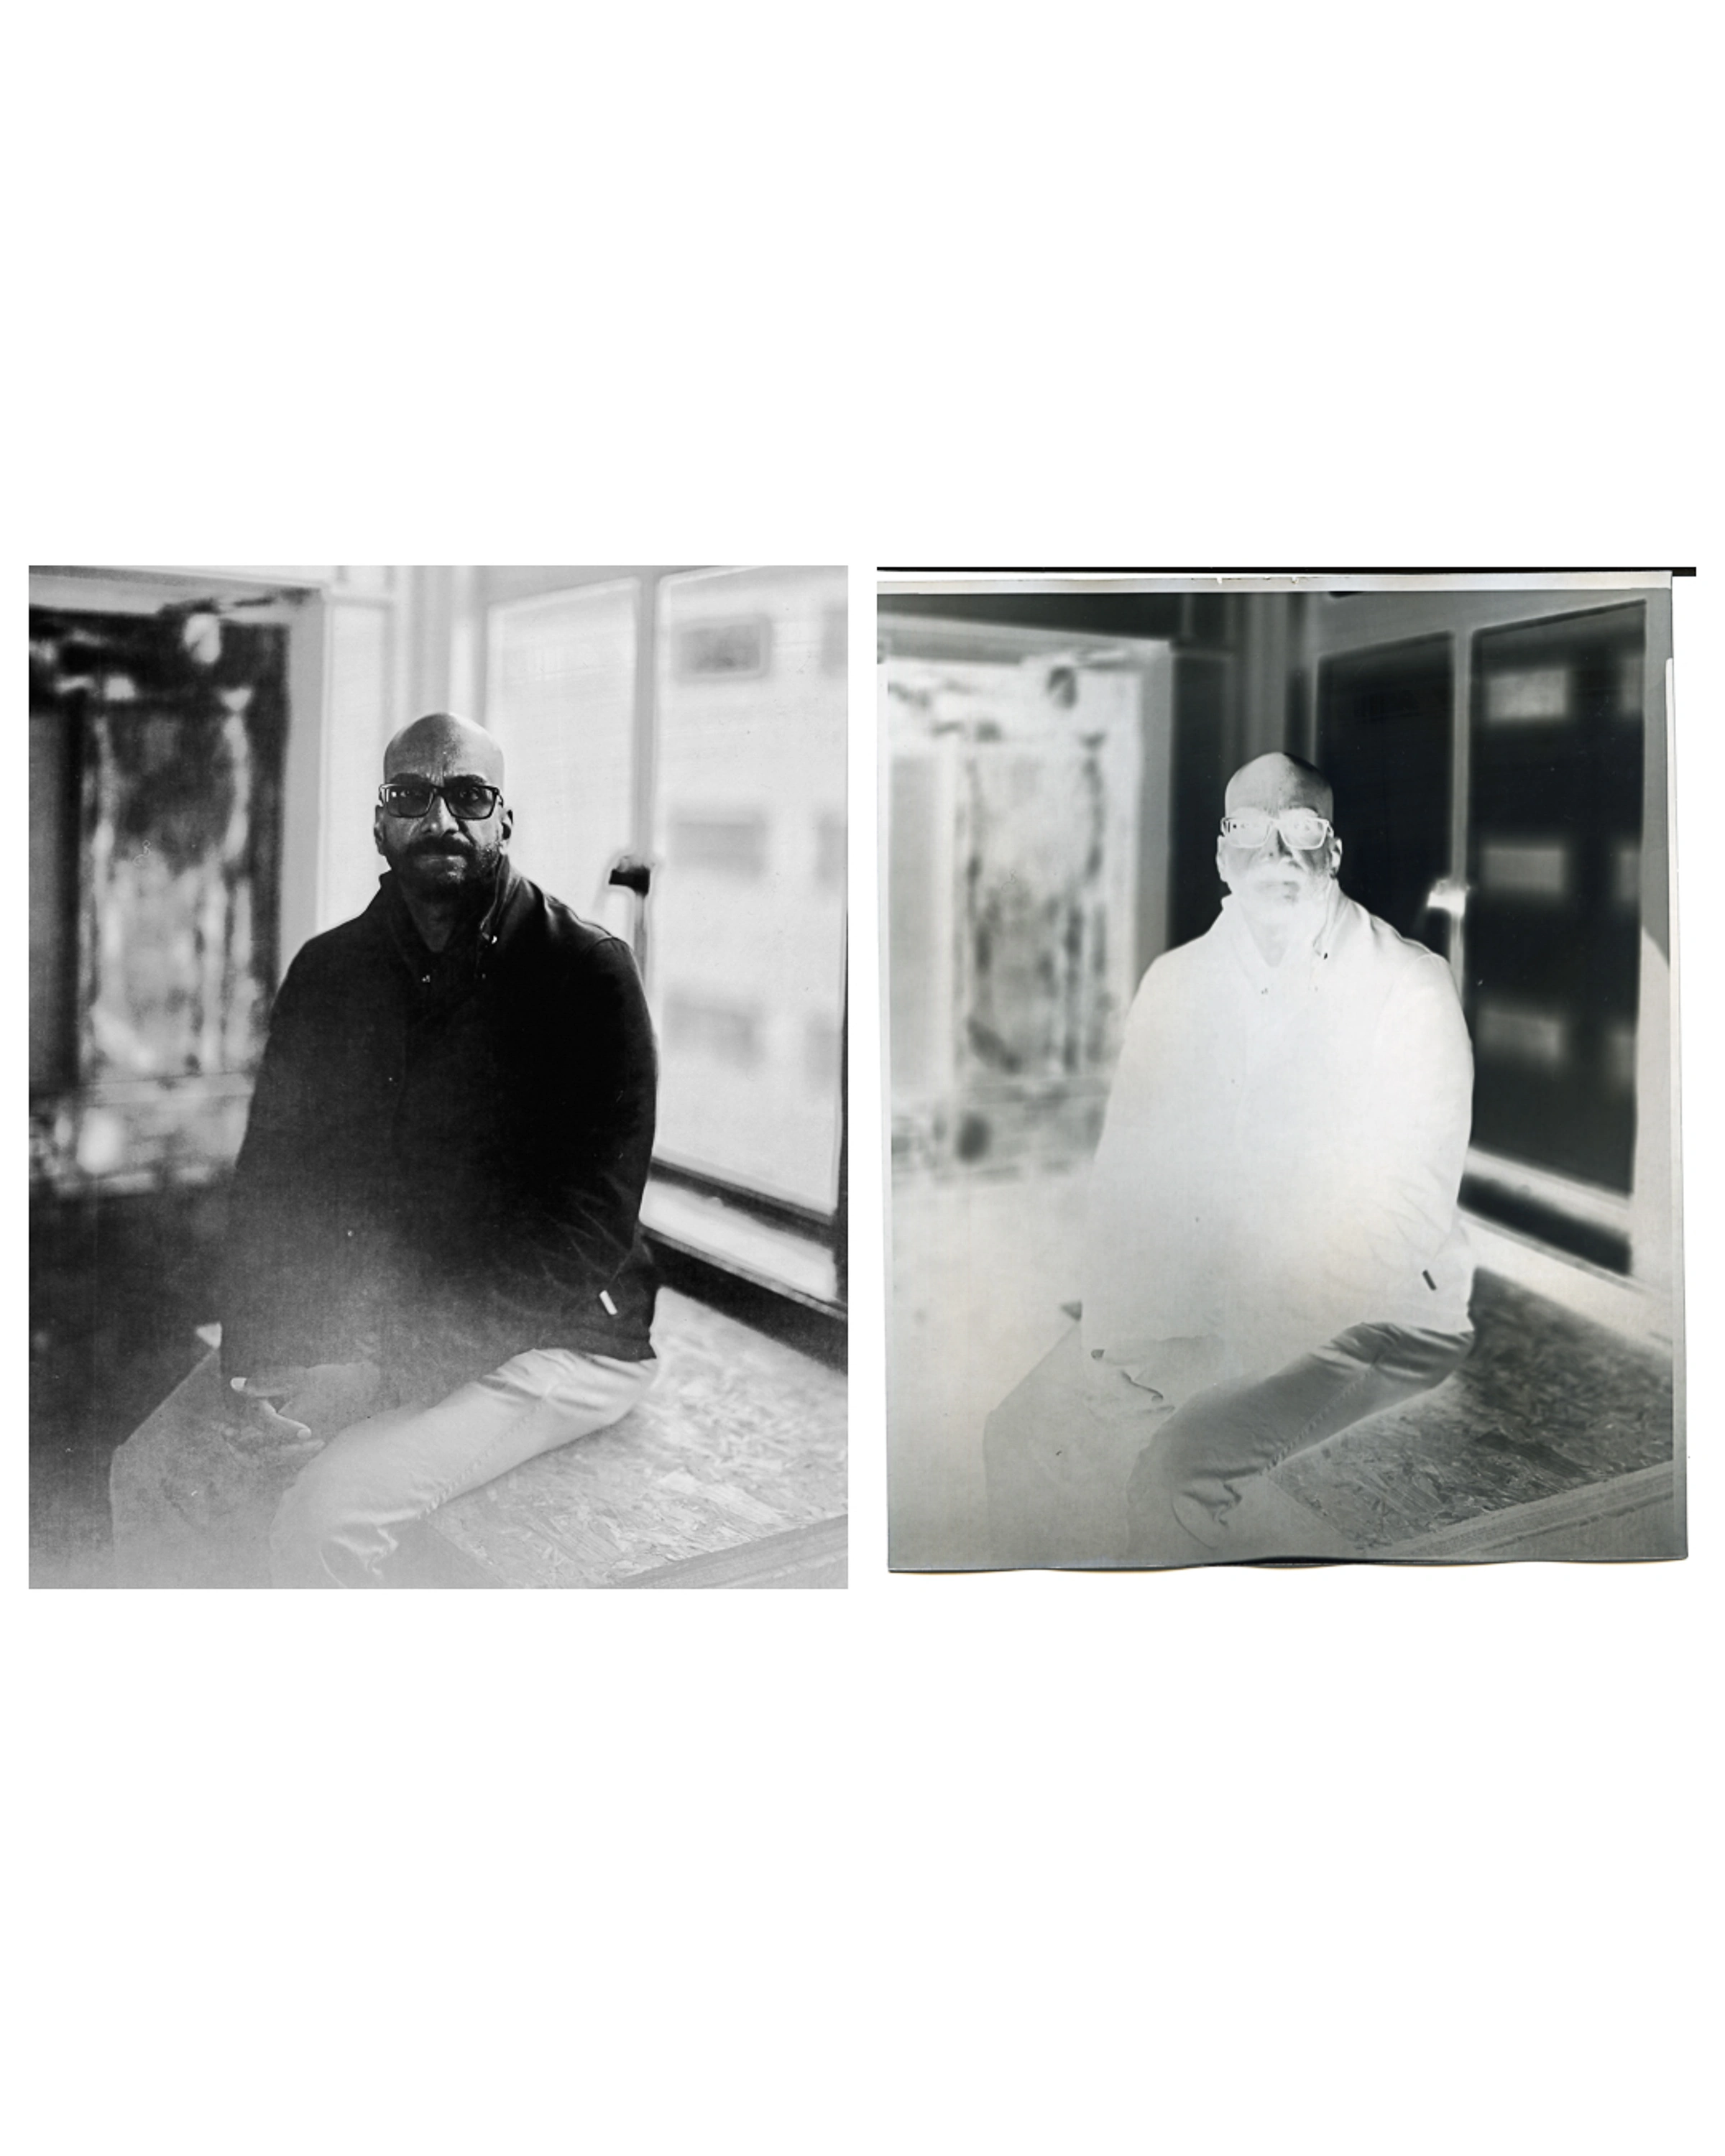
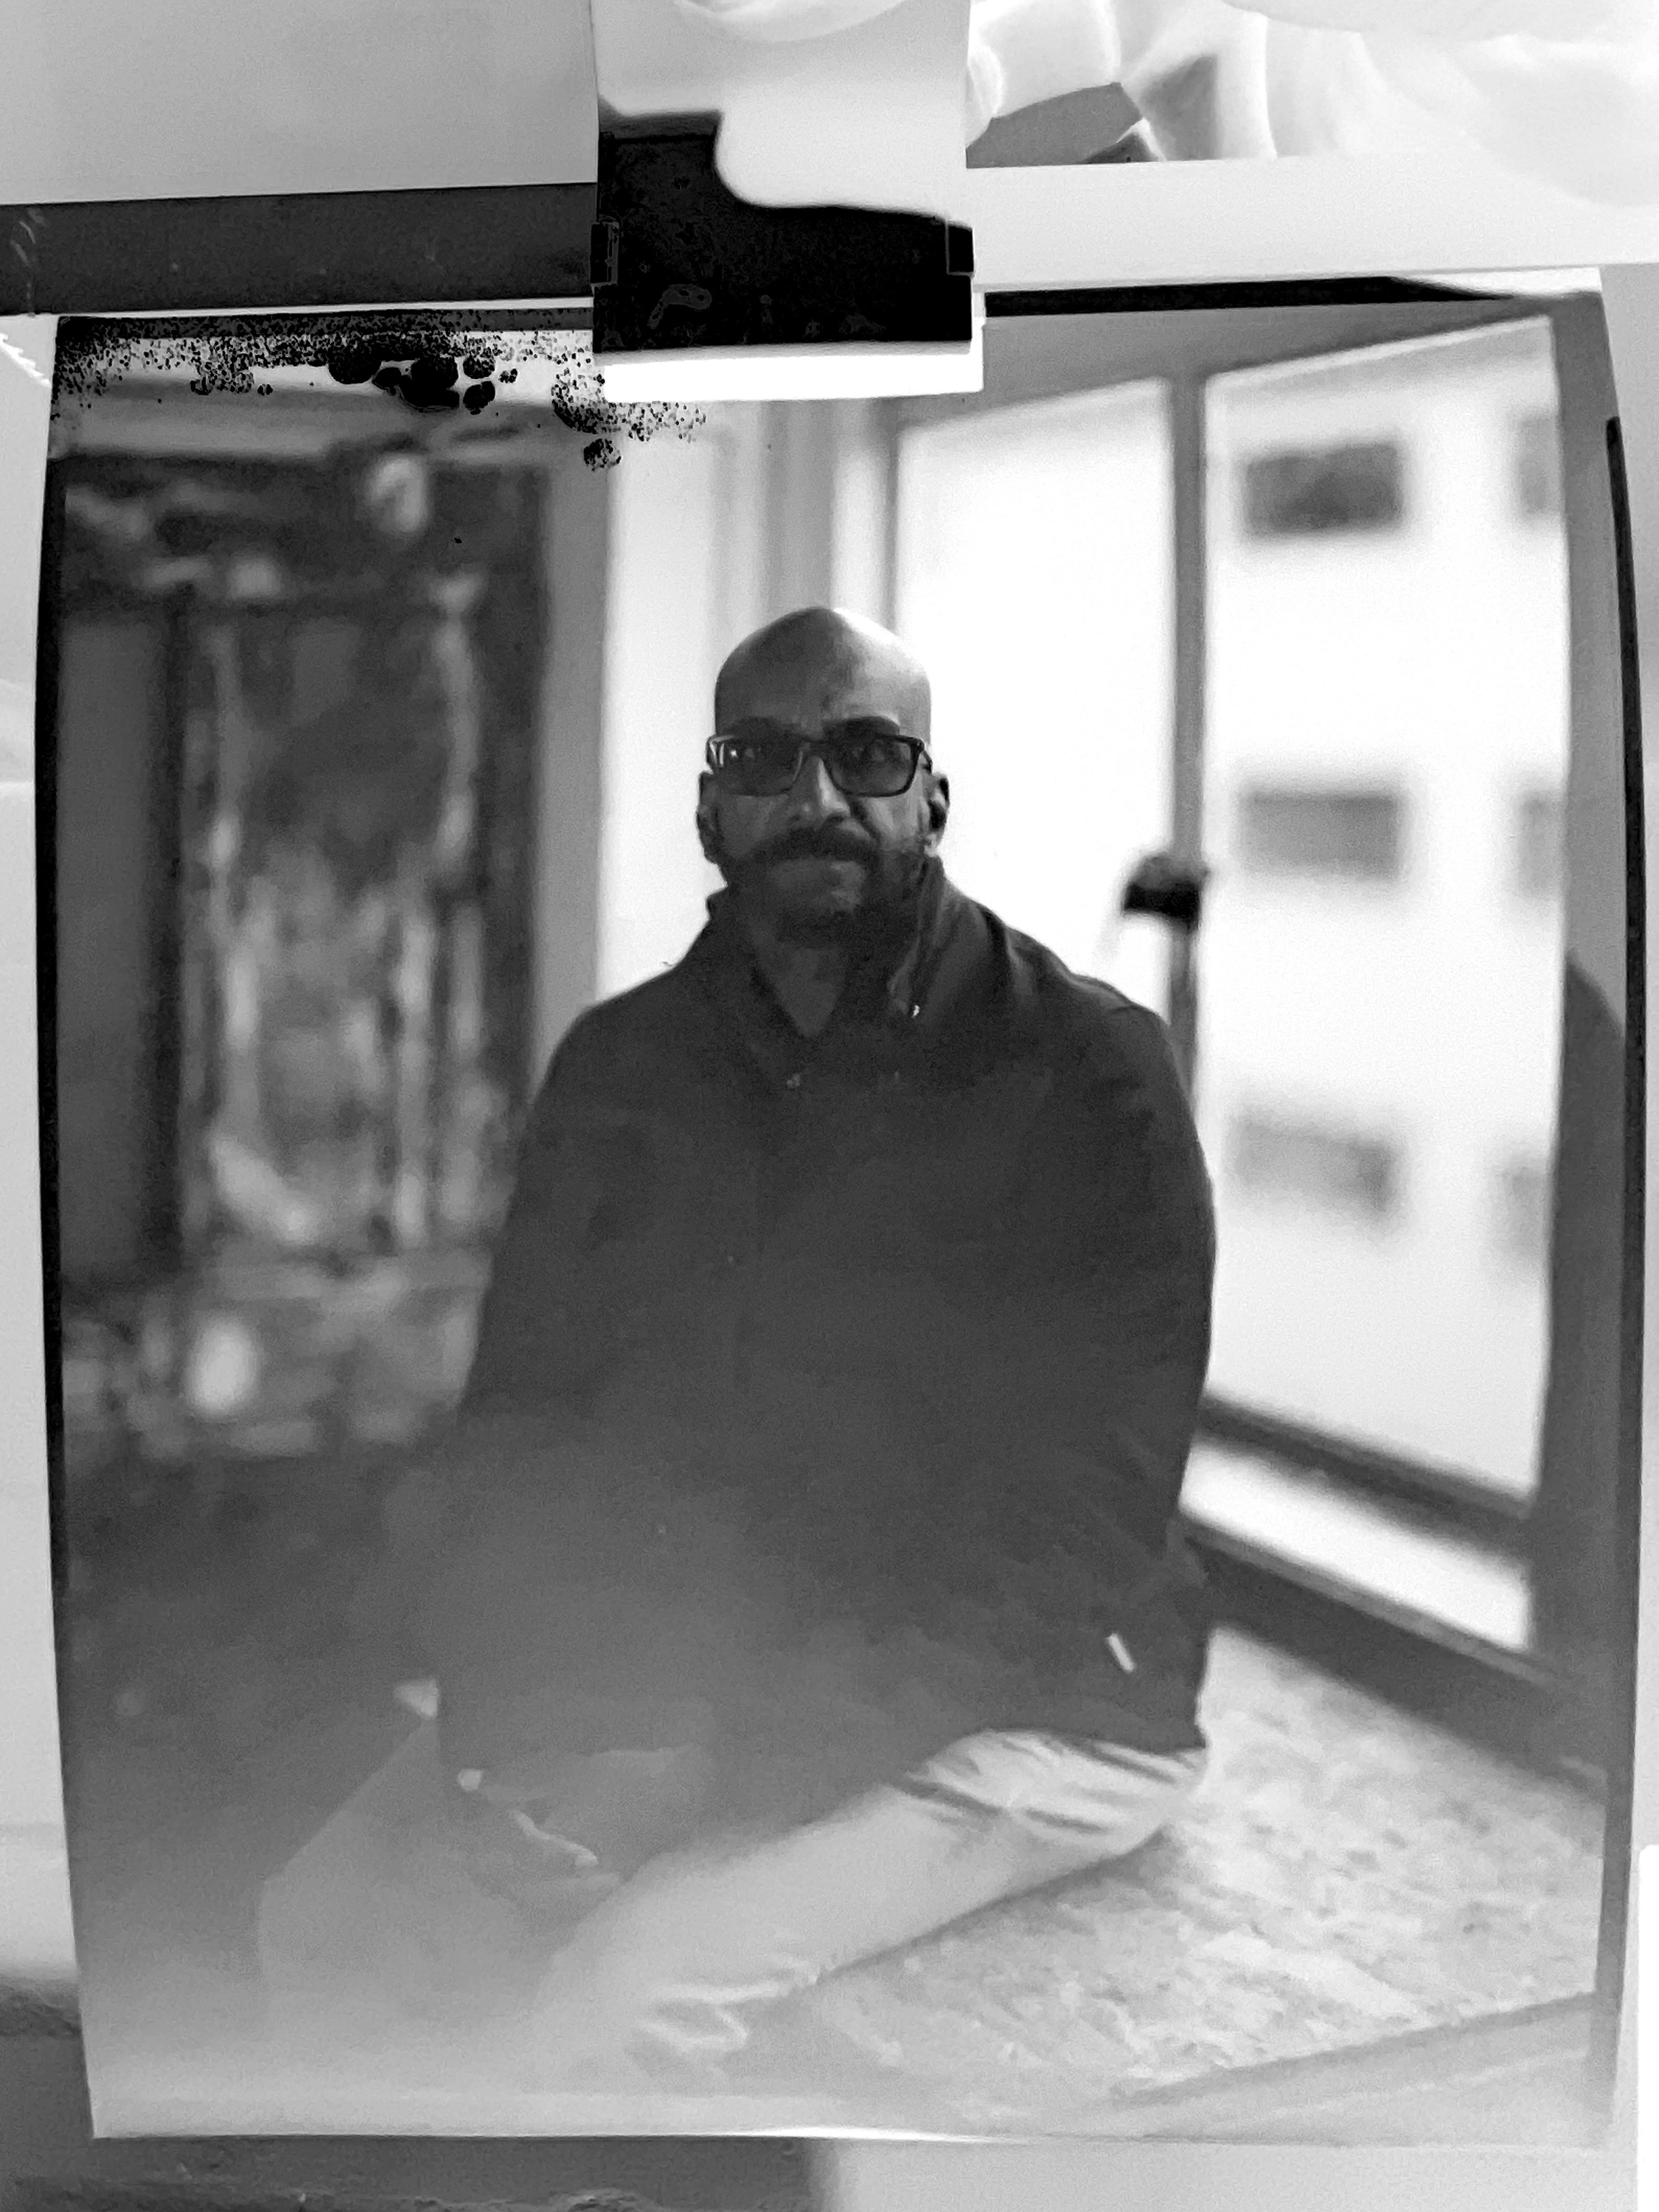
Paper Negatives
We also shot paper negatives. The process is almost identical to sheet film but the material behaves completely differently. Paper sensitivity sits at around ISO 3, compared to HP5 Plus at 400, which means your exposure calculations shift dramatically and your setup has to account for that gap. A yellow filter is useful when you are dealing with strong highlights. The resulting images have a quality that is genuinely different from film, softer and more tonal in a way that feels closer to a contact print than a conventional negative.
I want to spend more time with paper negatives once the film workflow is solid. They are not the primary material for TEA, but as a way of working with subjects who have particular significance, or for the contact print series that sits at the top of the archive’s hierarchy, they are worth understanding properly.
What I Still Have to Learn
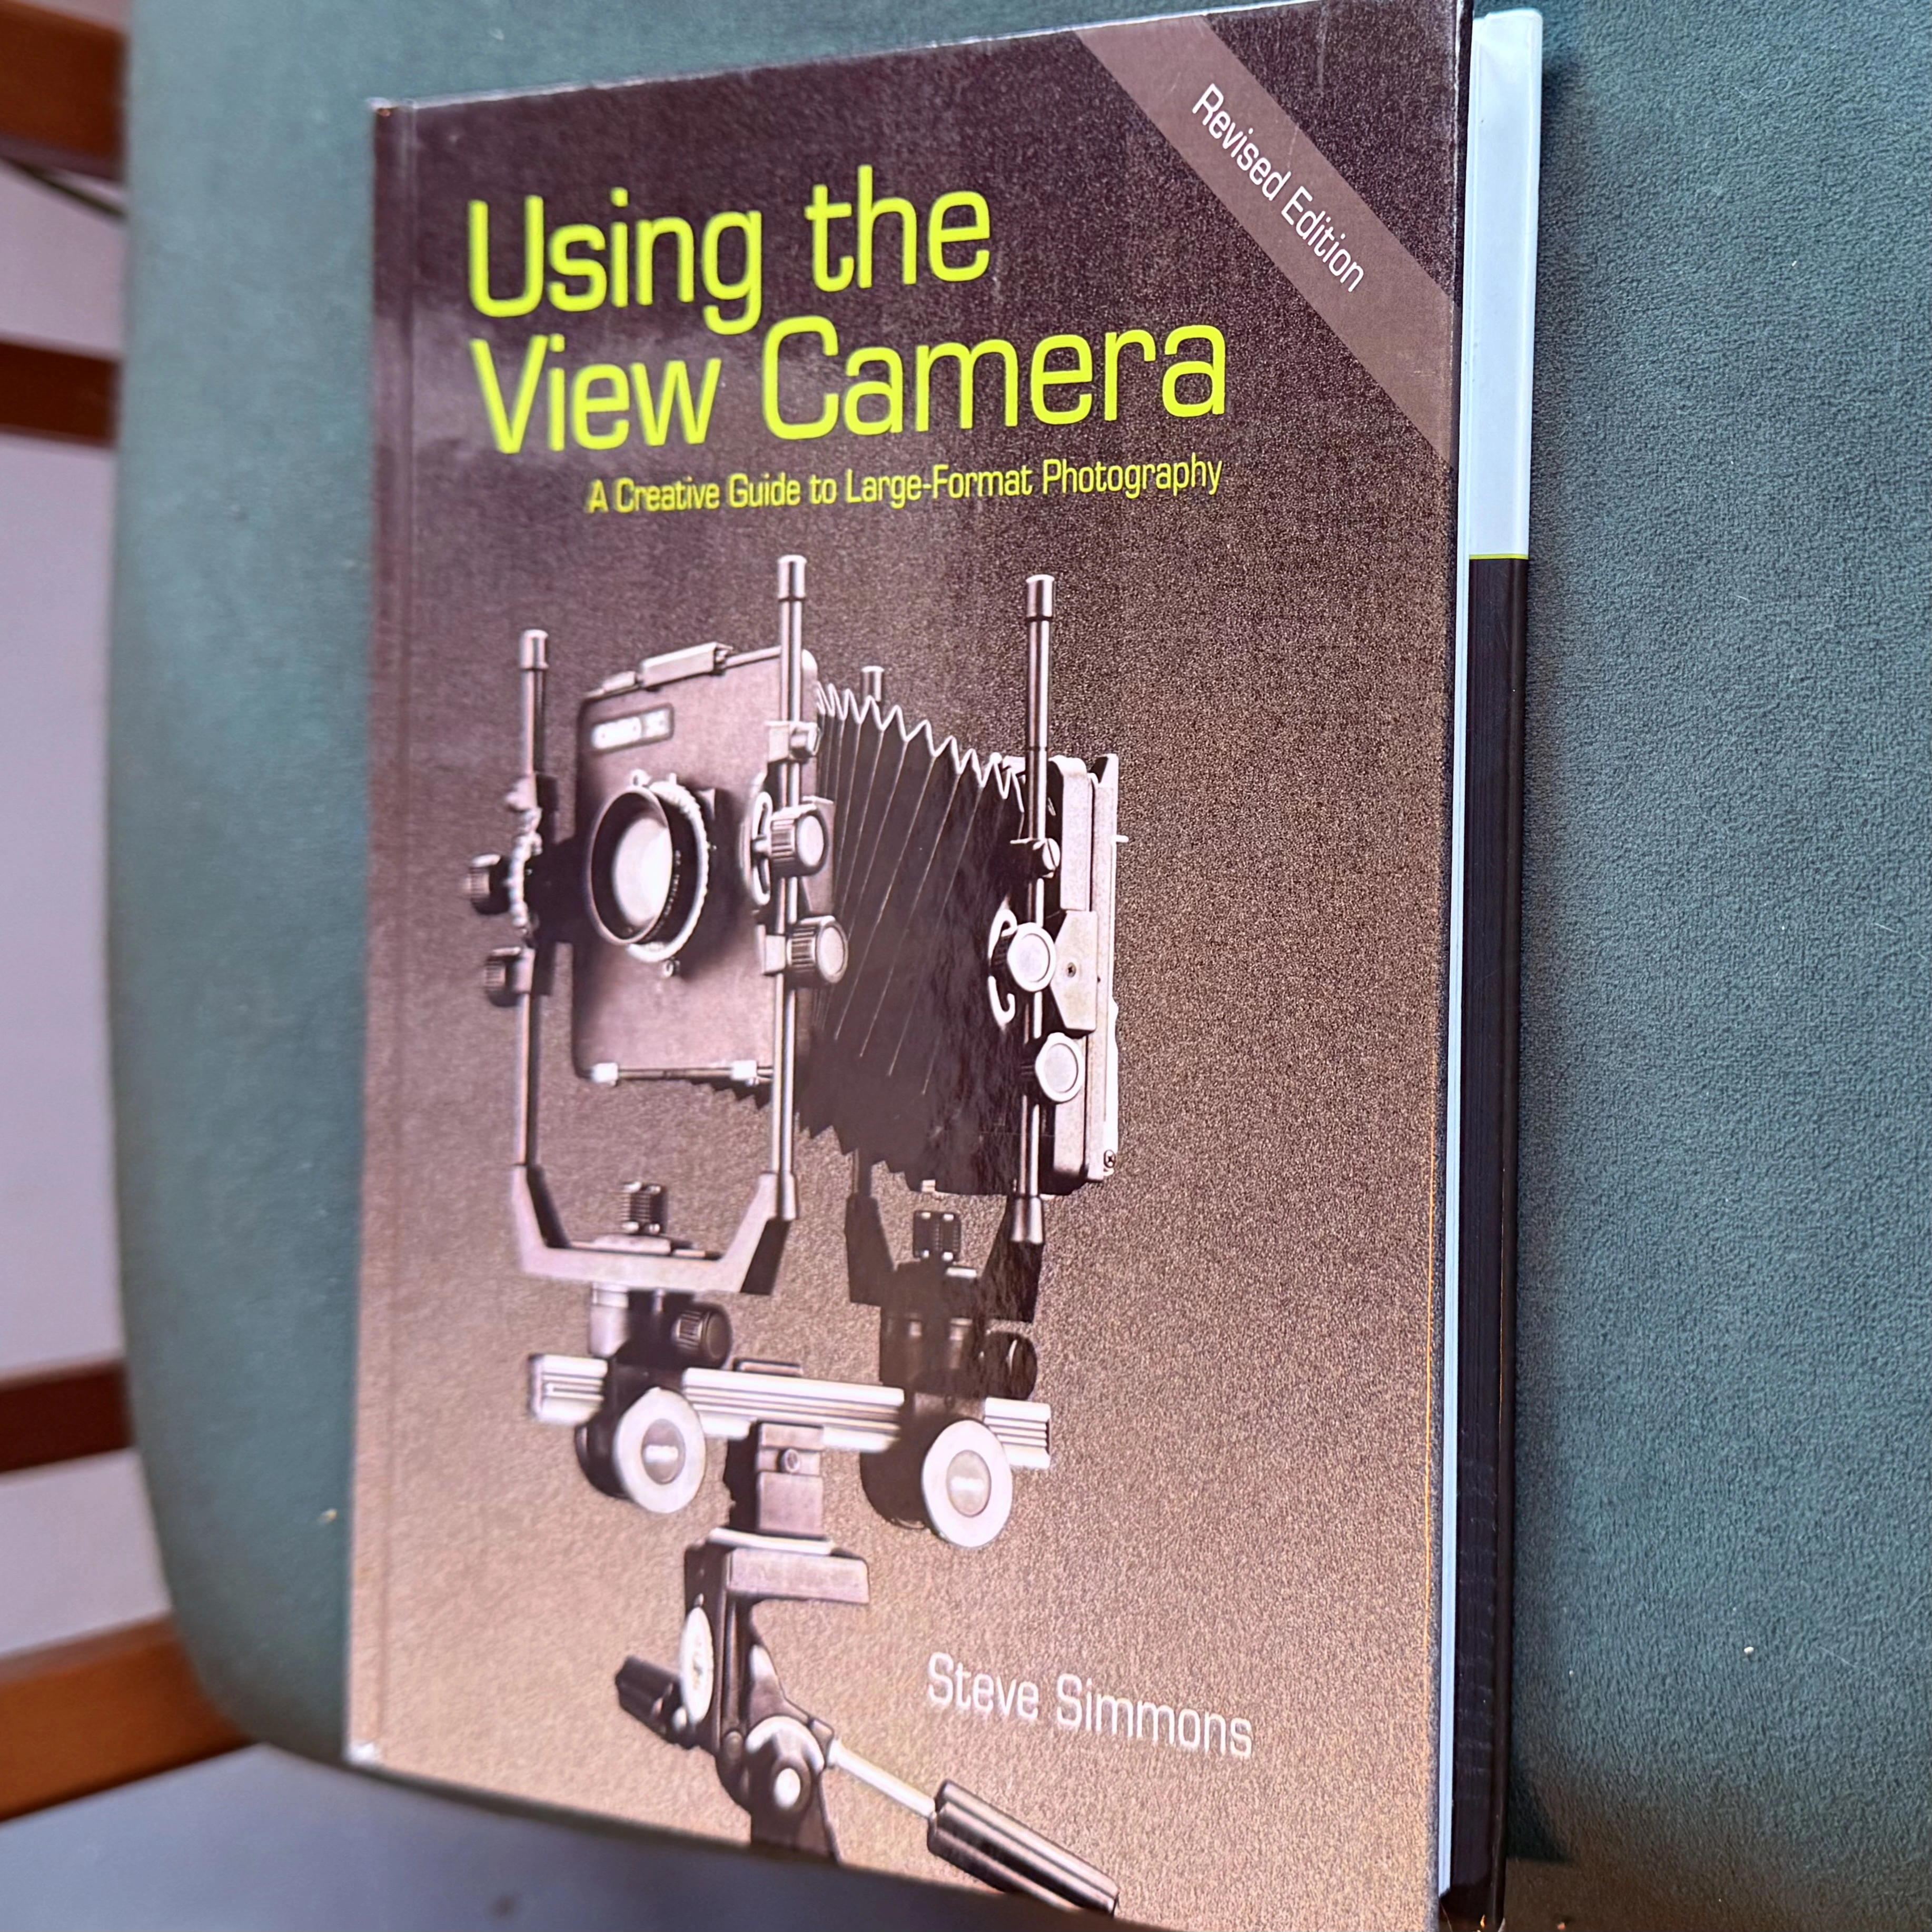
Zone metering. Josh walked me through the system and I followed it in the room but I could not hold it all in a single session. The zone system is the exposure logic that sits underneath the mechanical sequence, and without it I am making educated guesses rather than informed decisions. I need to work through a view camera technique book before the next shoot. The mechanical sequence is learnable in a day. The exposure thinking takes longer and deserves the time.
The Tool I Had to Build
On the drive home from Hove, I could not stop thinking about the zone metering. The system itself is elegant. Eleven zones, each one stop apart, and a single decision that determines where everything lands. But standing in front of a scene with a meter in one hand and a notebook in the other, trying to hold the arithmetic in my head while a subject sits waiting, I kept losing the thread. Place this shadow on Zone III. That means two stops below what the meter says. So the camera setting is ... wait, which direction? Faster or slower? And if that wall meters at 1/250, where does it fall relative to the shadow I just placed? That is six stops brighter so it lands on ... Zone IX? Or Zone VIII?
It is not that the maths is hard. It is that you are doing it in real time, in the field, while also composing, focusing, managing a subject, watching the light change, and trying to remember whether you pulled the dark slide. The mental gymnastics are the bottleneck, not the camera.
So I built a tool. A Zone System Calculator that does every part of the arithmetic for you. You tell it one thing: your spot meter reading and which zone you want that area to be. It gives you back the camera setting, and then you can check any other meter reading to see where it falls. No counting stops in your head. No second-guessing which direction is brighter and which is darker.
I also added something I have not seen anywhere else. You can photograph the scene with your phone, and the tool maps the brightness zones across the frame. Every cell in the image shows its zone. Tap any area and it recalculates everything. You see the full tonal range of your scene before you commit a single sheet of film.
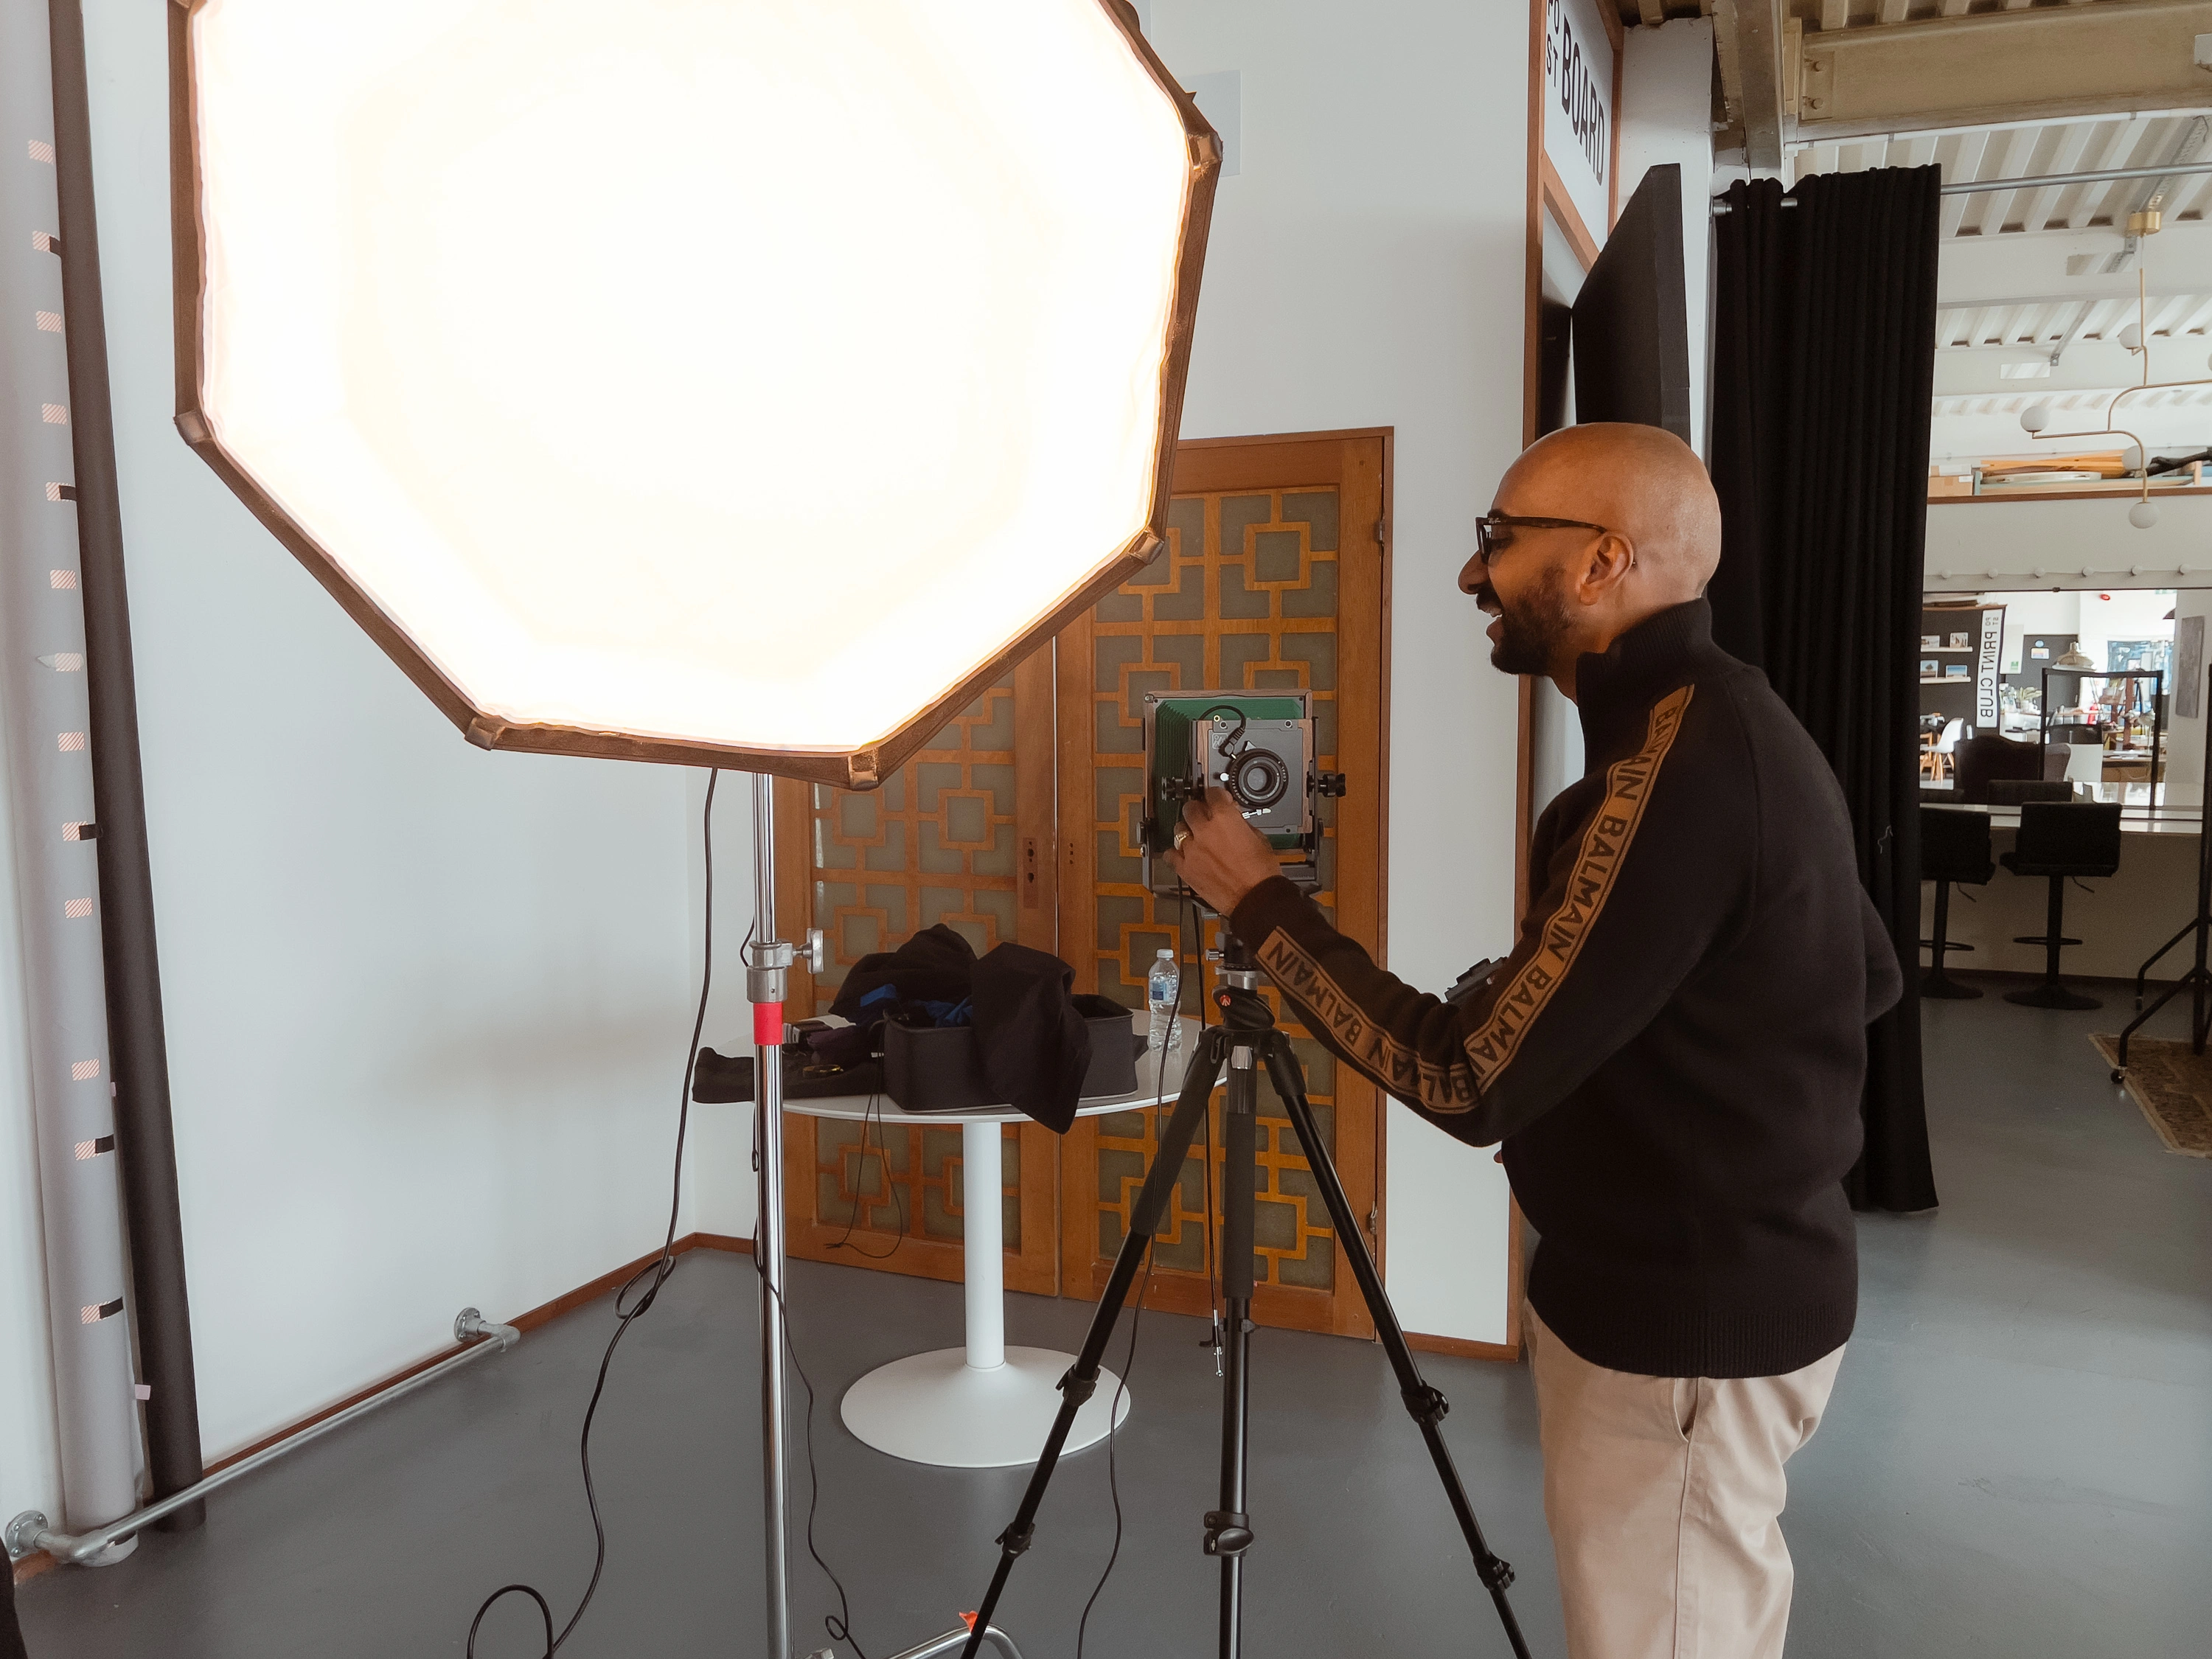
It came out of this specific frustration, standing in that studio with Josh, watching him do the zone calculations in his head in about two seconds while I was still working out which direction to adjust the shutter. He has done it a thousand times. I have done it once. The calculator is the bridge between those two positions. It lets you make the same decisions he makes, with the same precision, while you are still learning to think in zones.
Zone System Calculator
Place a meter reading on any zone. Get your camera setting. Upload a scene photo and map brightness zones across the frame. Built for film and digital photographers who want precision without the mental gymnastics.
What This Means for the Archive
The England Archive is built around a question: who is keeping England alive, and what happens when they stop? The 4x5 exists to answer that question with permanence. The Q3 and the Bronica and the X-S20 give me the documentary record, the working images, the evidence of a day spent with someone in their environment. The 4x5 gives me the monument.
A 4x5 negative scanned at high resolution produces files in the range of 400 to 600 megapixels. A portrait printed at 50 by 60 centimetres from one of those negatives shows pore-level skin texture, the individual hairs in an eyebrow, the micro-scratches on a craftsperson’s hands that accumulate over decades of work. That is not a marginal improvement over medium format. It is a categorically different kind of record, which is what a permanent archive of this kind demands.
The plan is two to three sheets per key subject. One to find the frame. One to refine it. One because things occasionally go wrong with sheet film and a backup matters. Across forty key subjects in Year 1, that means roughly 80 to 120 sheets of FP4 Plus, at a total cost somewhere between £1,000 and £1,600 once you factor in development and scanning. Significant but not unreasonable for a project that ends in a book, an exhibition, and permanent deposits with museums and public archives.
The Subjects
Every Maker, Keeper, Carrier, Rememberer, Steward and Gatherer who is central to the archive’s story gets a large format portrait. Not every person I photograph at an event. Not every contact in the outreach log. But the subjects who carry the full weight of what this project is trying to say, the people who are the last or nearly the last, the ones whose work will not survive them unless someone records it properly - those people deserve the 4x5.
The Makers are the most straightforward logistically. A craftsperson in their workshop gives me a stable environment, controllable light, and a subject who is used to precision and patience. Paul Kemp at Haddiscoe Island Mill, the Little Mesters in Sheffield, Ernest Wright at their bench - these are the kinds of environments where the large format camera will feel at home, where you can spend twenty minutes setting up and the subject understands why because they spend their own working life doing things that cannot be rushed.
The Rememberers are where the large format becomes most important and most demanding. These are the people holding irreplaceable living memory, and the photography should never be the opening gambit with them. You go to listen first. You spend time. You earn the conversation. The portrait comes later, sometimes on a return visit, once there is enough trust for someone to sit still in front of a large camera and give you something real. The process of setting up a 4x5 is itself a kind of communication - it tells the subject they are being taken seriously, that this is not a quick snap, that their presence in the archive matters enough to warrant this level of intention. Graham Lubbock in Blakeney, Peter Nicholson, whoever Doc Rowe turns out to be - these are the sessions where the 4x5 earns its place most completely.
The Carriers present a different challenge. Traditions like Jack in the Green on 4 May or Lewes Bonfire Night on 5 November are not environments where you can set up a view camera in the middle of a procession. The 4x5 for Carriers means portraits made separately from the event itself, ideally in a quieter moment with someone who has agreed to sit for it. Keith Leech from the Hastings Jack in the Green is a candidate for exactly this kind of session, once the relationship is established beyond the first visit.
The Stewards, the people managing the land - chalk stream keepers, hedgelayers, cider makers - give you outdoor environments where light and weather become variables you cannot control the way you can in a workshop. I will need to think carefully about when and how to deploy the 4x5 for these subjects. Morning light, stable conditions, and ideally a scout visit beforehand to understand what the environment will do to the exposure.
The Scouting Requirement
Every large format portrait session requires a prior visit. This is already baked into the project protocol - you go to a location with the Q3 first, understand the light at different times of day, identify where the portrait will be made, and then return with the 4x5. The large format camera makes that prior visit more purposeful rather than adding a new obligation. You are not just scouting for compositions. You are scouting for where the light falls at 10am versus 2pm, which wall or piece of machinery sits at the right distance for an environmental portrait, and how much space you will need to set up the tripod and work around the subject.
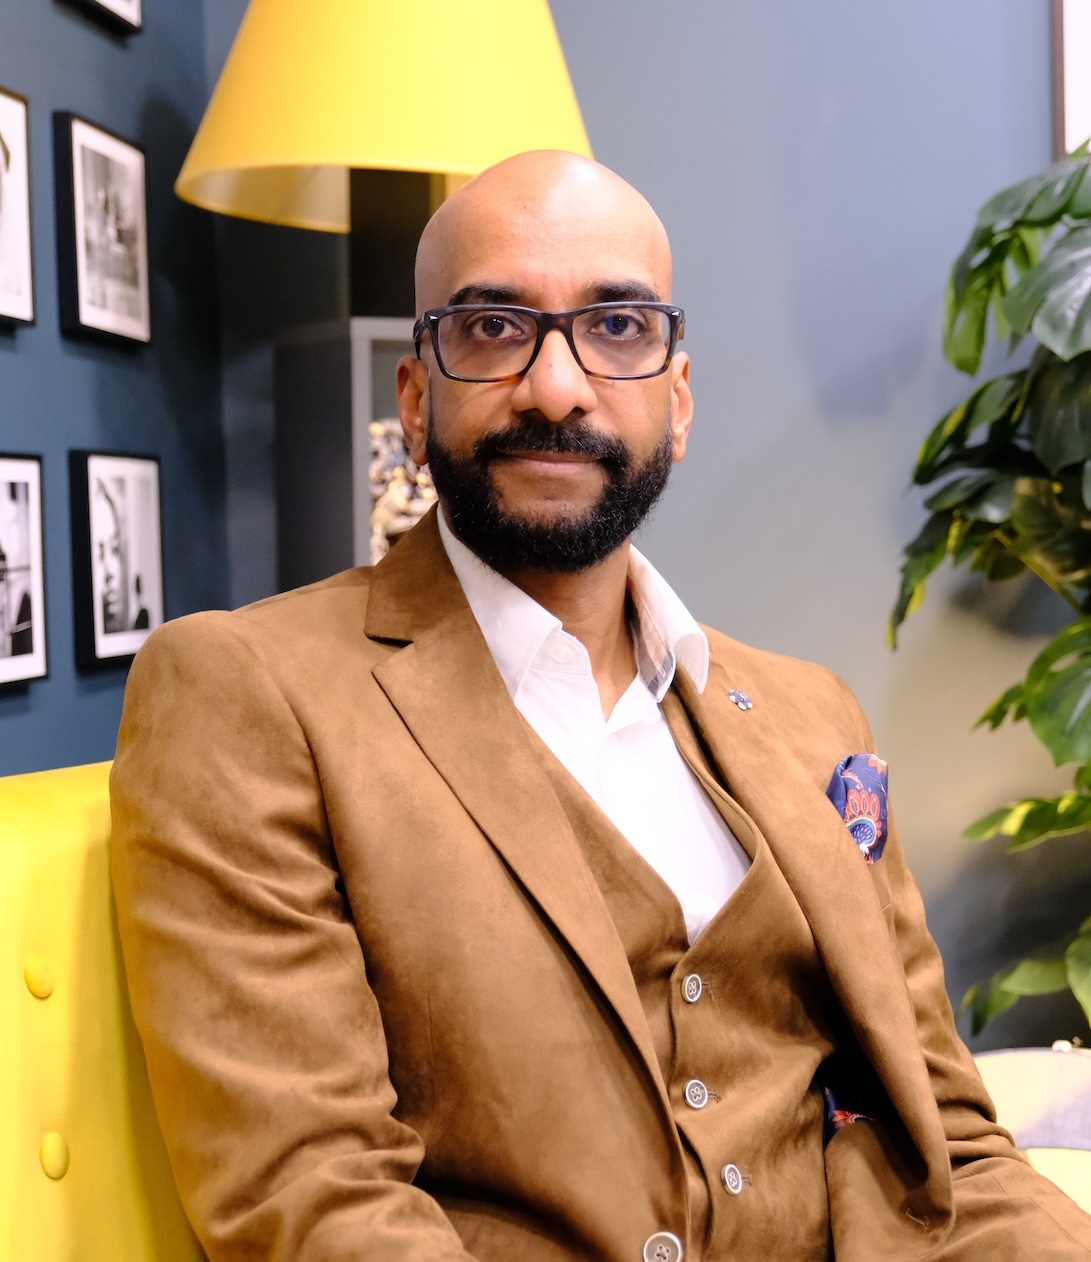
Bhavani will be important in these sessions in a way she has not been in the faster documentary work. When the 4x5 is out, the pace is different. There is more standing, more waiting, more stillness in the room, and she reads that kind of environment well. Her role in those moments is to hold the space, to keep things calm, to manage the background without drawing attention to it. She does not need to talk to the subject and will not do so at the start of those sessions. But her presence changes the energy of a room in the right direction.
The Layers Model
The archive’s physical objects sit in a hierarchy. The large format negatives form the top layer, and within that there is a further distinction. Not every large format negative becomes a contact print. The contact print is reserved for the images where the subject, the composition, and the technical execution all come together simultaneously, which will not happen every time and should not be expected to. The contact print series is the highest tier of the archive’s physical materials - the prints that get deposited with museums, that represent the project at its most serious, that justify the full weight of what this work is trying to do.
Reaching that tier requires the technical foundation that today started building.
The First Real Sessions
The Cardozo Kindersley Workshop on 22 April is close enough that I will not bring the 4x5 for the first visit. That one is a scout and a relationship session, primarily on the Q3. Dennett Boat Builders on the 23rd is similar. I want to understand those environments before I bring a camera that demands two hours of careful setup.
Sheffield in June is different. Ernest Wright on 2 June is a subject I have been working toward for months, and the workshop environment - the bench, the tools, the light from the windows - is exactly the kind of space where a large format portrait will work. I want to have thirty sheets of practice behind me before that session, and I want to have worked through the zone metering properly. By June that is achievable.
Paul Kemp at Haddiscoe Island Mill on 10 April is also a candidate for a return visit with the 4x5 once the first session establishes where we are. A working millwright in a working mill is a subject the archive needs documented at the highest possible quality.
The machine is learned. Now the work starts.